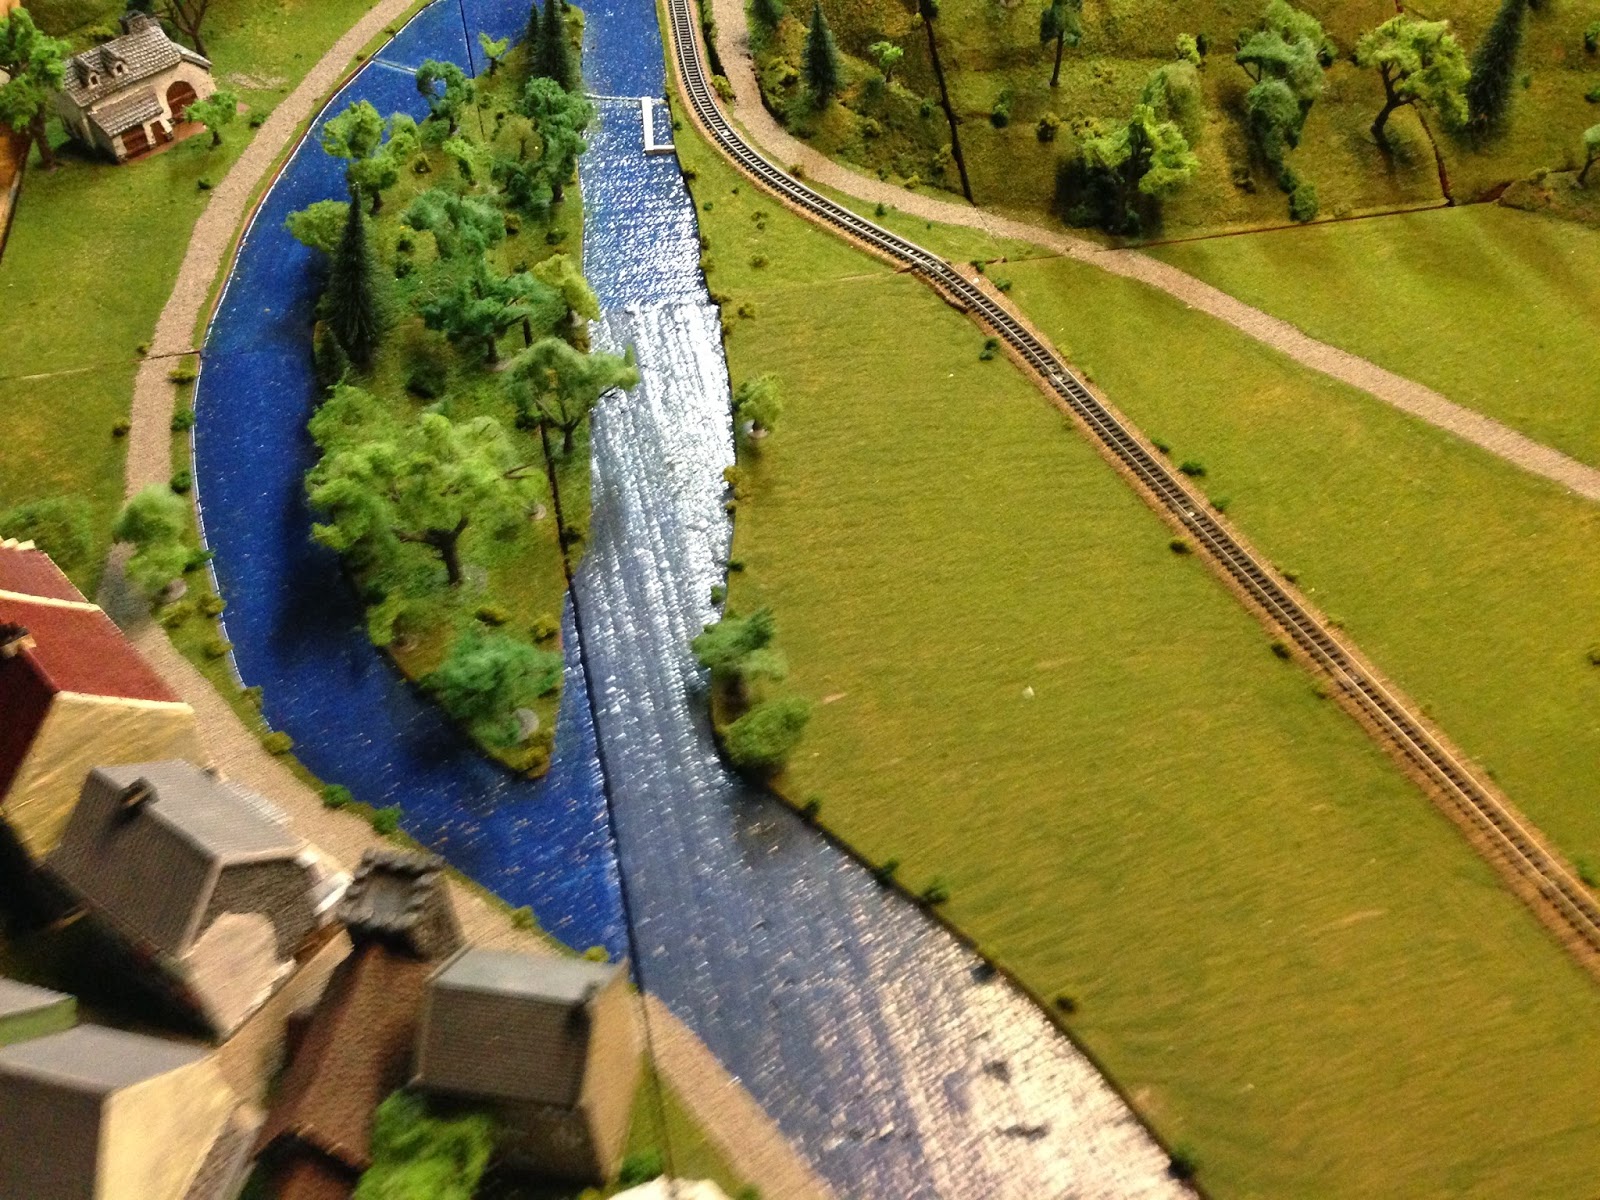
Close up of the blown RR bridge with the defending bunker at center:
Historically, one mototorcyle company crossed the Meuse (I've scaled down to one platoon):
German 81mm Mortar and 37 mm ATG on overwatch, near the ruins of the Poilvache:
A 75mm Infantry gun positioned in Houx itself ready to support:
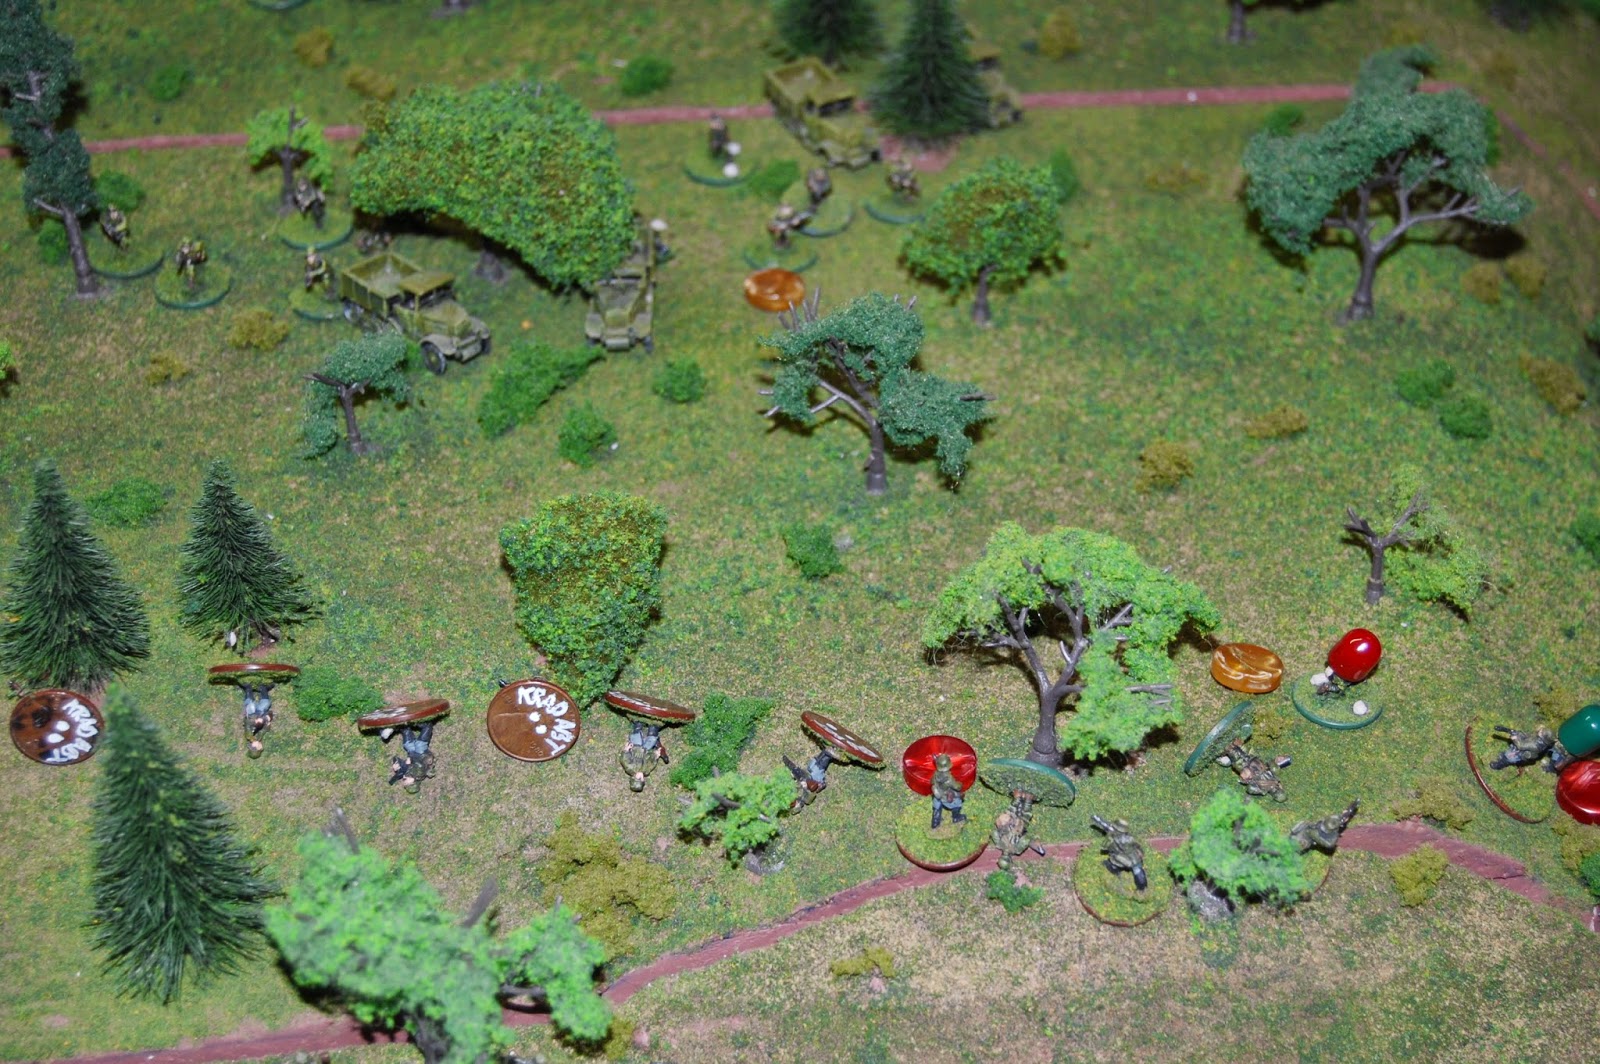
Positioned on the heights overlooking the Meuse, is one platoon (scaled from Company) of the II/39/5eDIM. Two other platoons are stationed off board to the west as the French didn't place their troops near the river but instead took the high ground located to the west! Hevey MG team and artillery FO are seen at center. But the morning began with fog and the French didn't see the Germans below!
The fog enables the Germans to get a free move and they bring 1 Squad/2 Platoon over to the west bank while 3/1 moves on bunker manned by a MMG team of Belgian Chassurs Ardennais:
TURN 2:
The Belgians finally see the advancing Germans and let loose but only score a Shaken (can't move/shoot next turn marked by Yellow Cap) and two Pins (can't move marked by Red Pin)
The French FO gets through to his 75mm Artillery battery, but the first shots strike off tarket near or on the Ile de Houx. French rifles and lmg however cause the first casualties on the German 1/1 at base of hill. Four KIA and one Shaken. German 81mm Mortar and MMG both miss!
Second French squad located on left side of heights is less successfull, scoring only a Shaken and a Pin:
First round to the French
TURN 3:
Germans win initiative again! They make it to the bunker but can't force open the door. Fire against the embrasures is ineffective.
French FO loses contact! But their MMG gains one KIA and Pins another on the Lock...not a good place to freeze! German 1/1 moves up hill and gains one KIA and one Shaken. French MC races back to Platoon HQ which contacts CO HQ. They will send reinforcements...but it takes a turn to pass along orders! French fire from the heights gets four KIA (inc LMG team and the Pinned soldier on the Lock) and an additional Shaken. German 81mm Mortar lands on target and inflicts one KIA and one Shaken, but the MMG misses again. Finally the German lands a 75mm IG shell on target and puts one more KIA on the French:
Zoom in on the action at the top of the Meuse Heights:
TURN 4
French win initiative and the FO reestablishes contact, bring down a 75mm barrage on the troops crossing the Ile de Houx, gaining two KIAs.
The German 1/2 brings the remainider across the Lock and continues to assault the hill, inflicting one KIA and a Shaken on the French MMG! French fire from the Heights gains another four KIAs and one Shaken. German return fire(inc 81mm and MMG) score big; inflicting a total of six KIAs, two Shaken and one Pin! They are gaining the ridge immediately above the Lock!
Belgian MMG scores two KIAs while further German troops (2/2 and 3/3) move up to and over the Weir. Those French reinforcements better show up soon!
TURN 5
The Germans strike first as their 1/1 and 2/1 continue to assault the Heights, inflicting six KIA. The French FO team successfully mount their MC and escape to a safer position (center), while their troops strike back, getting three KIA and three Shaken. They also send a runner (center, left of mc) to HQ requesting assistance.
Closeup of the carnage showing German 81mm placing a shell right among the French defenders KIA two and destroying the MMG (center). It's a hard climb up that slope!
TURN 6
Fortunately for the French commander, they gain the initiative and continue the counterattack on the Heights. They will inflict four more KIA, leaving the German 1/1and1/2 with only a total of three men! The Germans in return add two more KIA to the French losses, leaving them in a very weak postiion as well. Whose reserves will arrive first?
French runner reaches the 3/1 (left of center)but the squad leader cannot authorize an attack w/o HQ so the runner must continue onto Platoon HQ (top of hill upper left)! The FO team redeploys (center) in preparation to bring artillery back online
Germans finally force open the bunker door and KIA two of the three Belgian Chassurs Ardennais inside...but one remains! Their defensive fire unfortuantely was ineffective!
TURN 7
French keep initiative and what's left of two squads on the Heights blast away, but only get a Shaken. German return fire (inc MMG) gets only one KIA and a Shaken. Both initial forces are spent. Notice the German 2/2 coming up the slope on left. The French FO fails to make communication with artillery...
while their 3/1 advance towards the Germans
On the German right flank, the brave Belgian Chassurs goes down under a barrage of fire!
TURN 8
Germans regain initiative and with what's left of the two squads on top bring down one KIA along with a Pin (lower right). The French 1/2 falls back to Pla HQ to regroup (in my rules, as long as the HQ remains intact, any/all casualties have a chance to recover. This reflects my inclusion of morale w/o having to make additional rolls and modifications. Each casualty rolls a 6d; 1-2 they were unhurt or very lightly wounded and may return, 3-4 and they are wounded and cannot return, while 5-6 results in KIA. Any recovering troops then roll once more to determine the number of turns in takes to recover, 1-3. It has worked well over the years). In this case, the French recover six riflemen and a LMG (from 11 casualties)...great job. Better yet, they will only take one turn to recover! The newly arriving German 2/2 troops on the left reach the crest and blast away at the French troops moving towards them. Three hits...but all on the same figure, the squad leader!(hidden behind tree just above French HT, left of center). The French then return a devastating fire and get five KIA! French reinforcements (2 Platoon) begin arriving near the 1 Pla HQ (above photo on right), while Germans occupy the base of the Heights with their 3/2.
Finally on the right, German 3/1 redeploys along RR embankment
TURN 9
French regain initiative and 3/1 and the last remaining member of 1/1 who had been pinned and counldn't retire, causes 2 KIA. But wait...everything the Germans throw at them misses! Unfortunately for the French, the remainder of the German 2/2 reach the crest (lower left) and inflict 4 KIA.
The French FO gets the final hurt in as they land all three 75mm on target along the RR embankment and inflict 3 KIA. Good thing those men listened to their sergeant and kept their spacing!
Meanwhile the German 3 Pla begins crossing the Meuse, some by boat:

TURN 10
French win initiative again and what is left of 3/1 causes another KIA and a Shaken on their opponents.
Germans then drop seven KIA out of the Platoon, leaving one lone Frenchman standing! French 2/1 recovers four men for 2 turns while the Germans reorganize as well: 1/1 recovers 5 for one turn. 1/2 is not so fortunate, gathering only 3 for three turns.
The German 3 Platoon continues to deploy to the Ile de Houx or the Weir/Lock. They must hurry. as the French reinforcements are making their presence felt on the Heights!
TURN 11
Germans gain intiative and use it to inflict 5 KIA on the advancing French Dragoon Portes, but return fire drops 4 KIA, a Shaken and another 3 Pinned which leaves the survivors hanging on by their fingernails. The German 81mm puts down a perfect shot amongst four closely packed Dragoon Portes, KIA them all! (upper right)
Not to be outdone, The French FO maintains contact and brings 3 75mm shells down on the two recovering squads and gains 3 KIA!
The 3/2 French Dragoon arrives and takes postion in front of it's Platoon HQ, while German 1/3 and 3/3 cross the Meuse on boats
TURN 12
French regain initiative and use it on the Heights, gaining another 4 KIA and 1 Pin. Fortunately for the Germans, their Pla HQ has sent up the 60mm team (bottom center, who hit with all three shots...and receive 3 KIA!!) to reinforce the few remaining (4 on right of cernter) German returns fire and drops two more KIA plus 3 Shaken...they're not giving up w/o a fight!
The French FO again brings down his 75s, this time on the RR embankment, and gets a KIA and a Pin. The Artillery has been devastating!
The German 3 Platoon is now arriving and grouping along the Meuse. With troops arriving piecemeal, they haven't been able to win the battle on the Heights...
The French place 3/2 (top center)and the recovered 1/1 (bottom center) in a secondary line just forward of their Pla HQ (left center). They do love their defensive battles!
There will be a delay in finishing this epic struggle...leaving for a trip to the Scottish Highlands tomorrow! ...so it will be continued...


