Our campaign has seen the rise of an Indian Confederation led by the ruler of Sitapur. (see the Battle of Pabna). To the north of our fictional subcontinent is the land of the Afghans. They too have been motivated to throw out the invaders, and their leading prince, the Emir Dost Mohammed, as led a strong force against the Belgians located along the coast at the city of Berhampur. What follows is the AAR of that battle.
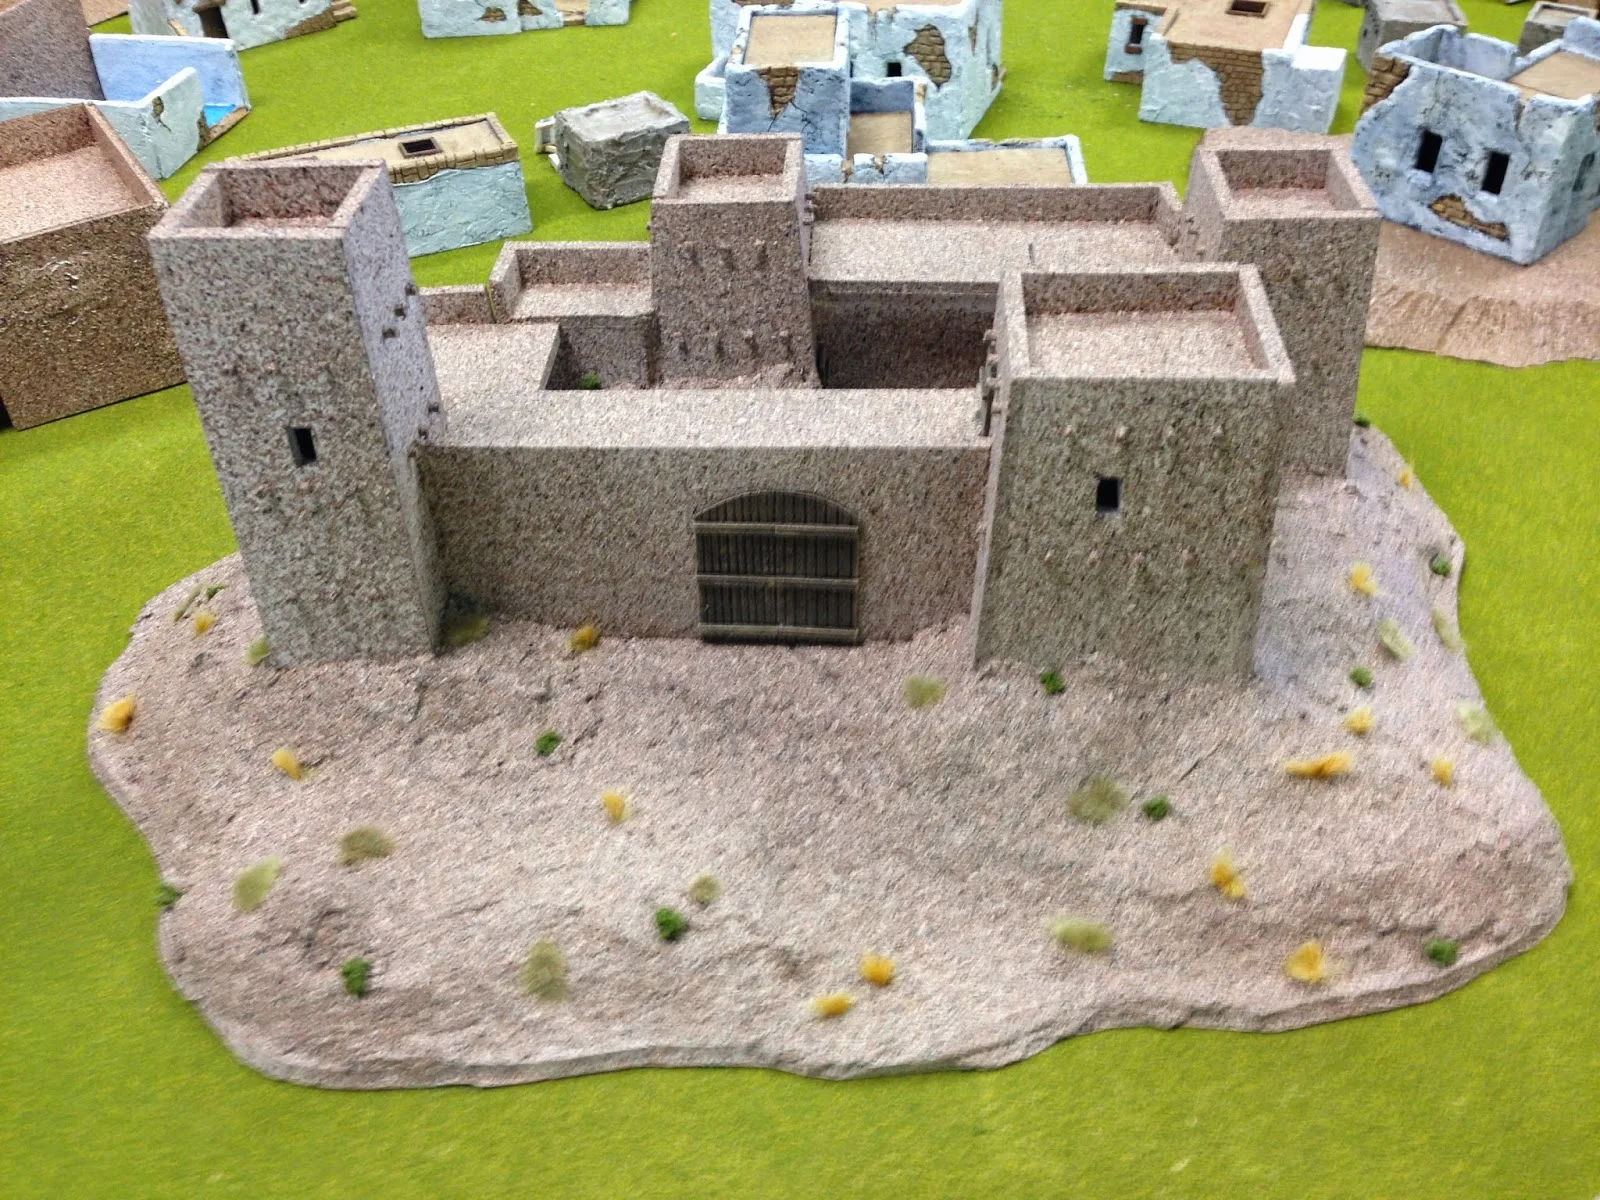
To begin with, this is finished project of an Afghan hill fort. It will be the Belgians stronghold that the Afghans must take for their victory:
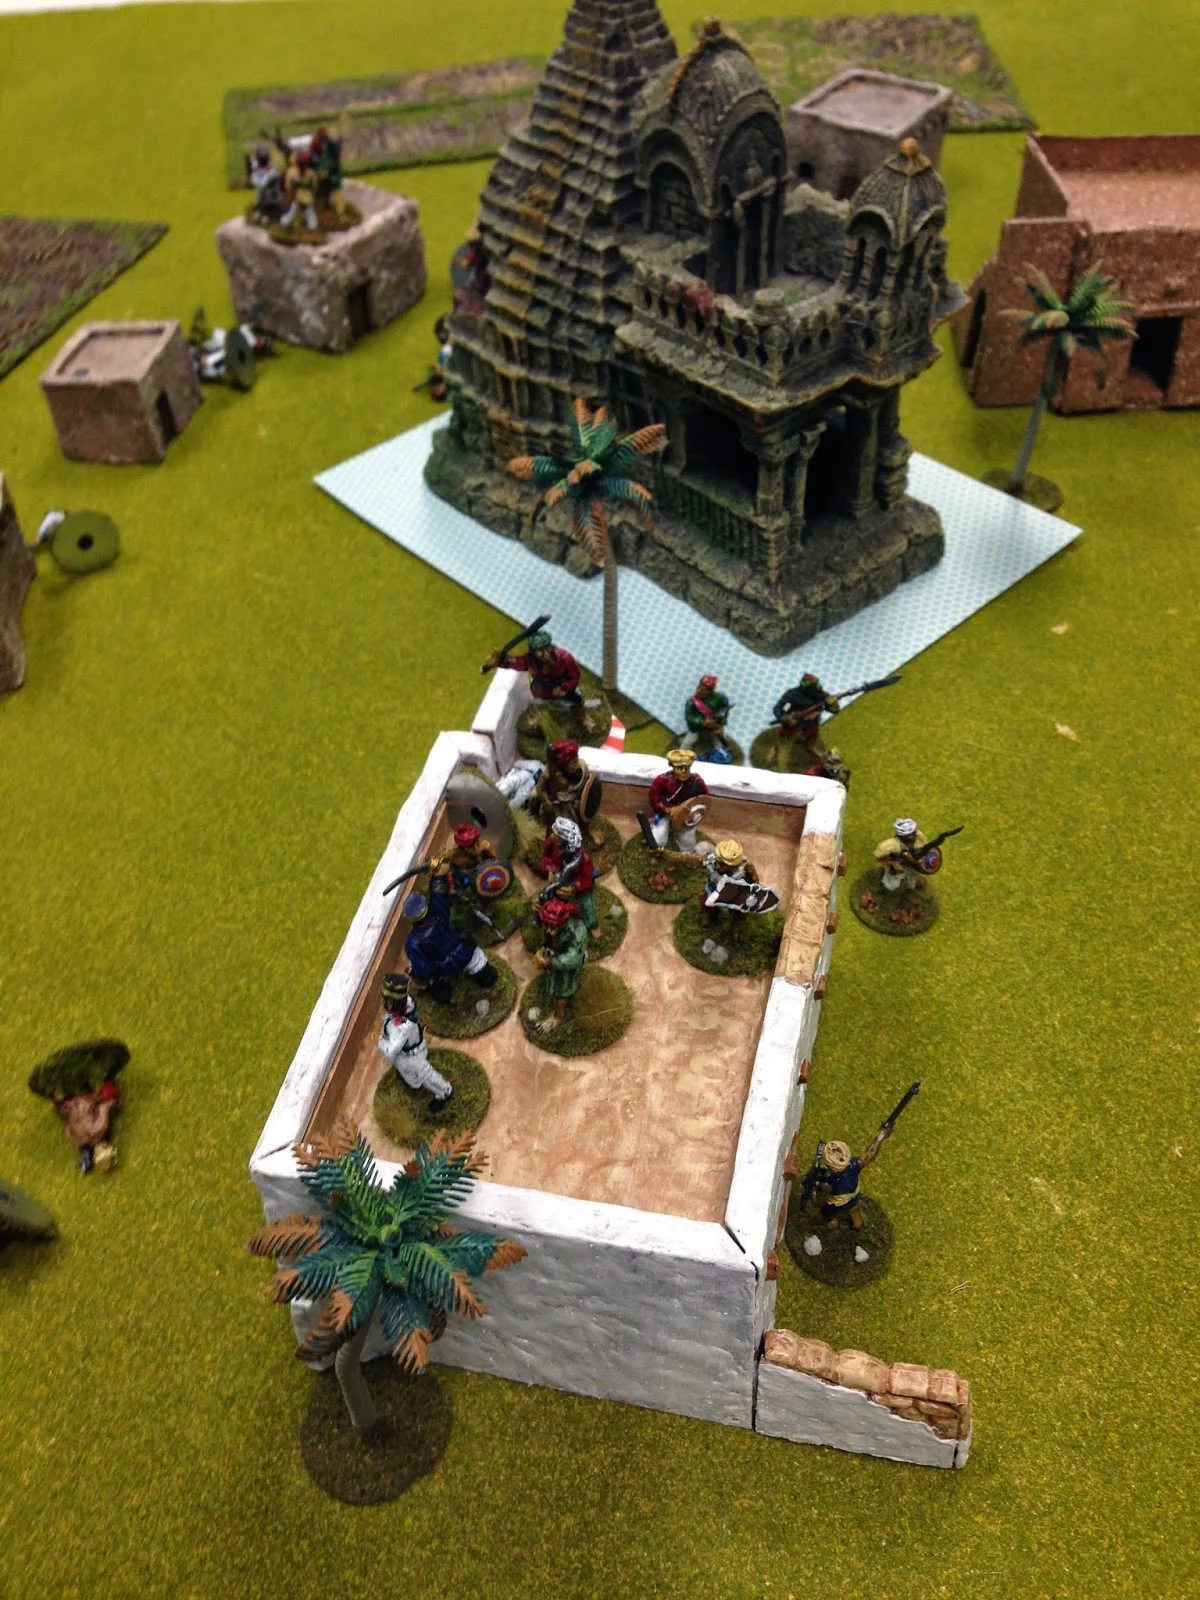
A view of Berhampur from the south, with the fort seen in the upper right:
30 Belgians garrison this, their colonial capital. They have in addition, one Gatling gun with a two-man crew. Earlier in our campaign, a small Belgian force of nine men was overwhelmed by the Afghans who did not remain after their victory. Now the entire Belgian colonial force would fight desperately to hold on to their city as well as their 'lives'.
The Emir began shelling the main gate just before sunset as the Belgians manned one bastion (upper left of above photo) with 4 brave men. The remainder were housed in the newly restored fort. After the gate was blown in , and under the cover of darkness, the army of the Emir entered the town and awaited dawn for their attack.
Two Afghan elements rushed the fort with scaling ladders (note the Gatling gun in tower at left. It would drop five tribesmen with it's first burst!):
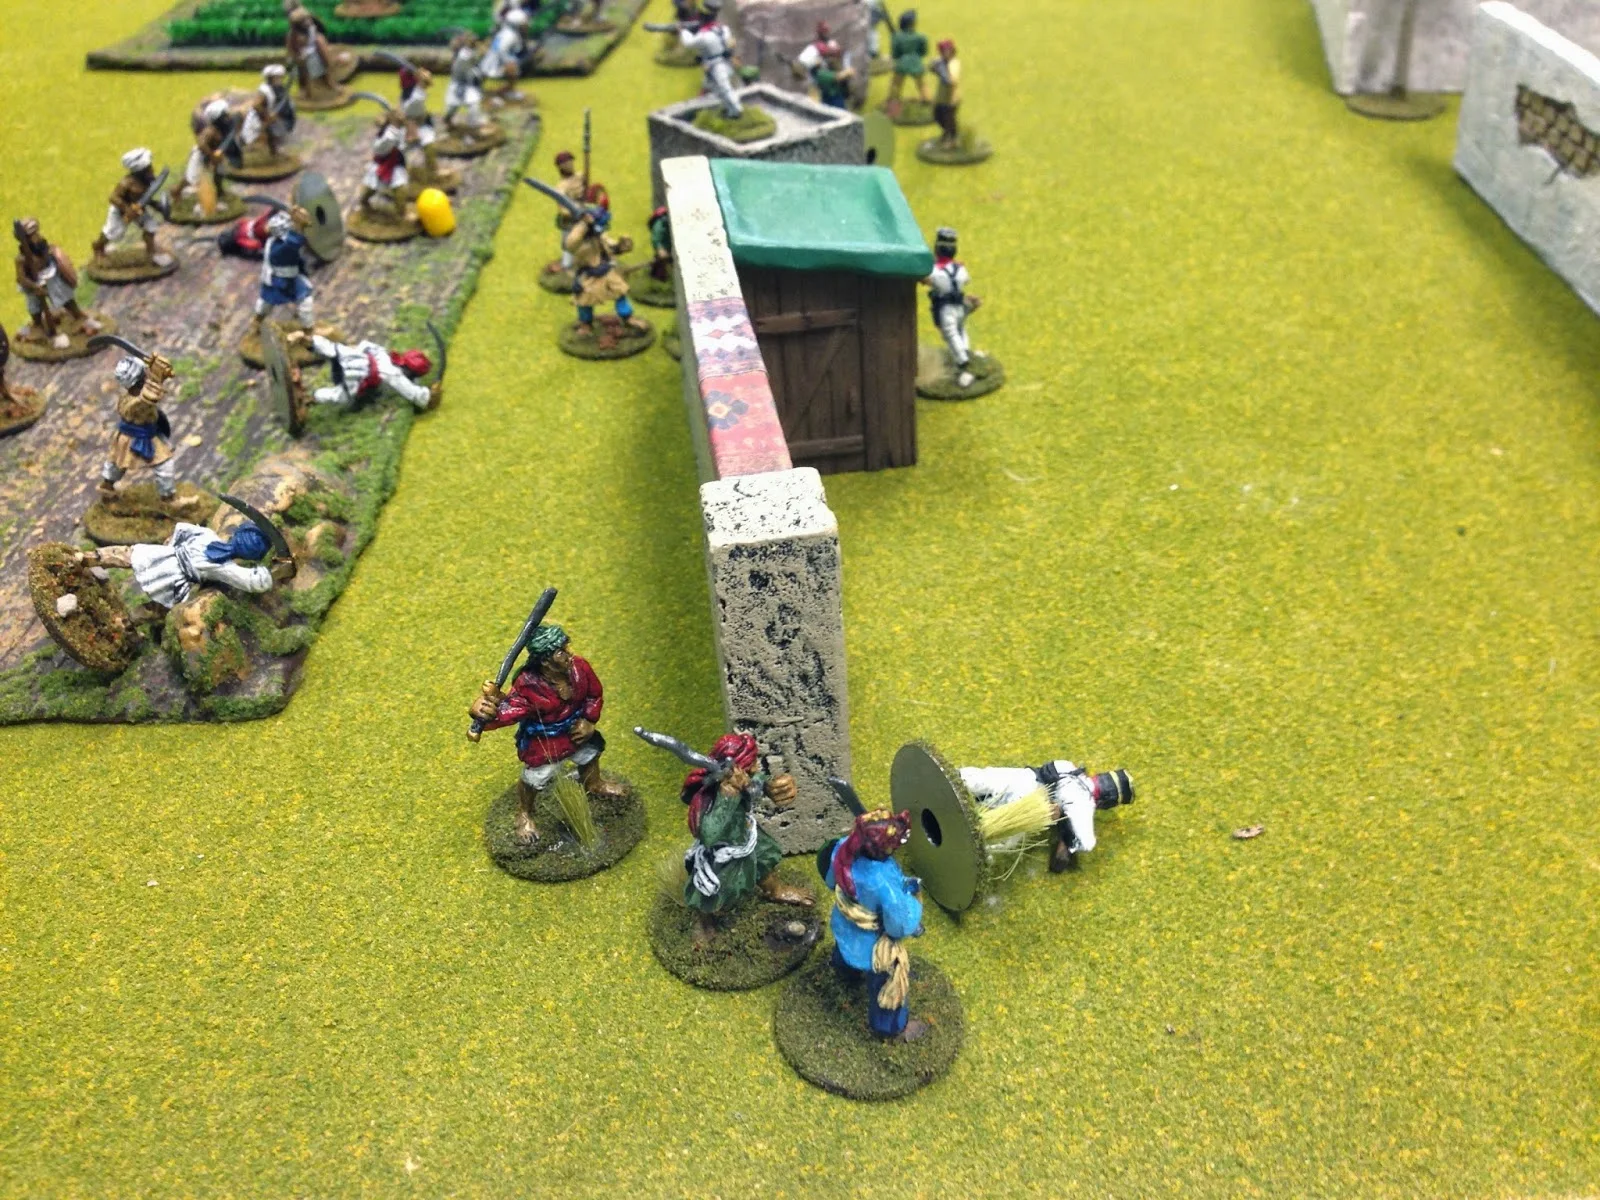
A third element moved against the isolated Belgians in the bastion (located just off picture above, to the upper right) . In round two, an Afghan volley dropped three of the Belgians while their charge into melee finished with the last. One lone tribesmen was brought down, a great start for the Afghans!
The Belgians manning the forts wall however poured deadly fire onto the attackers and by round three both elements had been broken:
But unfortunately for the Belgians, the Emir was not yet done with them. Two further elements of tribesmen poured out with their ladders while a 9lber smashed at the main gate (which would miraculously hold for three additional rounds before it was finally shattered!) Afghans by the start of round 7 were pouring over the walls and through the gateway. It looked dire for the defenders:
A brave Belgian lit the fuse leading to the powder storage room (in tower at bottom center) and it detonated, blowing him up along with six tribesmen, the the second wave of Afghans beat another retreat!
Yet again, the Emir sent his men forward and their numbers now began to overwhelm the stout desperate Belgians. In the tower to the left, a Belgian manning the Gatling missed three out of four tries when he rolled those miserable 1s. He was soon depatched in melee combat by two Afghans. Three Belgians remained:
...and then there was one final man surrounded on all sides, with no thought of surrender! (not to those tribesmen!):
...and...
The Afghans had taken the city. The Beligians had been wiped out, although 10 wounded were taken prisoners, not something they would look forward to. Afghan losses amounted to 14 KIA, 8 moderate/serious WIA, and 11 lightly WIA. The Emir was pleased. The first step in ridding his lands of the infidel had been taken!


