After the disastrous engagement at Tretten, the British and Norwegians were in a very bad place. Brigade 148 was basically destroyed, and that left the 15th Brigade holding the line at Kvam, a few miles along the River Lagen. At a place where the River bends severely, called Kvam's Knee, The King's Own Yorkshire Light Infantry (KOYLI), would try to end the losing streak. The fight began on 25 April, 1940.
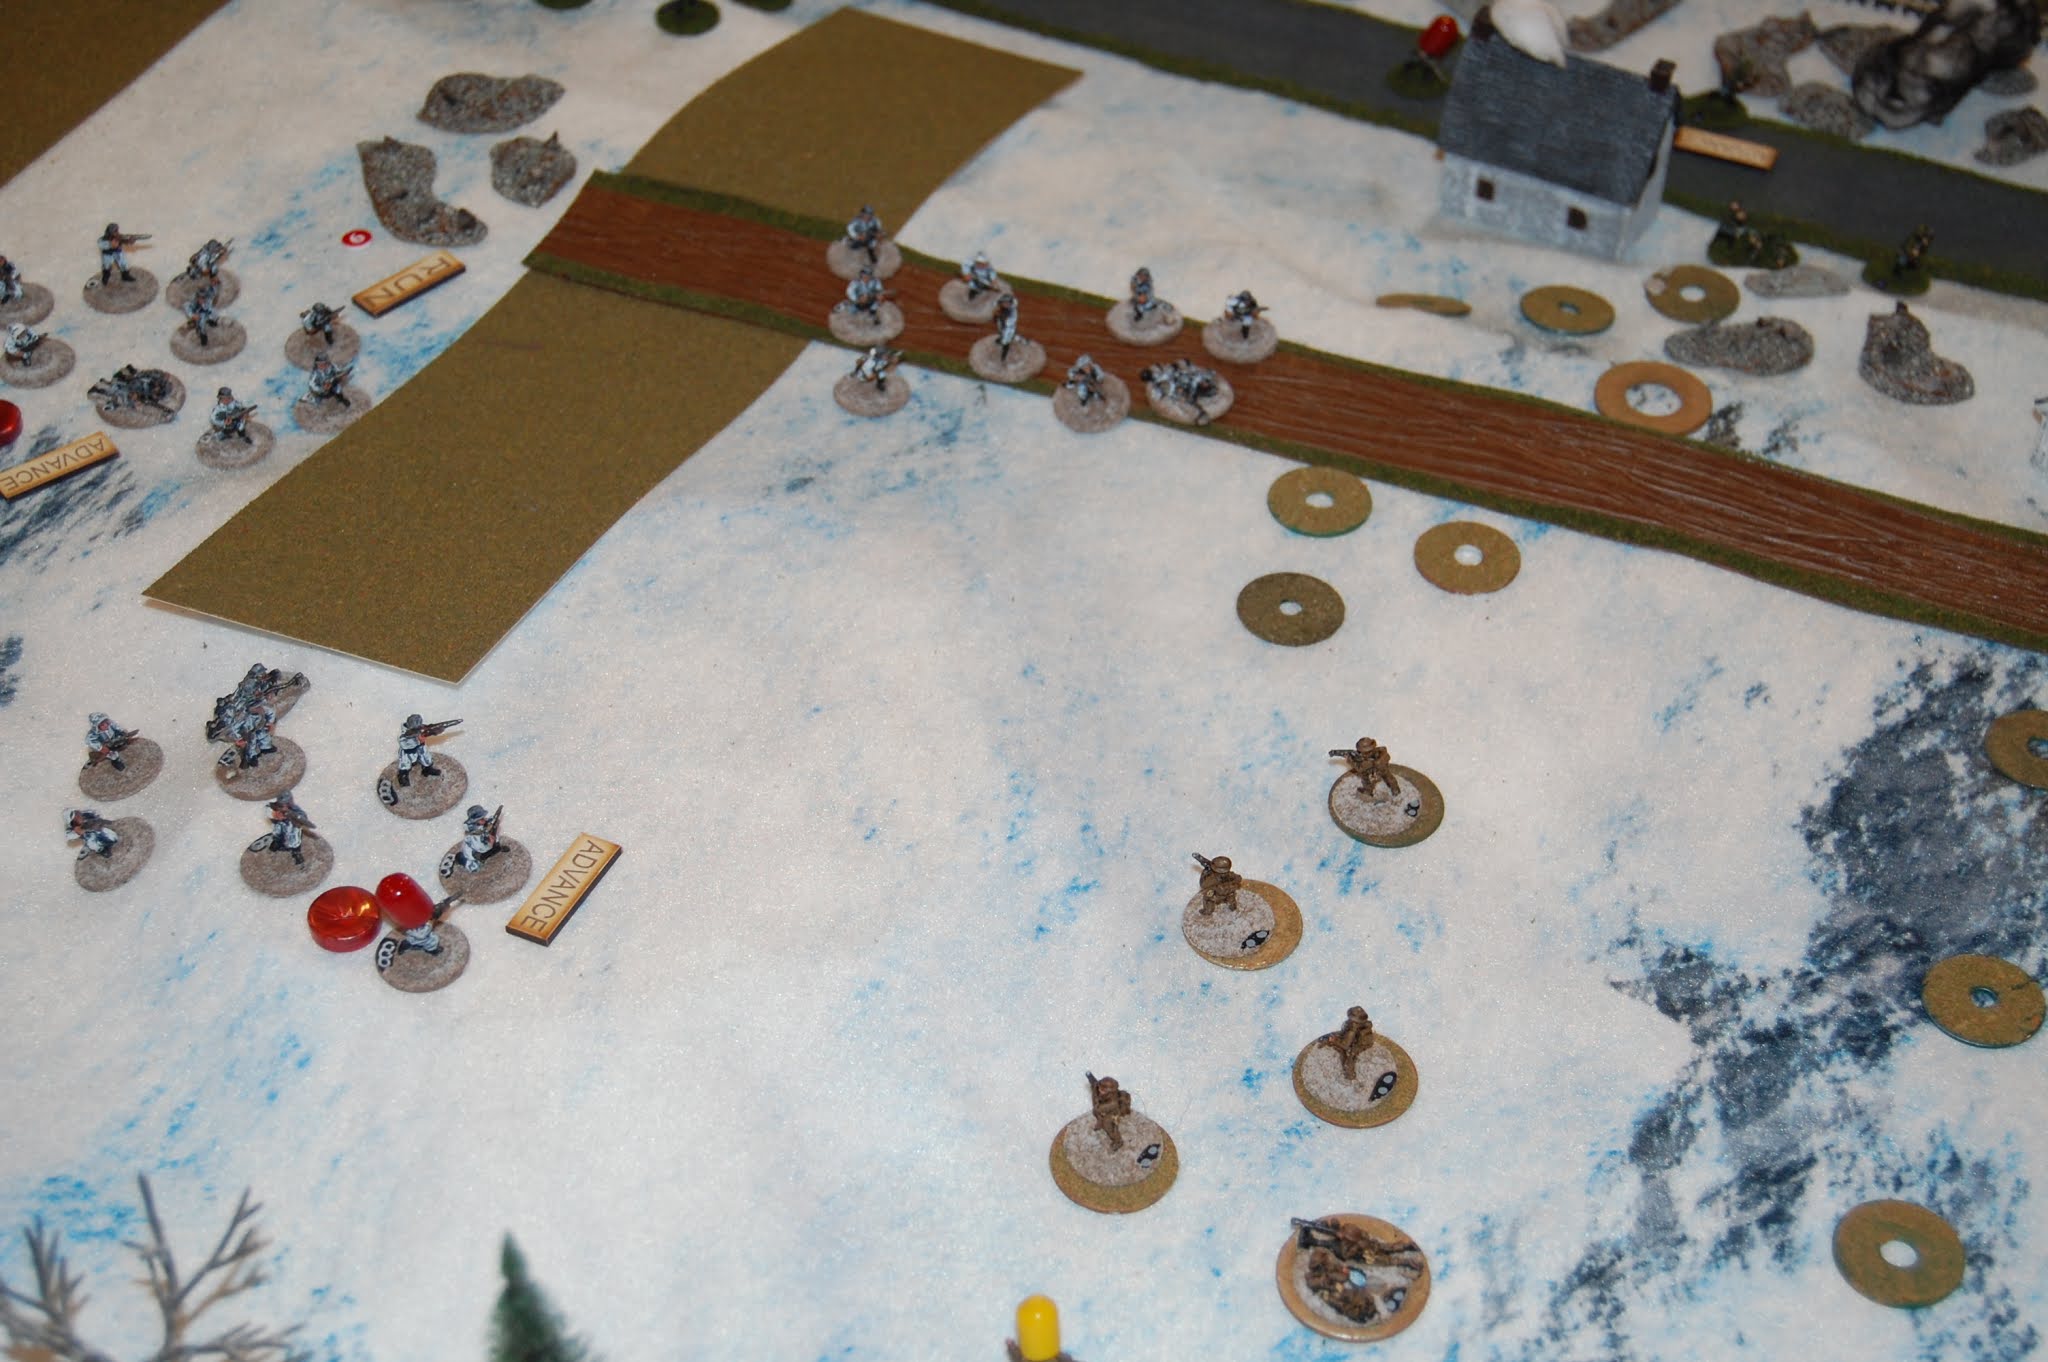
The valley here begins to widen out, with the valley floor seeing widespread melting. The snow was still. present in the treelined hills, but below it was rapidly melting. As a result, the Germans (at least their vehicles) were for the most part restricted to the road.
Here is the battlefield from the south (German view). Kvam is seen upper left with the lumber yard to the left of town. The main channel of the river is impassible (Left channel) but the others are passed at 1/2 movement. Both islands are screened with scrub and the hills are covered with light woods...
The view from the north (British view). The melted farm fields at left are muddy and can slow movement (-1 to -4 inches)...
For the first couple of turns, a German motorcycle squad pushed north along the highway accompanied by a Pz I advancing along the RR line. The British had a surprise this time around. A real honest to goodness a/t threat in the presence of a 25mm A/T gun supported by a British Platoon. Soon, the tank was aflame (upper right) as a result of an excellent first shot, and the m/c troops were under fire. A British 2" mortar dropped smoke (and only smoke because they forgot to bring HE with the Brigade to Norway!) Then a 3" mortar dropped something a little more deadly, causing casualties on German troops moving up in support...
The Germans brought up numerous squads to pour a withering fire on the first British squad in their foxholes (represented by the washers), inflicting numerous casualties...
More British 3"mortar rounds and more German losses (although the Brits have lost a squad)...
The second British squad opens up and both the Germans and British take serious losses...
As the Germans storm across a shallow arm of the river, they are taken under fire by the third British squad...
But then a second British platoon (left-center) makes itself present on the German flank...
While the Germans bring up more troops, the fire from the additional British troops nearly destroys a German squad (between RR and river)...
More German troops beginning moving up to the battle line, while others (left top) are occupying empty British foxholes...
Additional British forces open fire along with a successful medium mortar barrage on the road...
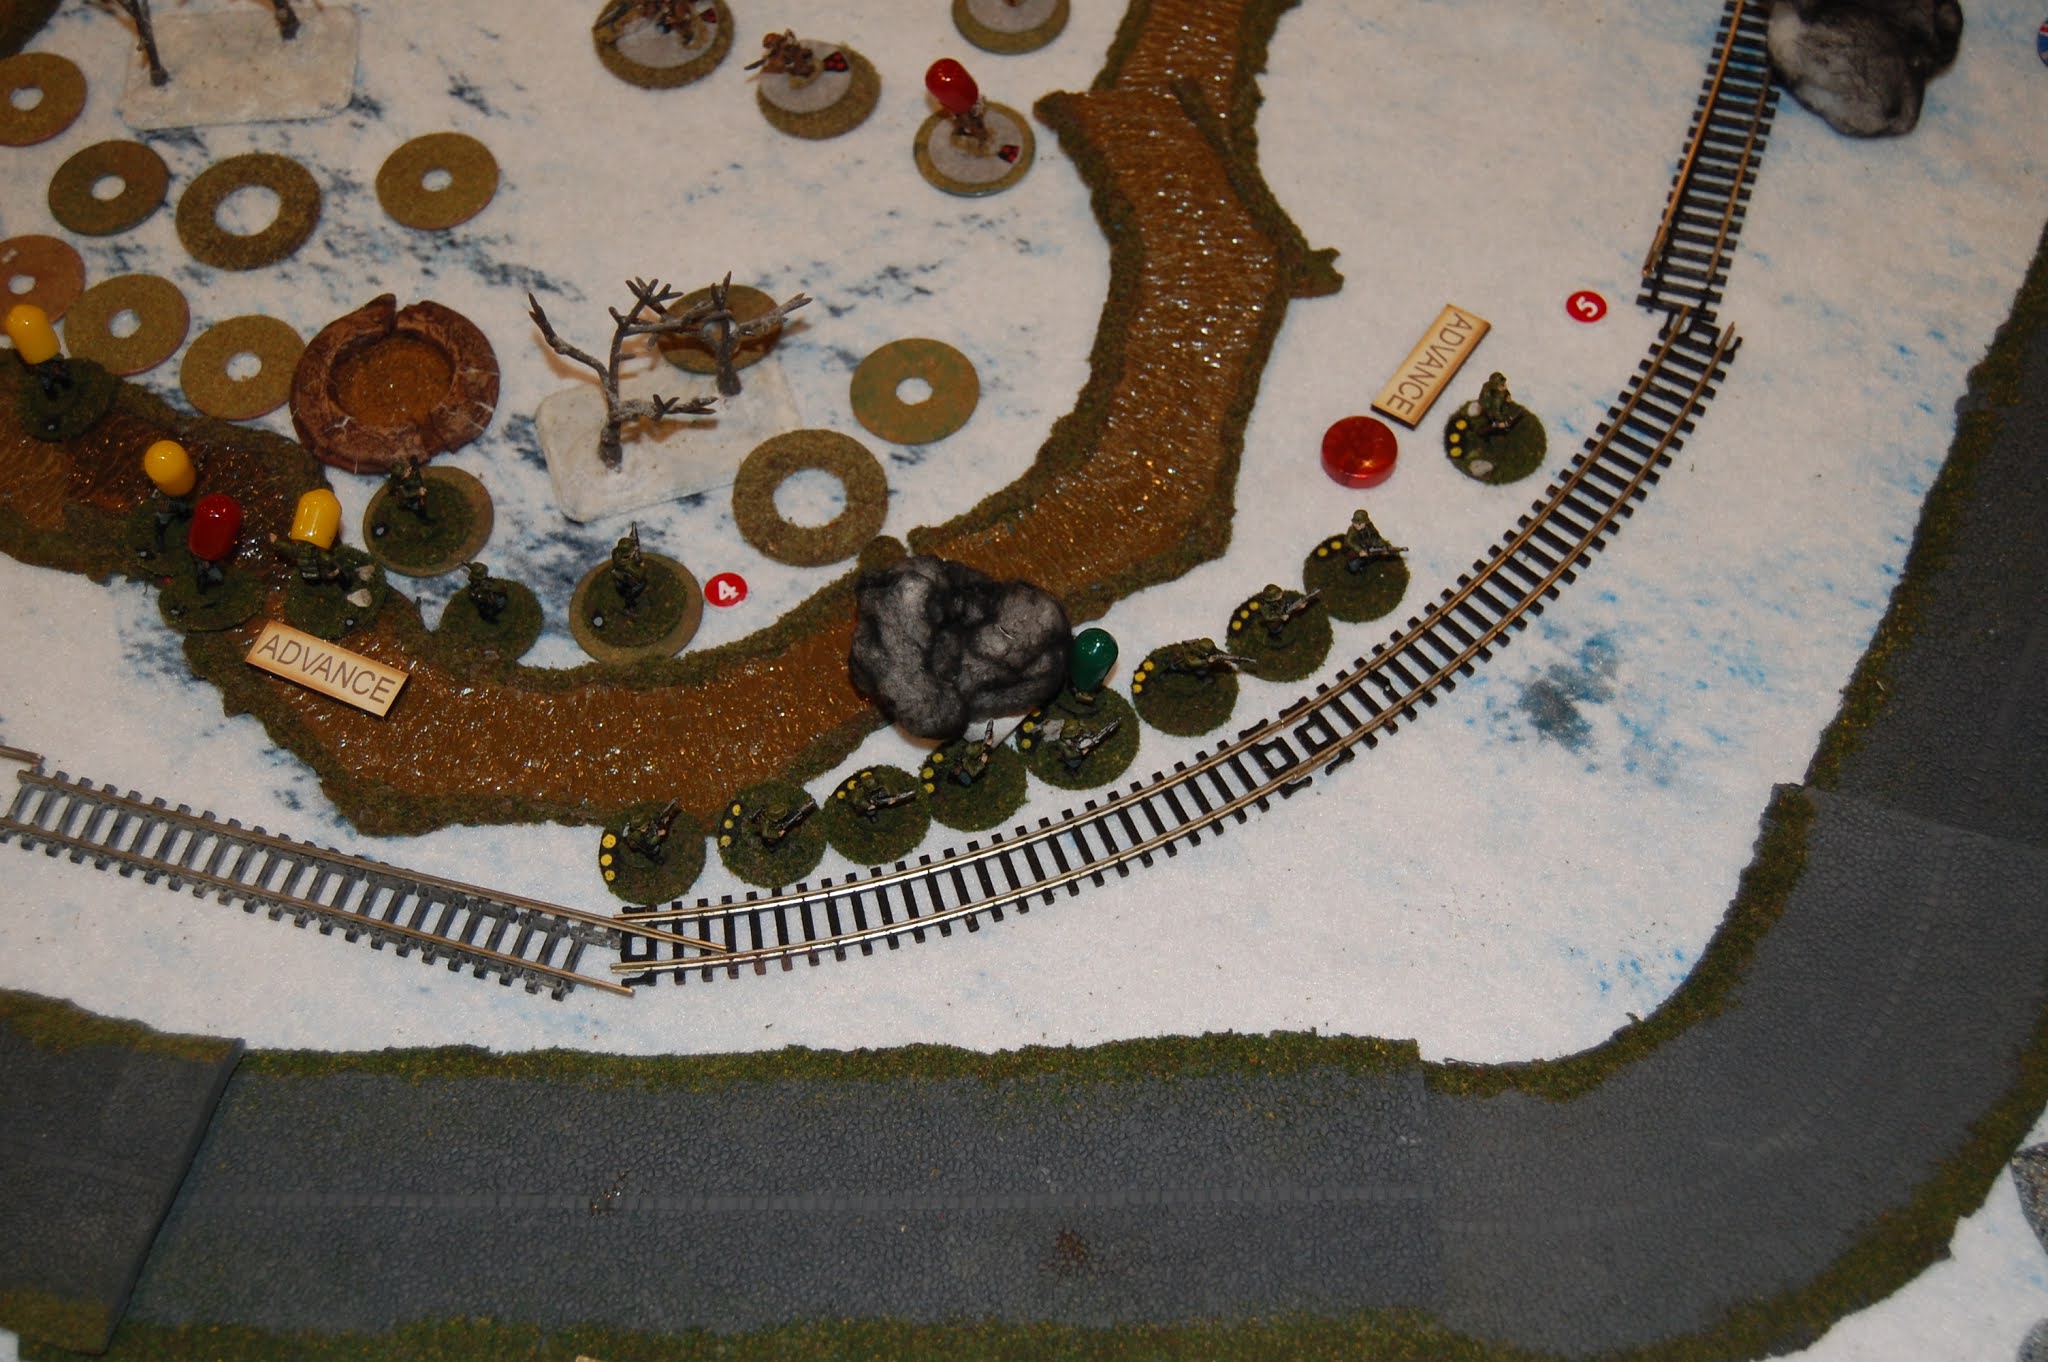
On the large island, German troops assault the British second line...
As the Germans advance up the highway, they are taking additional casualties from the British troops to the right...
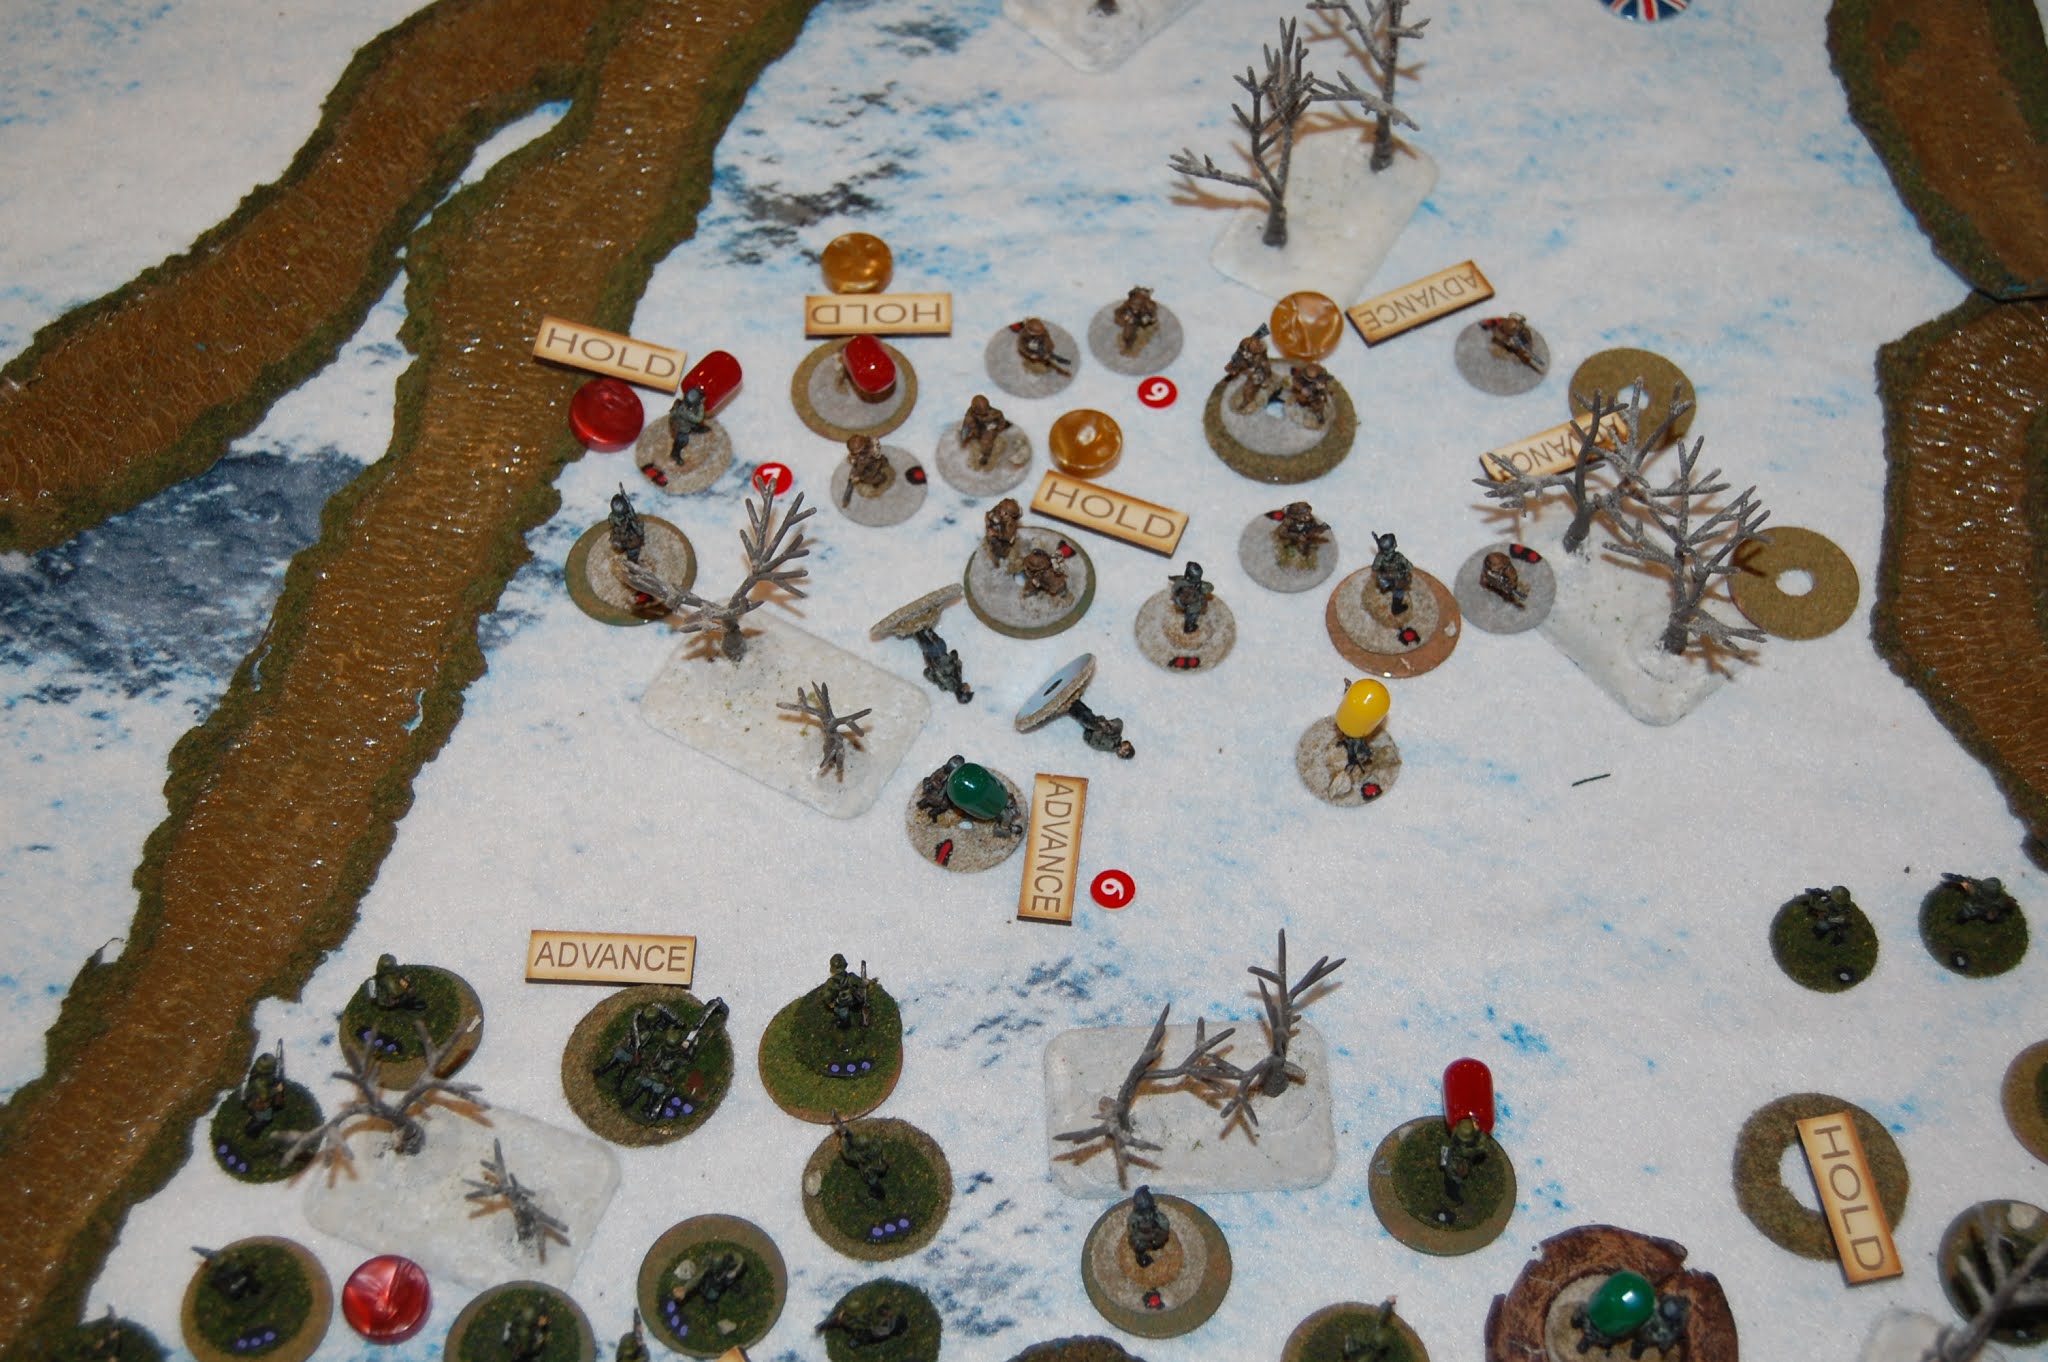
But even more Germans pushing up against the now weakened British squad (Red caps are pinned-can't move next trurn; Yellow cap are Shaken-can't move or shoot next turn. A Green cap is used to show a casualty on a two-man stand, such as a light machine gun team) in the background...
As the German squad move up the hill. another British squad shows itself, and inflict heavy casualties...
The British launch a small (squad-size) counterattack on the island (view form the British lines)...
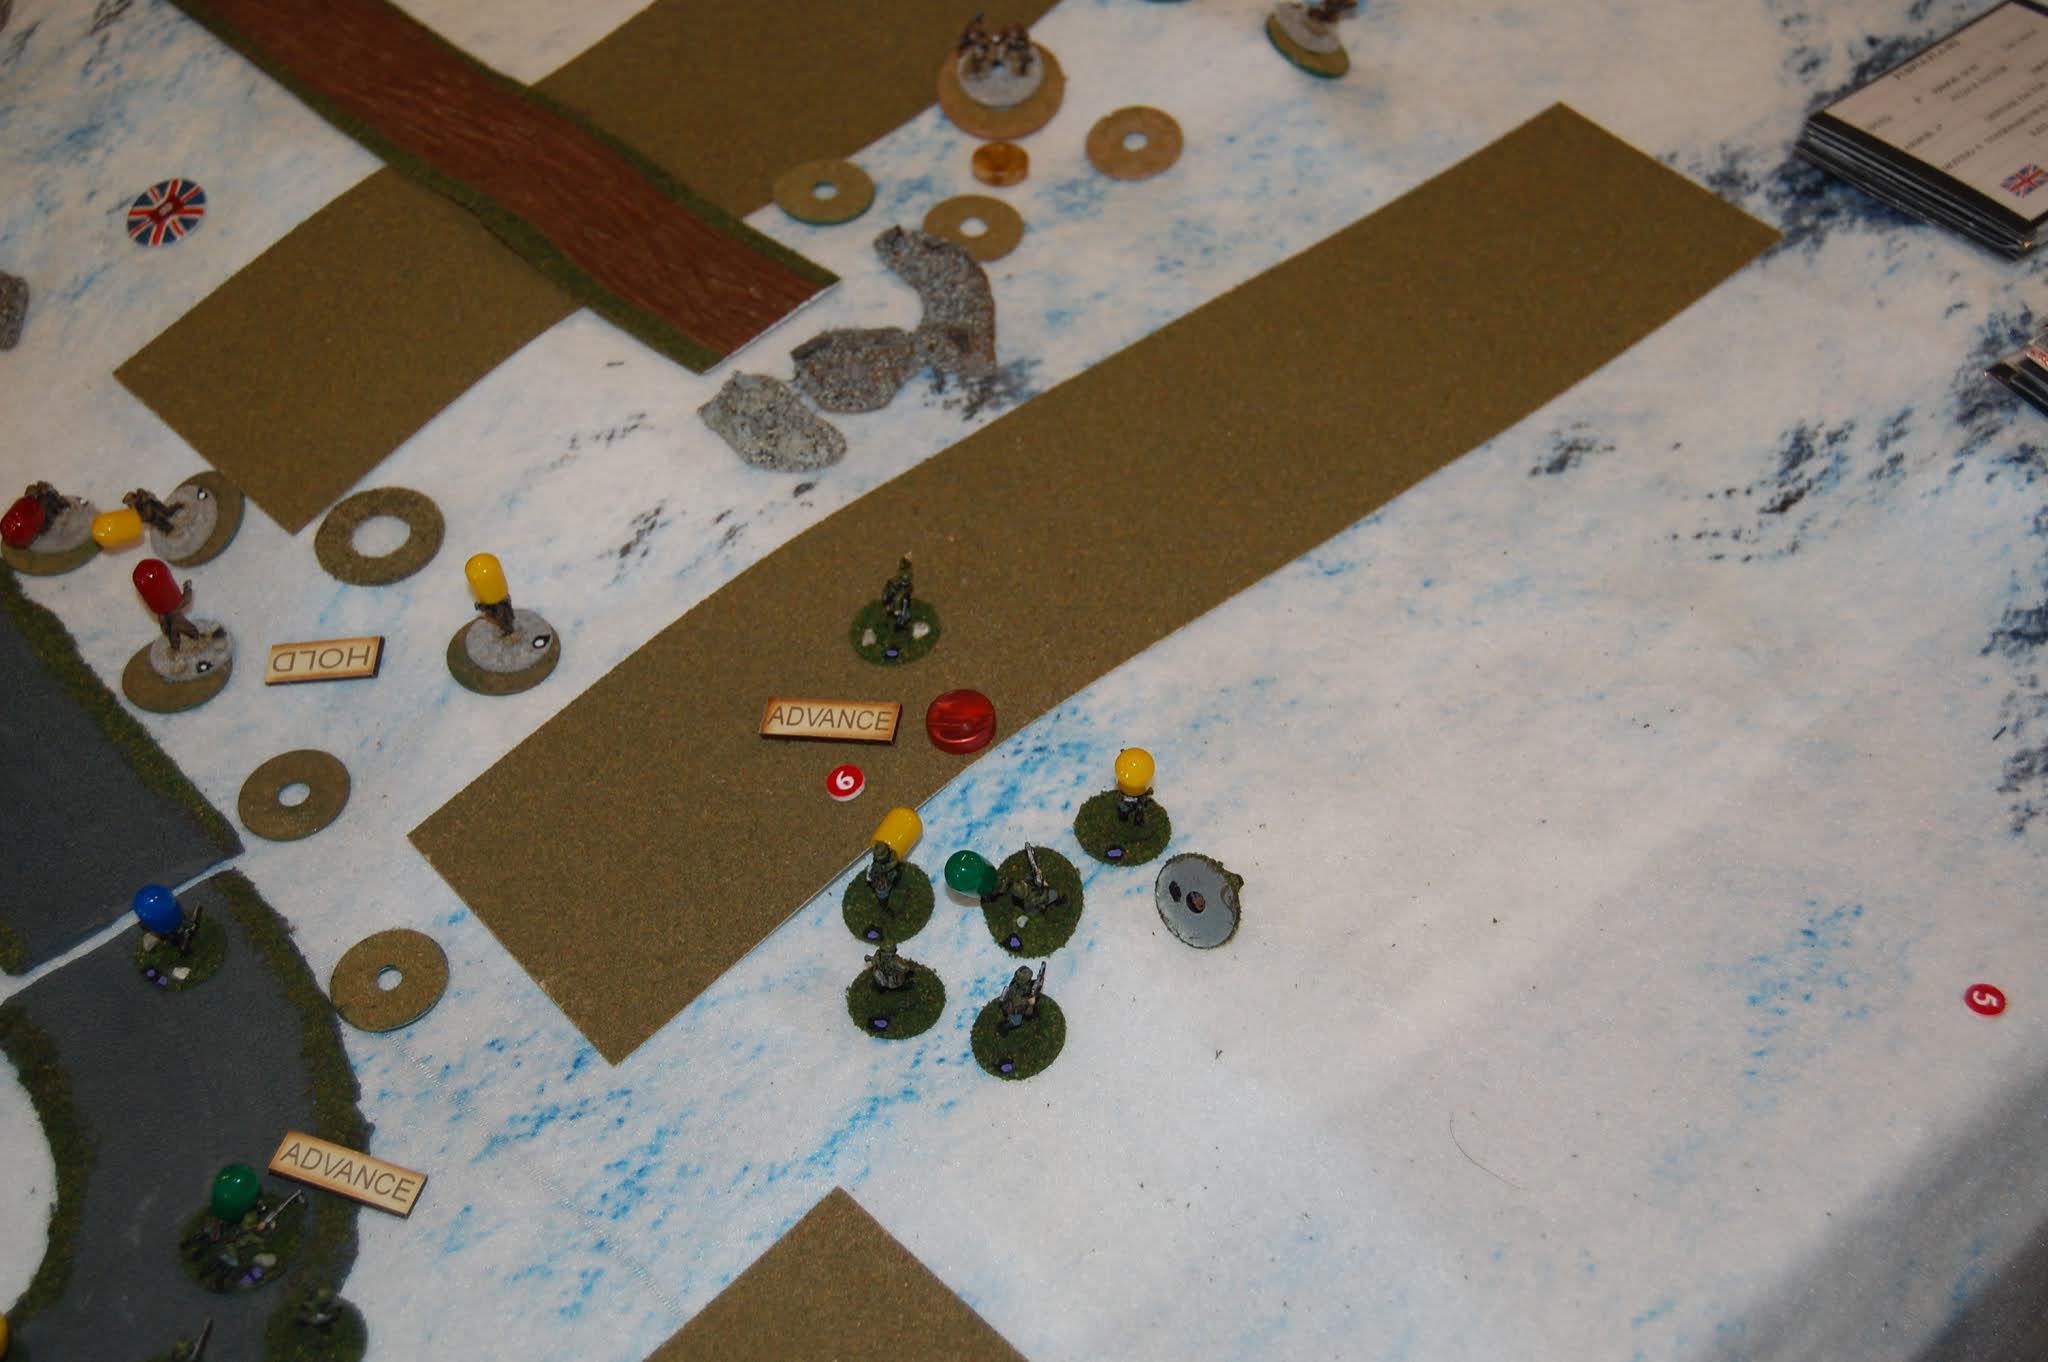
Two more Pz Is arrive on the main highway (lower left)..
British taking casualties on the hill as well...
Despite the heavy losses, the two British squads hold on (left and top-center)...
The British counterattack is grinding down the first line German troops...
The German SiG 33 (self-propelled 150mm Howitzer!) and the Propaganda tank (the Neubaufahrzeug sometimes Pz VI) with a co-axle 37mm and 75mm guns along with two Pz I turrets, moving forward. Fortunately for the British, the two vehicles had only destroyed unoccupied Norwegian buildings...
One Pz I creeps a little too far forward and a British 25mm ATG despatched it swiftly (and remains unspotted!)...
It appears, at least for now, the British are holding off the Germans on the island...
Still touch and go for both sides up on the hill to the east of Kvam...
As Twilight begins to fall, the Germans decide to stand their ground to reorganize. The second day will see more fighting. To be continued...