Thursday, April 29, 2021

A Pirate Adventure

 Using Blood and Plunder Rules, we pitted four vessels in a Pirate raid. Unfortunately most of my photos were lost. Here is just a few.

A Dutch merchant Fluyt was attempting to reach safe harbor (to the right) when she was set upon by first two, then a third Pirate Sloop. After only two rounds, a newcomer to the game firing his very first cannon salvo, brought down the Dutchmen's main mast! The light breeze is blowing offshore from the bottom of photo and the downed mast will drag the ship towards the shore and its breakers! The loss of the mast will slow the merchant from 12" to 6", virtually assuring the pirate's success!

Later, a second Sloop is swinging around the Fluyt's stern, while the first Pirate Sloop fires off a second volley, further damaging the rigging. The Dutchmen on the main deck have at least cut away the mast wreckage, but it is barely making headway...
The third and final Pirate Sloop moves to cut off the Fluyt from its destination, and its volley brings down the foremast, so the Dutchmen loses all headway. Eventually the second Sloop will grapple the merchant and swing aboard, but one of the terrified crewmen of the merchant sets off the powder in the hold, blowing up the ship! (taking down four French pirates who only just missed halting the trail of burning powder! Turned out to be a fun little game.


Viking Conflict on the Seas

 With the cliffs of a Norwegian fjord in the background, we pitted four Longships and two Knarrs filled with warriors going aviking using the Saga II Rules...

My Warlord's men (8-man Hirdmen, 4-Hirdmen, 12 man Levy/bows, were in the Longship at right top. My allies' Knarr with his Warlord, 8-man Hirdmen and 4-Man Hirdman in the right center. Our Jarl was in the large Longship right bottom, with 12-Men Levy in the bow, followed by an 8-man Warrior, 8-man Hirdmen and 4-man hirdmen near the stern with the Jarl himself.
Our Jarl's ship makes first contact although an exchange between our Levy made no kills while the enemy, who had two 12-man Levy units up front managed to take down three of ours!
Meanwhile, we even had some spectators taking in the view of this fine fight!
One has already taken in too much (even for a Norseman), while just to his left (second from right) another has gone to his knees while he guzzles straight from the bucket! They did enjoy their mead.
(We flip the view) As the two Longships come together, the enemy bowmen (center right) take out half of the Warriors (center left) on my Jarl's vessel. You can just make out the Prowl of my own Longship at bottom...
The great Longships have now grappled each other, and our enemy strikes first. His 8-man Hirdman unit completely destroys the Levy in the forward position of the Jarl's ship, and gains the deck. 
It leaves my Jarls' four Warriors (left) what they got themselves into...
Meanwhile my opponent brings his ship along mine (about center). My bowmen only score a handful of successes while his take 9 of my12! Fortunately, I used my Battleboard to exhaust his Levy 
Then my ally brings his Knarr into the fight. He sends his 8-man Hirdmen against a 4-man Danish Axe Hirdmen. Looks good, except in the fight, the two groups destroy each other! What had looked like our advantage just soured.
The fight on the Longships of the rival Jarls. went back and forth. First our Hirdmen cleaved through two complete Levy units without a loss! Then the enemy Knarr crashed alongside and quickly changed things. His Hirdmen attacked our Jarl. He fought off the attack but used all of his Hirdmen to soak off the numerous hits, although he was driven back to his ship.  But the enemy had one more Hirdmen unit and they followed him and then finished off our Jarl! Well at least he has Valhalla!
There lies our brave Jarl...
We have played a lot of Saga, but this was certainly a enjoyable and different take on a great game system


Tuesday, April 27, 2021

Battle on the Monongahela, Part III, the Final Phase

Two hours have now passed after the initial contact, and Braddock's Army is in serious trouble. Only a portion of the "Hat Men" that marched forward earlier, remain; while another portion is routing back the way they came. The Grenadiers are no more and the Colonials have only four men of the Virginians still standing around their colors. Natives are moving along the Column towards the vulnerable Wagon Train and supplies. The end seems in sight.

The "Hat Men" finally hit their wall. taking more casualties and they rout!On the left, British Flankers again fire ineffectively...On the right, Natives age closing in on a large group of Flankers...Back on the left, Natives are closing in for the kill...And on the right, Natives moving on the Flankers...On the right, two consecutive Native volleys wipe out a large group of Flankers, eight Englishmen gone...The time now runs out for the Mounted Virginians (center), as all four remaining are downed...And then...Braddock (center) is brought down! It will take a little while for the news to filter down. Colonel Washington in Blue at center, is again very lucky as bullets whiz by...A A close up of the General's demise. Washington again in blue...On the left, three of five Flankers are shot down...More Flankers fall on the left as the outlying guard groups are all but gone...

In the center, a group of Canadiens, not fearing any response, race across the bloody open ground that used to contain Braddock's Vanguard...
On the left, British Flankers are so unsettled that they launch a volley into the empty woods to their front, and bring down one of their own (friendly fire brought on by Random Event Card)...
On the right, numerous Native bands close for the kill. Hooray no British casualties this turn... although thats probably because the French forces didn't shoot this round!
The last British Flankers all become casualties to a very accurate Native volley...
While just to the west of that, Natives bring down Colonials, Englishmen, and the only Native Scout with the English!
On a Random Event Card bringing the turn to very quick end, French Regulars just miss Washington (left center) yet again, but inflict thee more casualties on the Routed "Hat Men"inc their color stand (to the right of Washington)...
At what used to be the head of Braddock's Column, French Regulars, Canadians and Natives are snapping at the British heels...
Both the 44th and 48th are Recoil as casualties begin to mount. One of the Colonial Companies has started to deploy in among the trees to the right of the road (right center), but a large band of Natives ((left center) are closing on the tail...
Two more Royal Artillerist are dropped (center) along with another sailor (just above)...
The 44th,  closest to bottom of photo, has actually lost two deserters along with others shot. The 48th gets off its first volley, missing everything including some of their own Flankers to their front (center right). Unfortunately for them, they suffer three more dead and Colonel Hackett (center)as well. (Historically his son was then shot dead, falling across his father's dead body)...
View from the other side...
At the Tail, time runs out for the Royal Navy. Natives surround them, and take them captive (center)...not good for those sailors...
As the 44th and 48th reposition themselves for maximum firepower (ha), Natives drop several Flankers (lower center; there are some left) but cause the remainder to Recoil...
French Regulars recover lost British standards (center) while the three Sailors (just above) are being lead off to torture and death...
At the Tail, Natives are closing in on the NY Independent Co forming half of the Rear Guard...
On the other Flank, British fire away while the Natives position themselves...
The 44th has been forced to Recoil...
And the NY Co of the Rear Guard foolish forgets to take cover and are s blasted away!!!
All along the southern Flank, the Natives are blazing away, causing many casualties...
With the Rear Guard gone on the southern edge of the road, the Natives close in for the kill...
The first of Braddock's men begin to reach the banks of the Monongahela and hopefully safety...
Its no better on the northern edge, as the 48th is Recoiled as well, but not before they dropped two Natives!
Now, according to all historical evidence and accounts, the battle didn't last beyond 3 1/2 to 4 hours. In the game as well, its just a matter of inflicting more casualties, so here it stops. With the tweaks to the Ruleset, Muskets and Tomahawks, this recreation was almost spot on. The French lost a total of 26 casualties (26 x 4=104) as opposed to about 43-96 historically. British losses in the game total 353 figs (4x353=1412) compared to 907-1100+
A view of most of the casualties from the game with French, Canadian, and Native at bottom...
It was, both historically and in the game, a one-sided victory for the French. At the same time, it was a joy to recreate on the table.


Friday, April 23, 2021

Battle on the Monongahela Part II

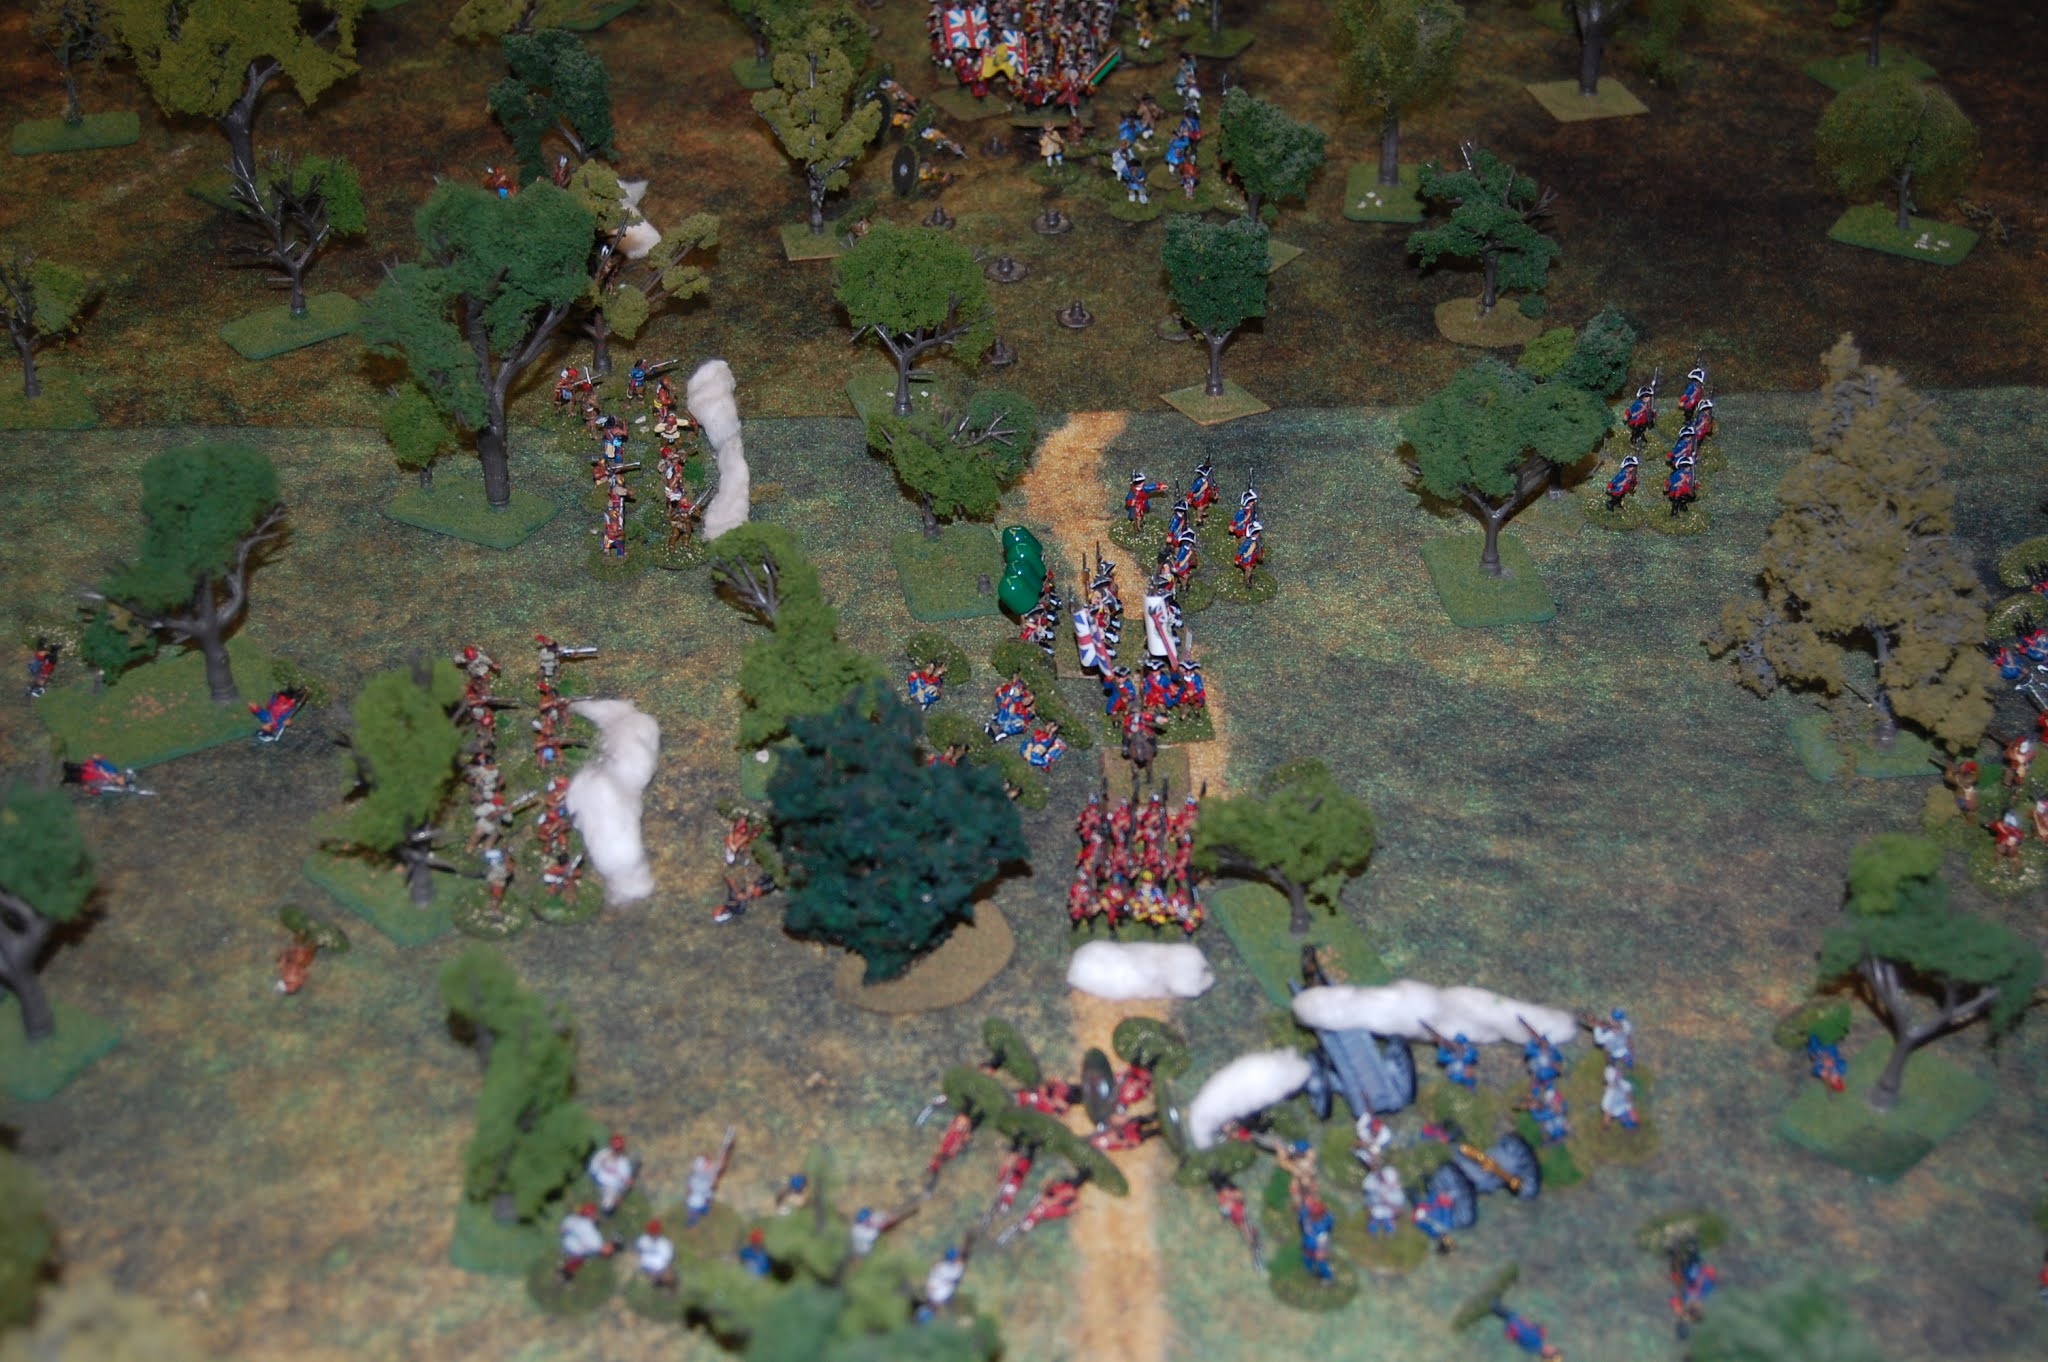
 As the gunfire grew in intensity, General Braddock (center photo) was in the dark as to what was actually happening to his Vanguard. Most believed it was not a serious threat. But as the noise grew more and more intense, and with some news finally reaching him (the Mounted Virginian), the General now decided to reinforce his men with another 400+ "Hat Men". Just as they begin to move up, the Vanguard begins to retreat. BTW, thats Colonel George Washington in the Blue Coat and Grey Horse behind Braddock. He was a volunteer Aide to Braddock who was just recovering from serious illness.

The 400+ "HatMen" of the 44th and 48th Regiments just reaching the Rear Guard of the Vanguard. Braddock, Staff, and Mounted Virginians at right...
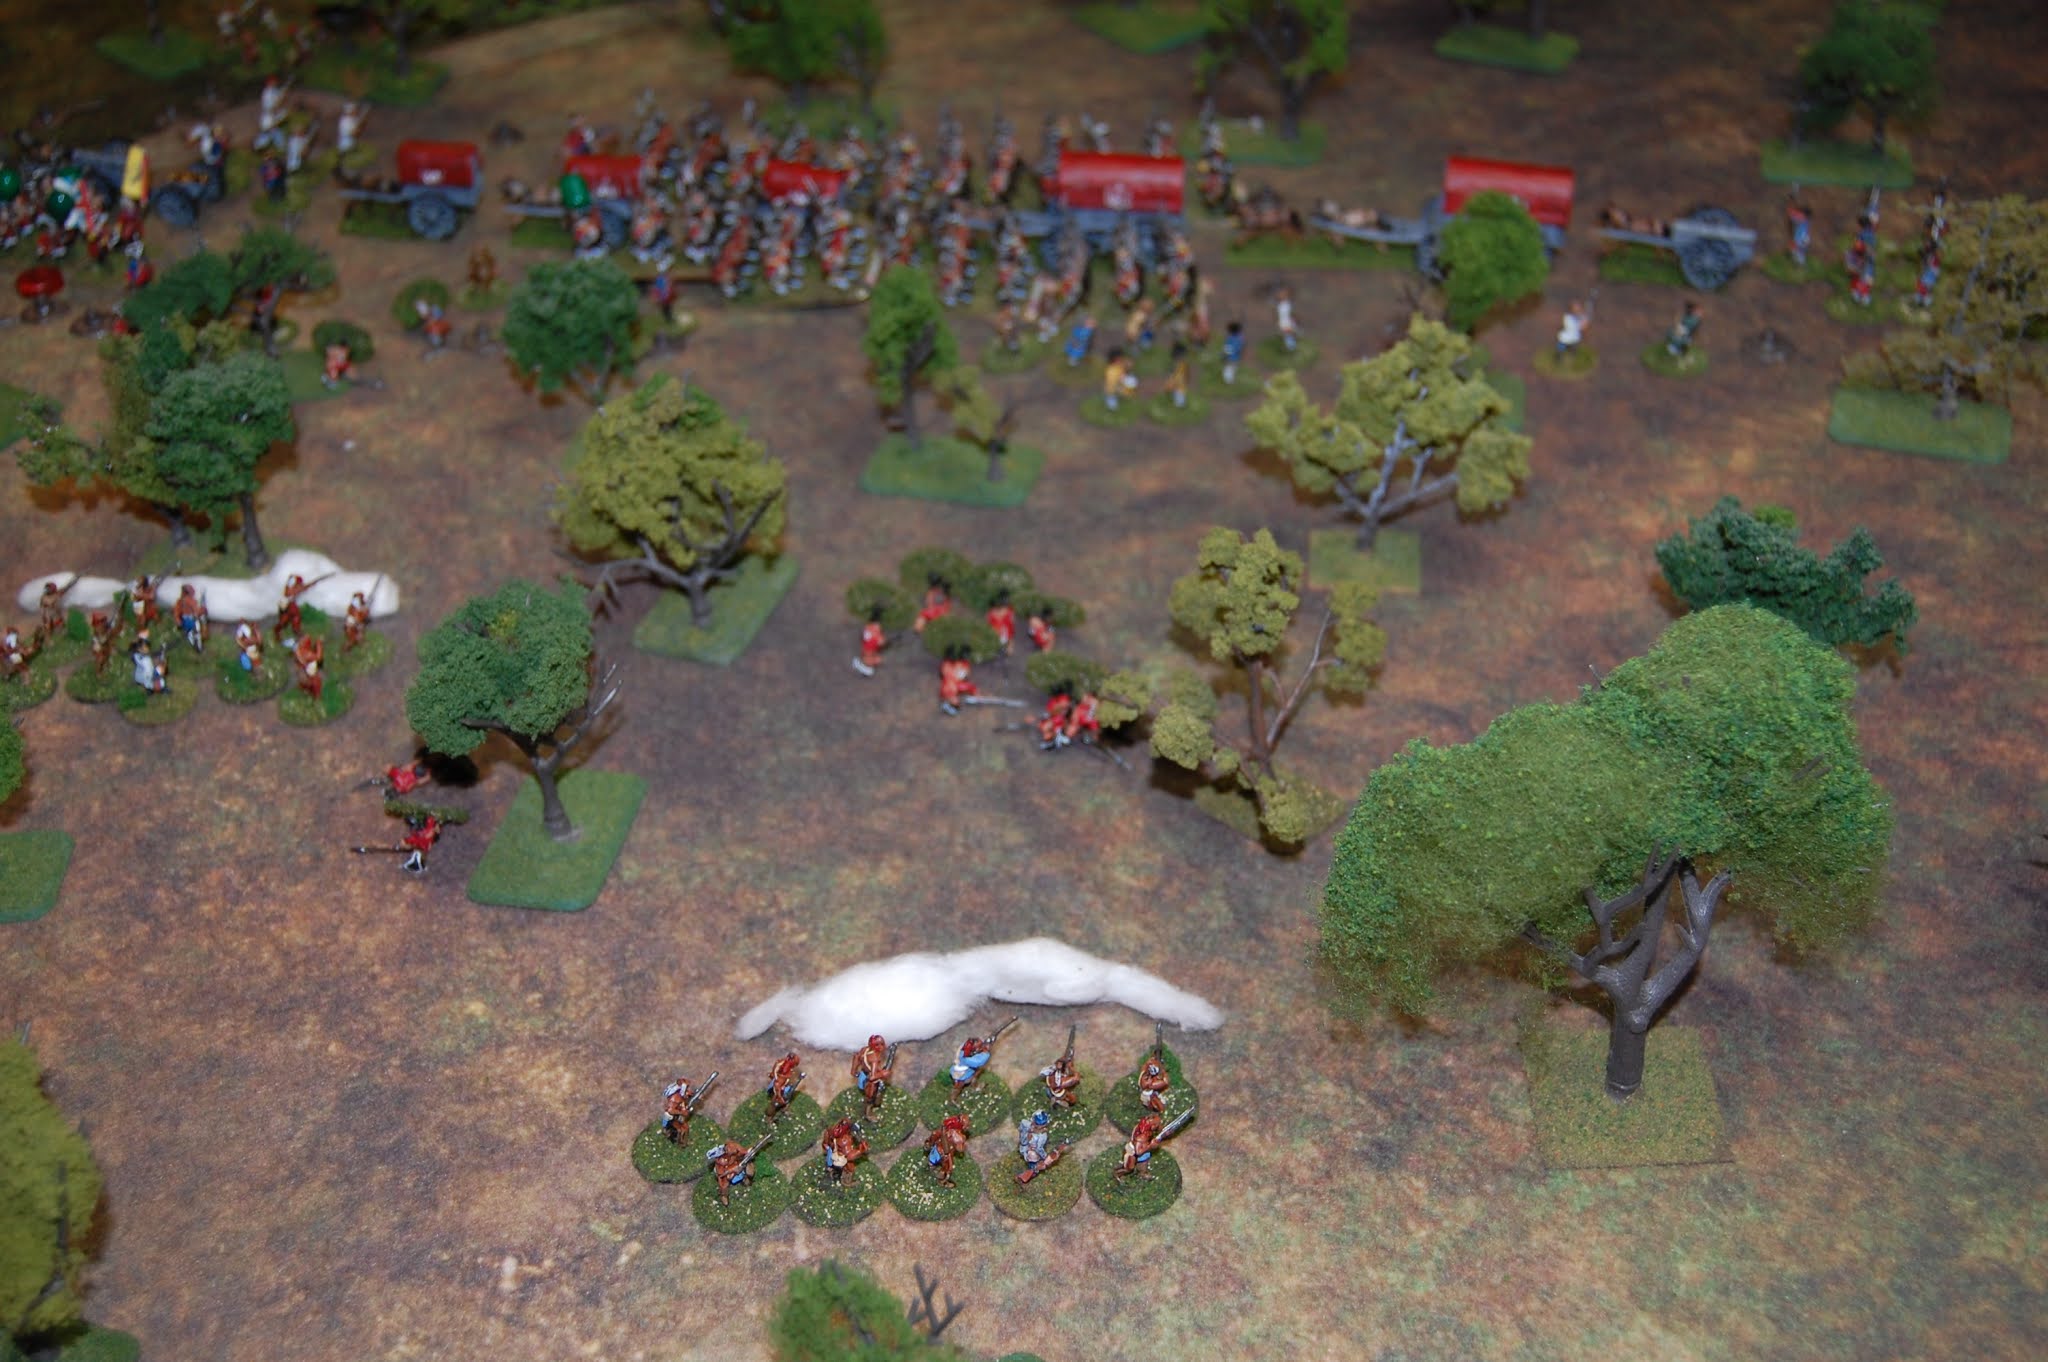
The Grenadiers, taking more losses, are forced to Recoil while some Canadians rush the abandoned 6 lb gun...
The Virginians on the English right flank drive off a band of Natives (bottom)...
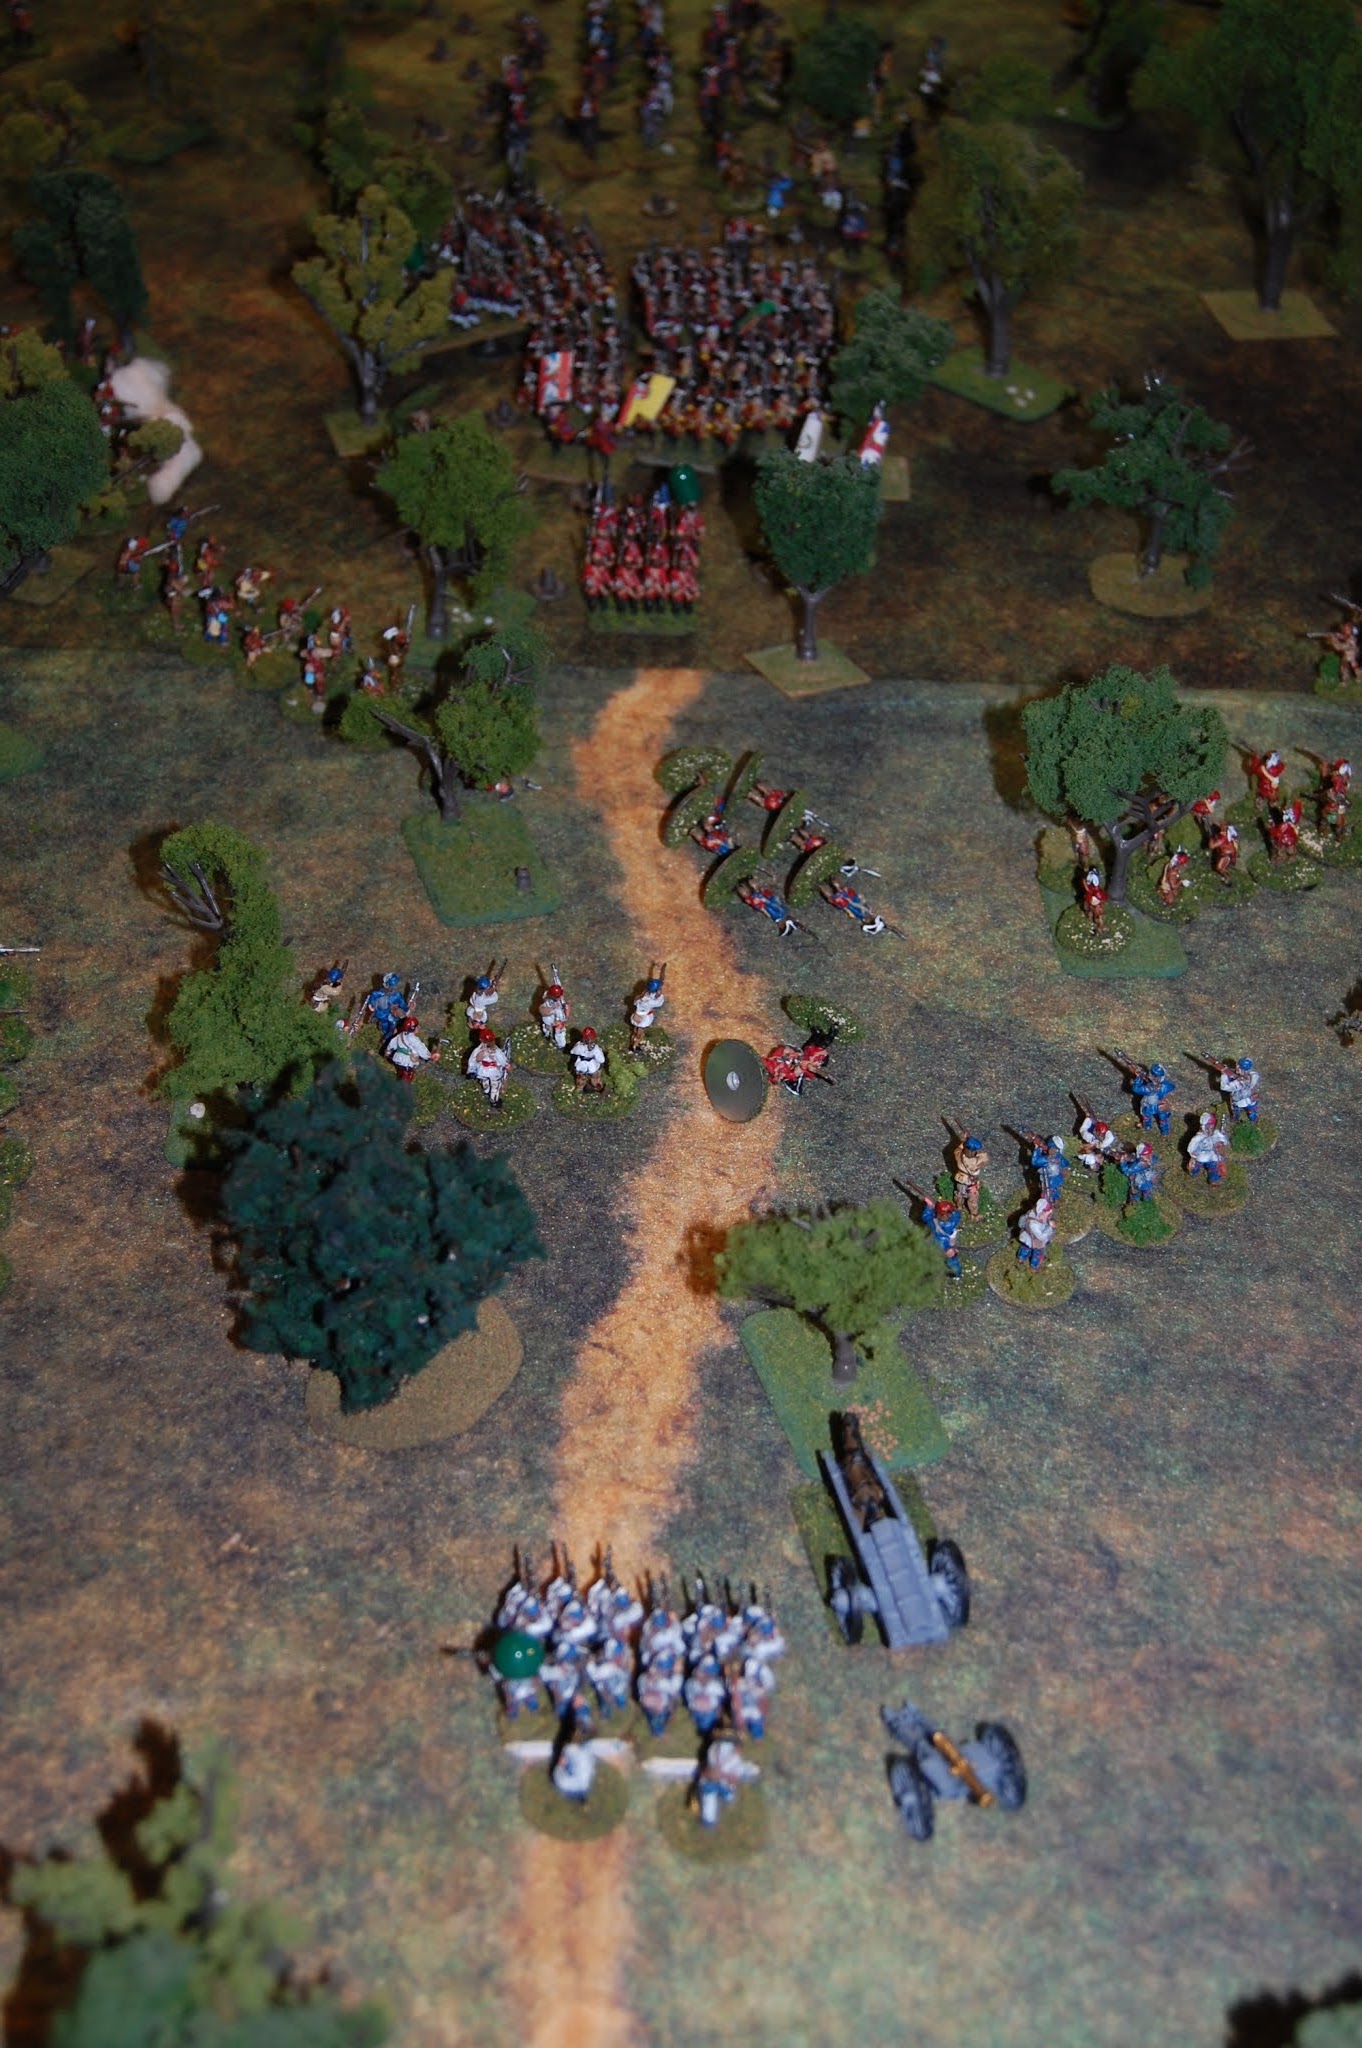
The reinforcements run smack into the NY Co under Captain Gates and the Road Cutters, slowing everyone down to half movement!
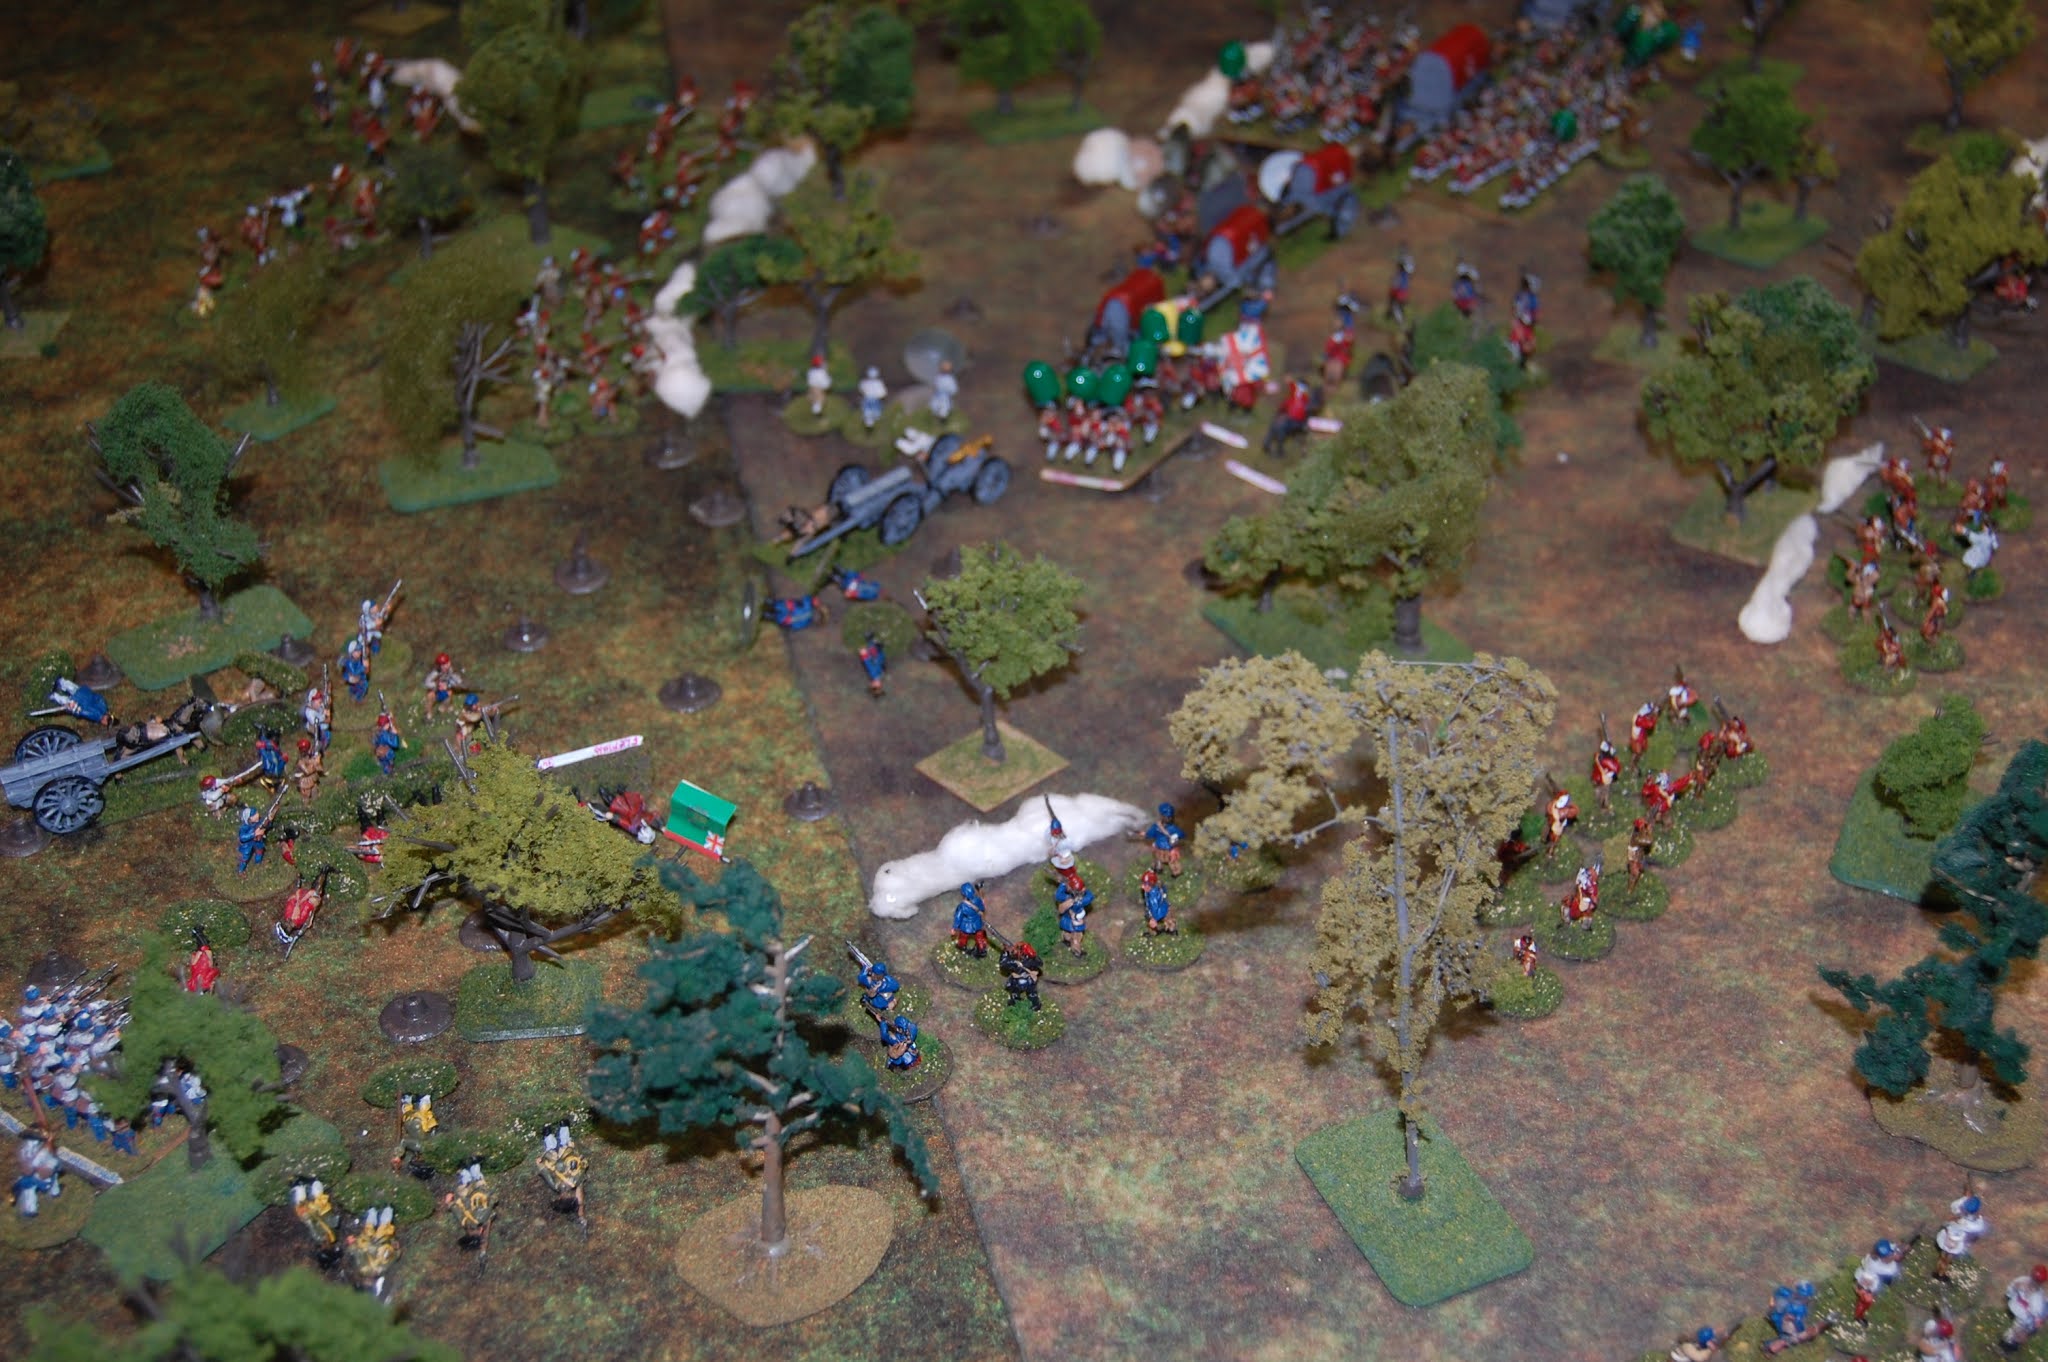
The "Hat Men" supporting the Grenadiers finally rally as the Grenadiers let off yet another ineffective volley. But the Native band (left of center) pour a devastating volley into the Virginians to their front, dropping all six! The remaining Virginians Retreat down the Trail! (center, above the "Hat Men") Note the gap developing between the Vanguard and the reinforcements at top. Braddock's Column is in danger of being cut in two!
Along the English left flank, numerous Native bands are preparing to slaughter more Englishmen, inc the last Virginian Flankers (top right)...
Again, the developing log jam at the head of the reinforcing column is causing a critical delay. Then it gets worse as the Road Cutters break, scattering along the column!
Canadiens standing along the abandoned 6lb fire into the rear of the Grenadiers. And then General St. Clair is struck down! (top center)
Surrounded by dead and wounded Virginians is General St. Clair in the close up...
On the English left flank, following a very accurate volley from Natives, four Virginians go down, and the remaining two (top center) are fleeing for their lives
The first casualty (center right) is suffered by the reinforcements...
One of Braddock's Aides restores order to Captain Gate's NY CO (center)...
Canadians and Natives are closing up on the retreating Grenadiers...
As the reinforcements finally clear the log jam, and even after taking a second casualty, begin to deploy both forward and to the right (center and right of center)...
On the British left, new Flankers appear to be moving unknowingly towards more Natives...
General Braddock and his staff closing up with the reinforcements (left). Royal Engineers and the Royal Navy contingent (in white near center) follow with a 12lb gun and Coehorn mortars...
While the French Regulars are moving up, several Native bands are pouring galling fire on the "Hat Men" and Grenadiers...
The Natives ambush yet another group of British Flankers, dropping two. There in the upper left, you can get a sense of the confusion the British experienced that day, as they tried to form their traditional lines of battle...
On the British right flank, the Natives have their first complete miss! Those Flankers coming into view (top left) were fortunate. Some "Hat Men" blazed away into empty forest (center right) ..
Two Native bands score heavily, one on left gets 4 casualties on the "Hat Men", while on the right, two more Grenadiers join their fallen comrades...
Over on the British left flank, The English were lucky a second time as another Native band missed! The Flankers return fire however was just as ineffective!
Luck ran out on the right flank. One band of Natives (hidden behind tree) scored hits and force some "Hat Men" to recoil. A second band dropped two British Flankers. Welcome to the Monongahela boys! The fight has now been raging for 90 minutes. The historical battle lasted somewhere around 3-3 1/2 hours.
The British take further losses as the Canadians and Natives close in. Again, the return fire does nothing...
On the British left, the Natives miss only one of the Flankers to run away, leaving his four mates behind...
On the right, the Flankers miss all but branches and leaves as more Natives close in...
General Braddock orders the Royal Artillery to deploy it's 12 lb gun (about center) to support the right...
In the center, the British "Hat Men" score a success and drop a Canadian (center). Unfortunately they lose seven all told to return fire!
On the left, some "Hat Men" (left center) blaze away onto empty forest (the Natives don't stay put; fire and move, fire and move)...
On the right, a band of Natives scores six out of eight Flankers! They are stout boys however, as they don't break, simply recoil (center top)...
The British "Hat Men" blaze away and drop one Canadian (left center), but take numerous losses in return...
Close up shows the mounting casualties as well as another Braddock Aide (center) taking a bullet...
On the left flank, the Natives bag the three Flanker survivors from last turn as the remaining Virginians (left) fail to score any hits...
Here on the right Natives wipe out Flanker survivors as other Flankers see their volley smoke and open fire...ineffectively.
An absolute disaster for Braddock and his army. First, one column of "Hat Men" are forced to recoil before they can fire (right center with five green caps). Then, even worse, the second column directly above first column with numerous caps) is forced to retire, again before they can fire back! To top it all off, a Native volley scatters the Royal Artillery crew (top right) of the 12 lb which just got off its first shot. The only good news for the British is that Braddock narrowly escaped becoming a casualty himself (Mounted man pointing at right center)...
On the right, British Flankers again fire away with no results...
End of the road for the brave Grenadiers. Having been ordered to retire by Braddock himself, they were then wiped out )center) by a Native band...
Natives on the left, take down one Flanker (center) and cause the others to recoil (top center)...
The Mounted Virginians take their only mounted shot allowed w/o dismounting to reload, but the casualty they inflict on a Native band causing them to retire! (left edge). The end has arrived for Captain Gate's NY CO (bottom right) however, with four casualties, the last routs. The Royal artillerists also recover and man their 12 lb (center)...
To be continued...