Davis is driving the Federal troopers further onto the Forney Farm, Colonel Devin's men are beginning to deploy to the north to screen the Yankees

Brockenbough takes some losses as the two sides volley each other

Calef's section is trying to slowdown the Rebs

2nd Division I Corps is moving to support the Yankee right flank

Colonel Gamble has reformed the Illinois and New York regiments which had routed

The Colonel of the 55th Miss is either very brave or very foolish, as he advances his small line towards that of the 17th Pa Cavalry. It takes a terrible volley and loses two figures (thats 50%!) The Mississippians will fall back. Meanwhile the 2nd Miss begins to outflank Cutler's right flank, and pours fire into the Federals

Pender's Division now moves down between Herr and McPherson Ridges, preparing to support the attack

In the center, the 55th Va pulls back and slightly to the right as they are fired upon (and survive poor Federal shooting!) The rest of Brockenbourgh and the 11th NC of Pettigrew exchange fire with the Iron Brigade

But its on the right that Pettigrew is preparing his major blow as the 52nd NC moves towards Herbst Woods. The remainder of Archer's battered Brigade is coming up in support (center left)

After losing 50% of their existing strength, the 55th Miss pulls back

Led by the 6th NY, Devin's Brigade redeploys to the Union right to screen expected Confederate forces from the north. The 17th Pa up on Oak Ridge(lower right corner) is moving back through the Forney Farm

Cutler's 76th NY refuses its flank in an attempt to stave off Davis' flanking movement, but they take 25% loses!

Back in the center, Brockenbough's 55th Va is forced back to recover while the two sides continue to blaze away, both sides passing numerous Morales throws.

General Reynolds (who obviously did not die earlier) is in the right spot at the right time. Seeing the flanking Rebs approaching, he quickly orders the 19th Ind and 6th Wis along the fence at the southern edge of Herbst Woods.

Robinson's Division, led by Paul's Brigade (upper left) is moving onto Oak Ridge followed by Baxter's Brigade close by the Thompson House

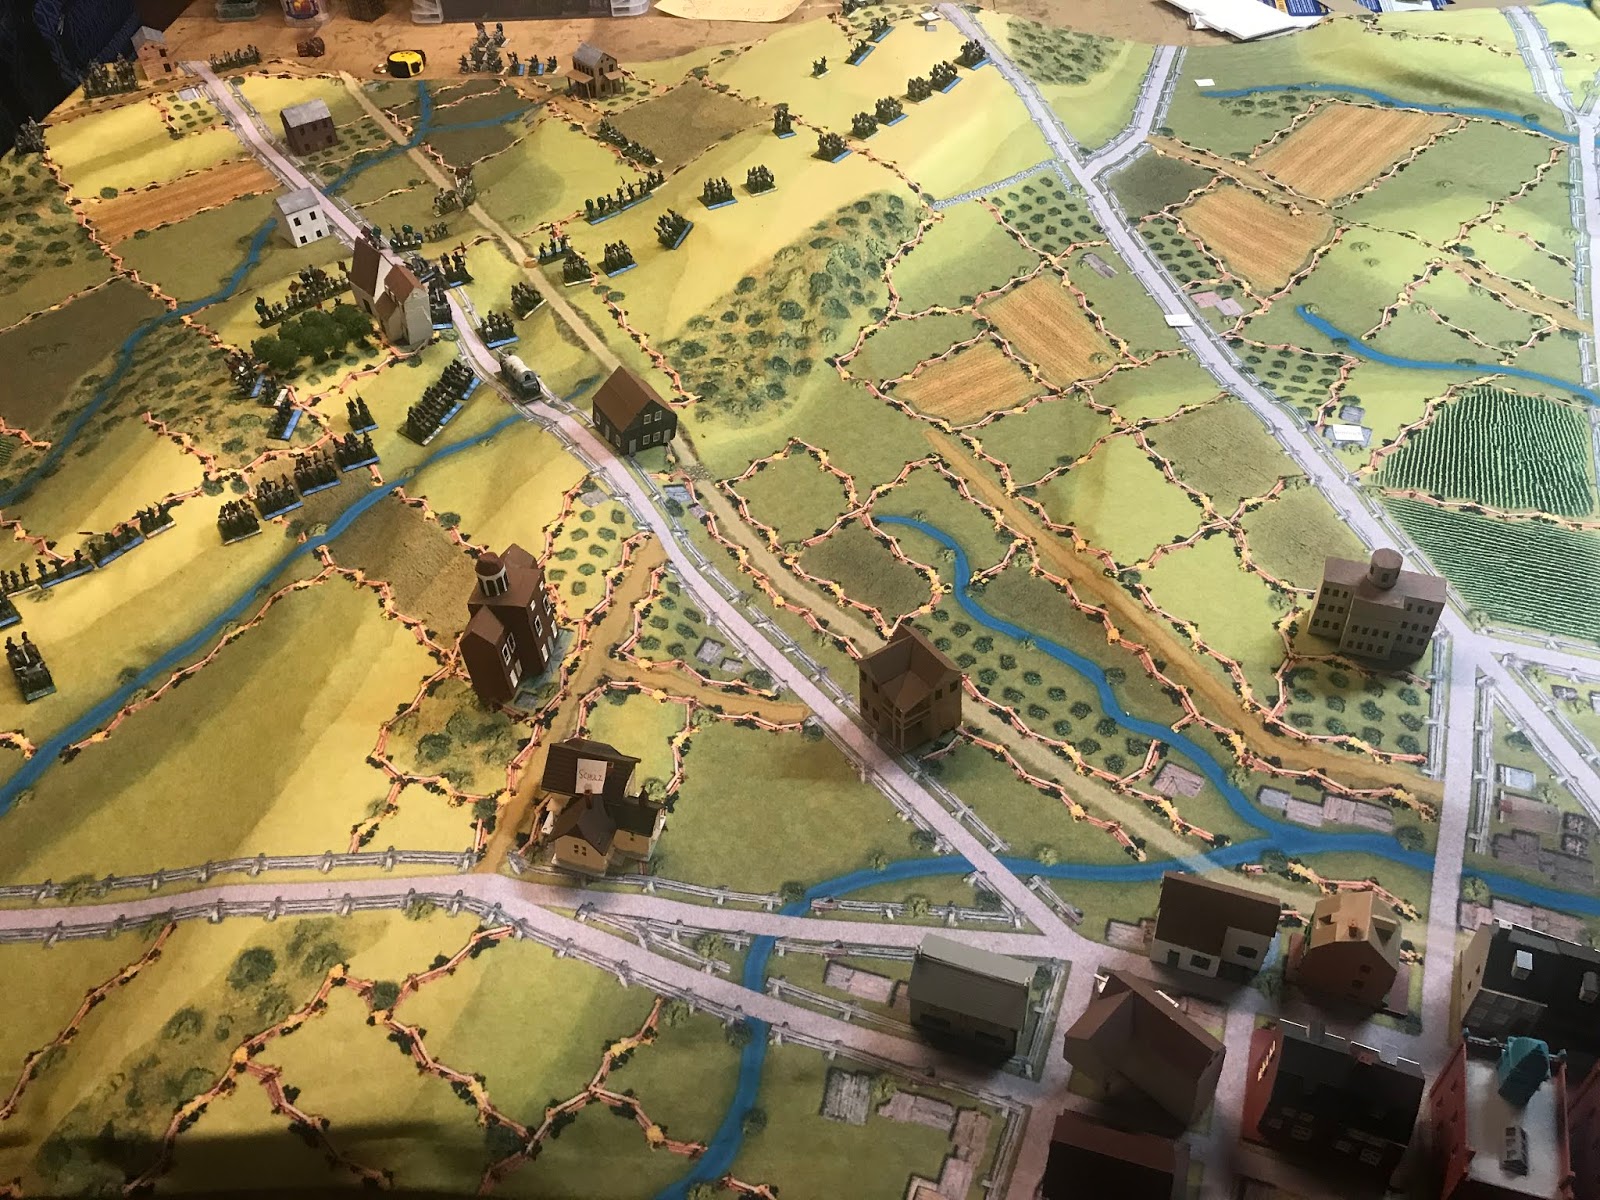
General Howard has moved up onto Seminary Ridge 9upper left) while General Buford his helping Colonel Gamble reform his Brigade.

2nd Miss of Davis' Brigade pushes its advantage while gaining support from the rest of the Brigade

In the center, Pettigrew, Brockenbough and the Iron Brigade are inflicting casualties on each other while the 52nd NC closes in on the flank

General Heth personally rallies one of Brockenbourgh's routed regiments on the Chambersburg Pike. Pender's Division has moved to the banks of Willoughby Run (top)

But as Devin moves his men into position on the north, O'Neal and Iverson's Brigades of Rodes' Division make their appearance!

During the Federal's phase, Cutler's men attempt to hold, but Paul's Brigade of Doubleday's Division, is deployed on Oak Ridge (top), followed by General Baxter's Brigade and artillery

The Federals gain two victories in the center, blasting away one of Brockenbough's Virginians and General Brockenbough himself, but there is an amazing result on the flank. The Wisconsin Regiments on the left flank of the Iron Brigade fire at long range causing the 52nd NC to take a morale check...and it rolls snake eyes, which results in an immediate rout! (lower right of photo)

On the Federal"s left, General Buford has Colonel Gamble's men taking up positions at the foot of Seminary Ridge.

Rodes' Division causes casualties on the 17th Pa (right) and 6th NY (left) causing both to fall back, even while the rest of Devin's men start to deploy close to the Carlisle Road

Here, even as the 2nd Miss is outflanking Cutler, Paul's men are set to outflank the Rebels

At McPherson Farm and Herbst Woods, casualties are mounting on both sides as they blast away at each other

Pettigrew successfully rallies the 52nd NC. Now to get them back into the fight!

During the Yankee Phase, its the better part of valor for both the 17th PA and 6th NY as they radically disengage (The rules allowed a double move in retreat in exchange for a step lower in morale, in this case, Disordered. Seeing as they each lost a least a full stand, most necessary.

What Davis feared has occurred. The Flanker has now been flanked and there are two losses (note the two green caps at the far left of the 2nd Miss

Leaderless, the Brockenborough Brigade chooses to Disengage to the rear as well. Pettigrew loses a full stand and his left flank becomes Shaken (Yellow cap)

On the far left Union flank, Buford has the 12th W Va and 3rd Ind dismounted to watch for more Johnny Rebs

XI Corps finally appears on the Union Right with from right to left, Ames and von Gilsen of Barlow's Division; and Kyzanowski and von Steinwehr of Shurlz's Division.

As O'Neil's Brigade pushes the Union cavalry pack, Doles' Brigade makes its appearance furthering the Confederate Left

Davis' 2nd Miss destroys the flank companies on Cutler's right while the 42nd Miss advances to point blank range!

Things don't go well for Johnny Reb in the Herbst Woods however, as the 11th NC now routs after taking heavy losses from the Iron Brigade! Looks like it will be up to Pender's
division now

During the Union Phase, General Barlow can't resist the temptation to move to higher ground to his front (doing this historically and just as General Sickles will do on July 2) and von Gilsen's Brigade heads for Becker's Knoll (lower right...and now called Barlow's Knoll). At the top of the photo note von Steinwher's men moving up to form a heavy skirmish line to link up with I Corps' right flank.

It now appears Davis' Brigade has shot its bolt. The 55th Miss loses its left hand cos while the 42nd Miss loses a stand and routs!

Pettigrew (lower center) plans to attempt to rally the 11th NC (left center)

Doubleday's Division of Biddle and Stone's Brigade, take up their line on Seminary Ridge.
To be continued in Pert III...