Monday, October 19, 2020

Battle of Tretten: Destruction of a British Brigade

 Our next stop in our Norwegian Campaign Recreation was the town of Tretten, and its battle of 23, April. The British 148th Brigade made up of two Territorial Battalions, the 8 Sherwood Foresters and 5 Royal Leicestershire, would attempt to stop or at least slow down, the advancing German forces moving on Trondheim. It would not go well for the Allies.


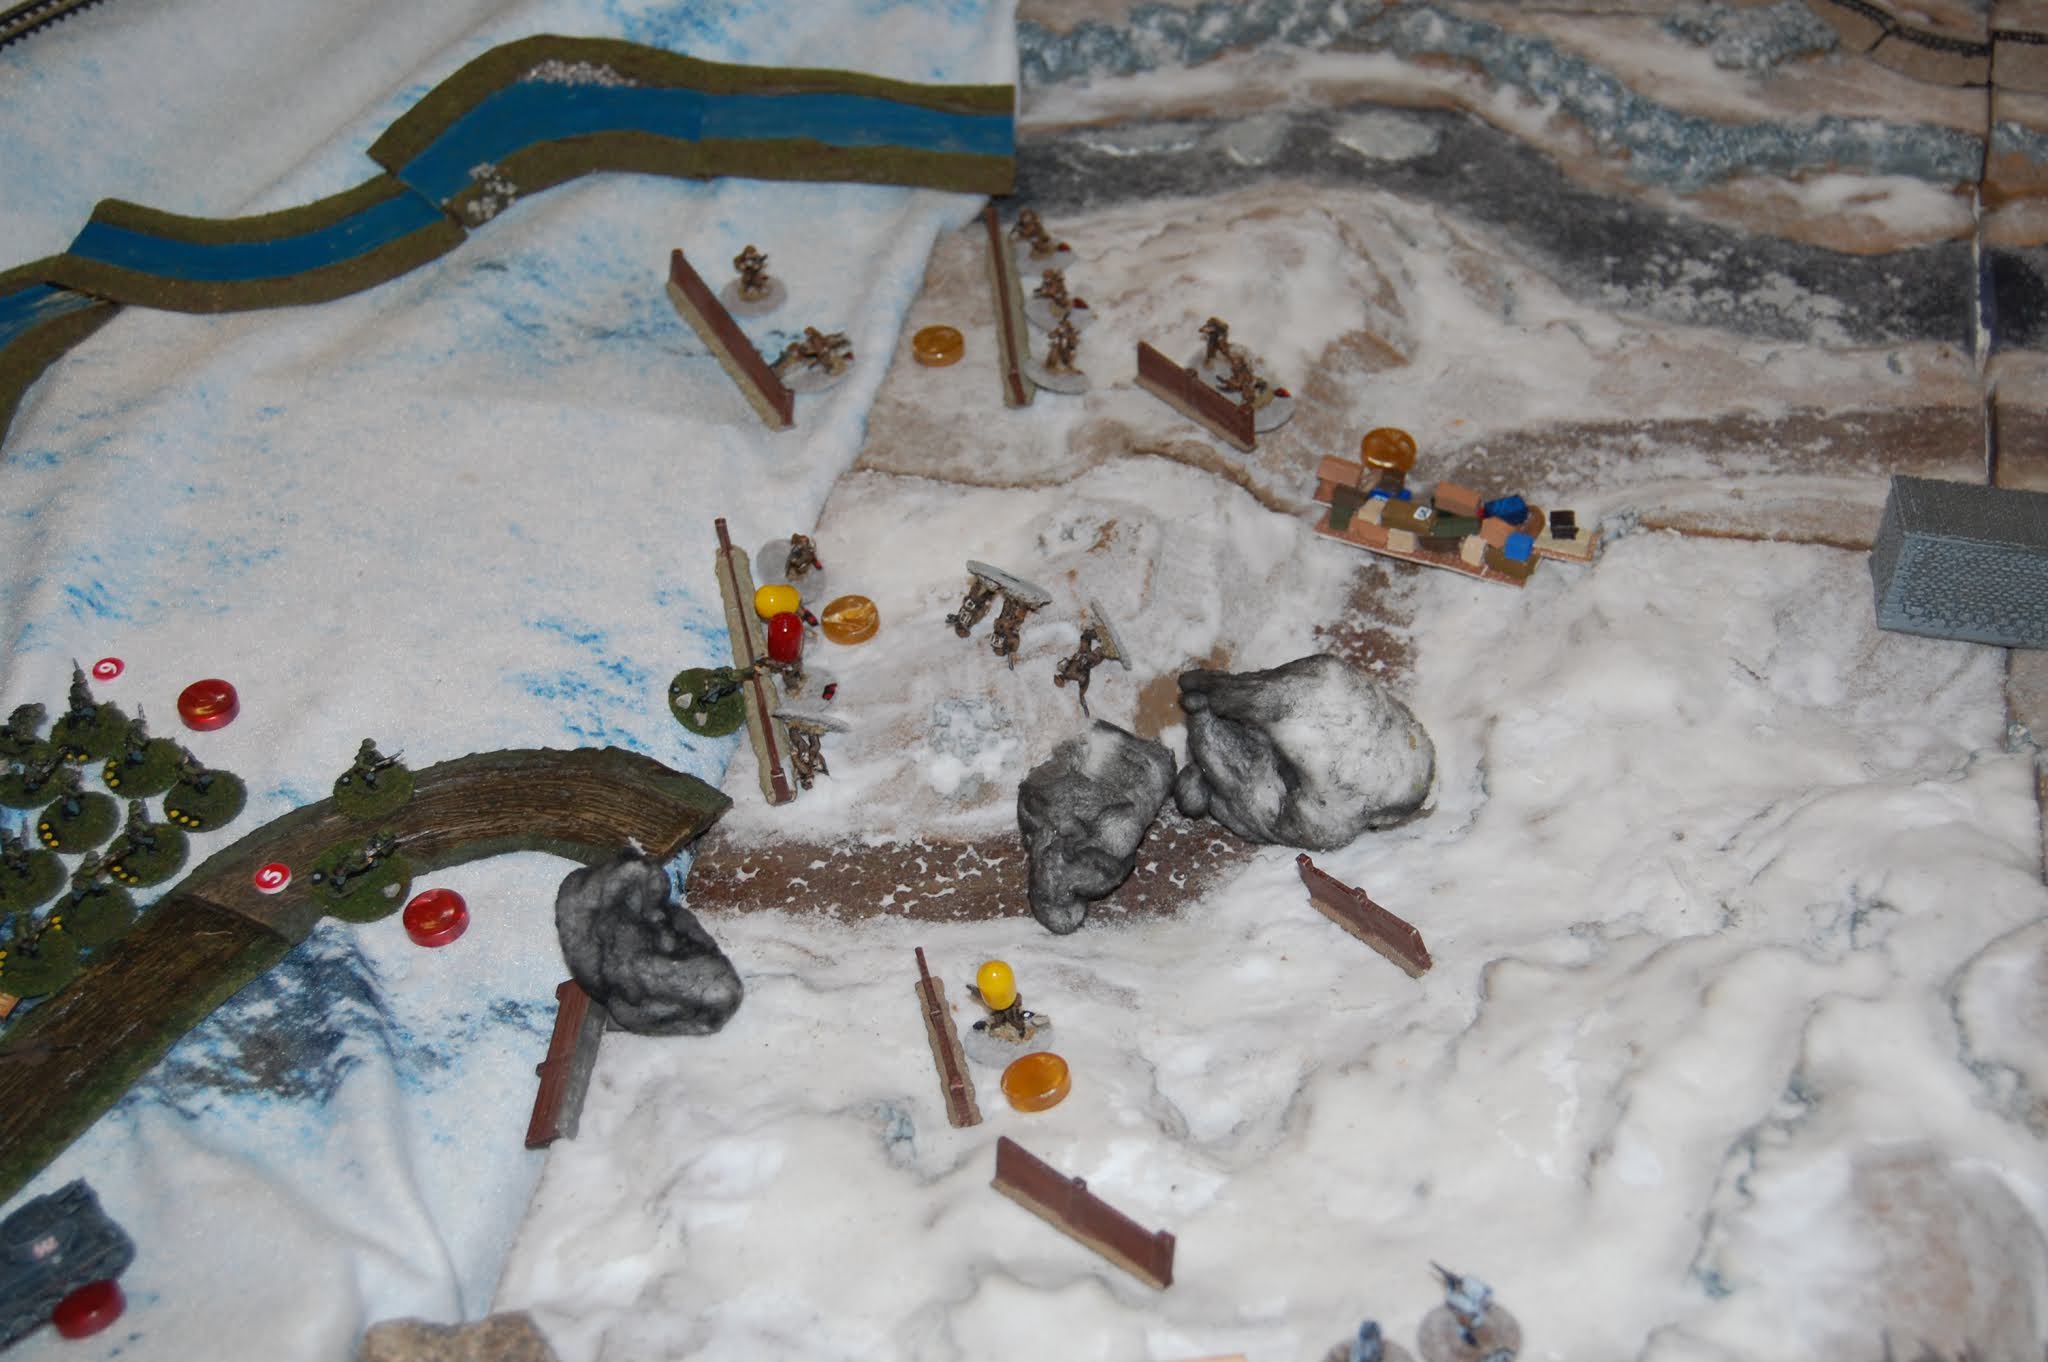
While the following photo shows events that take place later in the battle, its a good view of the battlefield. The view is from the north, with Tretten itself just out of view to the bottom right. The River Laagen (partially frozen and crossable only at the bridge at the bottom), runs down the middle, flanked by the main highway to the left, and the railroad to the right. The Germans will be approaching from the upper left. For the game, each company is represented by a squad (8-11 figures ea). The Germans have troops from a Mountain Battalion (from Austria), infantry, tanks, and a SiG 33 (self propelled 150mm! The Brits have only A/T Rifles to counter the tanks, and are supported by three very weak Norwegian Dragoon units.

The first German units to arrive on the field via the highway, (some German units had moved on the RR line to the south of the river, but the Brits remained quiet until now...

As the two German Gebirgsjager squads move up the slope to flank the defenders, they are taken under fire, and they take casualties...

The Germans respond with their artillery support, a 75mm Infantry gun and 150mm SP gun. Note, the brick walls are standing in for rock sangars which the local Norwegian population had prepared for their allies...
In the hills overlooking the valley, fire is exchanged between a Norwegian Dragoon section (only four men) and the two Gebirgsjager squads. The outcome is not surprising as three Dragoons go down versus four Germans...
Additional Germans begin to arrive on the highway while artillery continues to pound the Brits...
While Germans continue to advance up the RR, a second British squad opens up on the advancing Germans on the highway, inflicting serious loss on the lead squad...
The Germans return fire and it leaves only one Brit remaining in the squad...
Continuing the skirmish in the hills, the Gebirgsjager finish off the first Dragoon section...
Fortunately for the Allies, even German artillery miss from time to time...
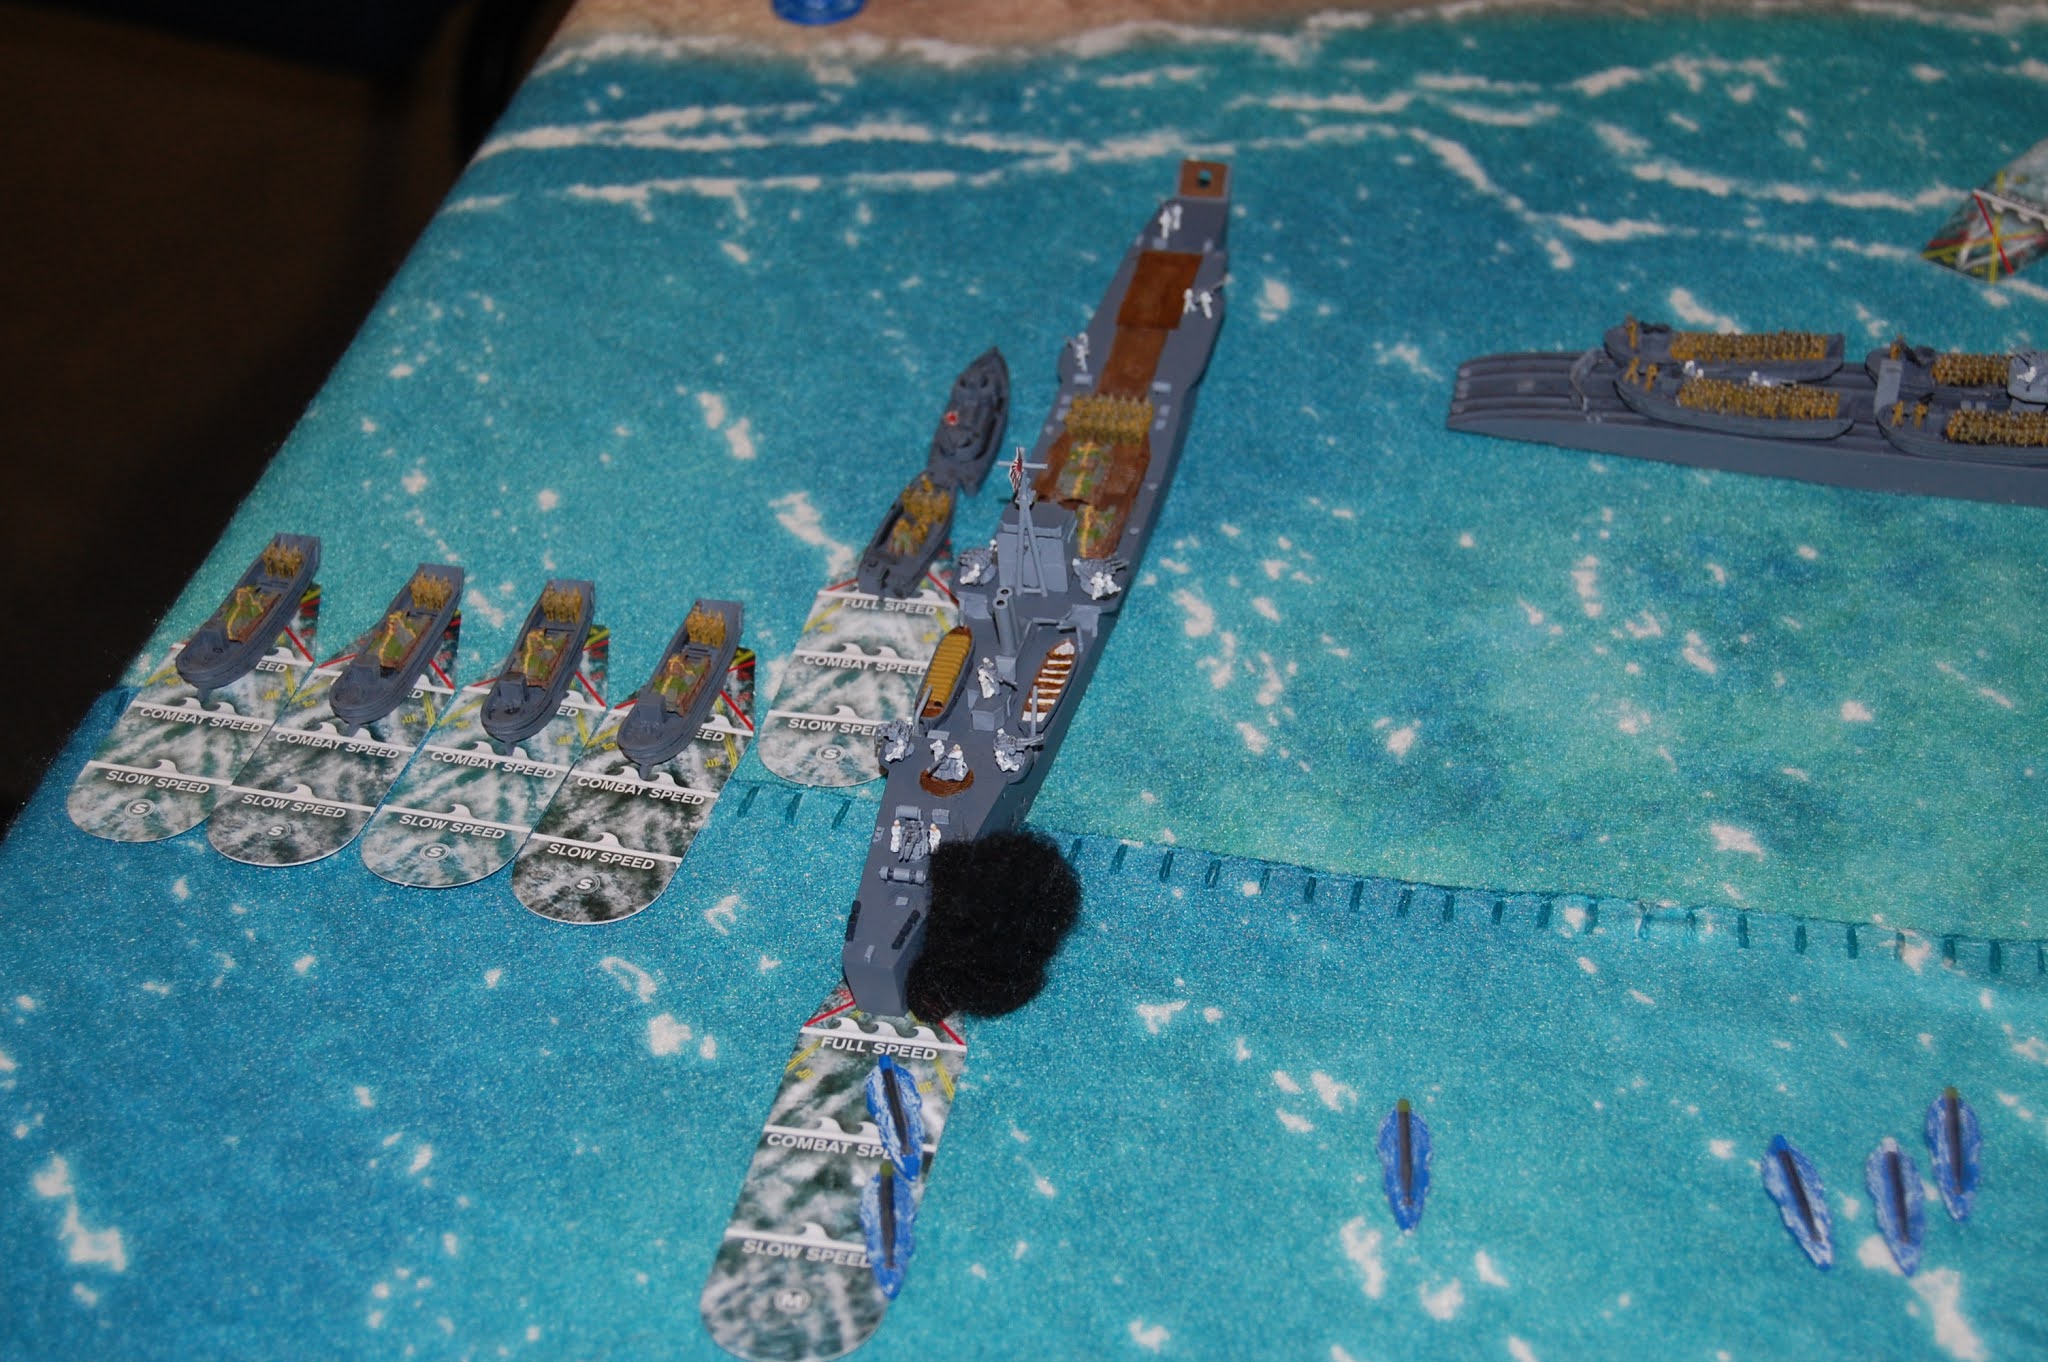
The Brits score heavily again against the advancing Germans, but OMG, now German armor arrives!
Interesting, the armor misses all their shots, but a new German squad racks up some hits (red cap=pinned, can't move next turn; yellow cap=shaken, no move or shooting next turn).
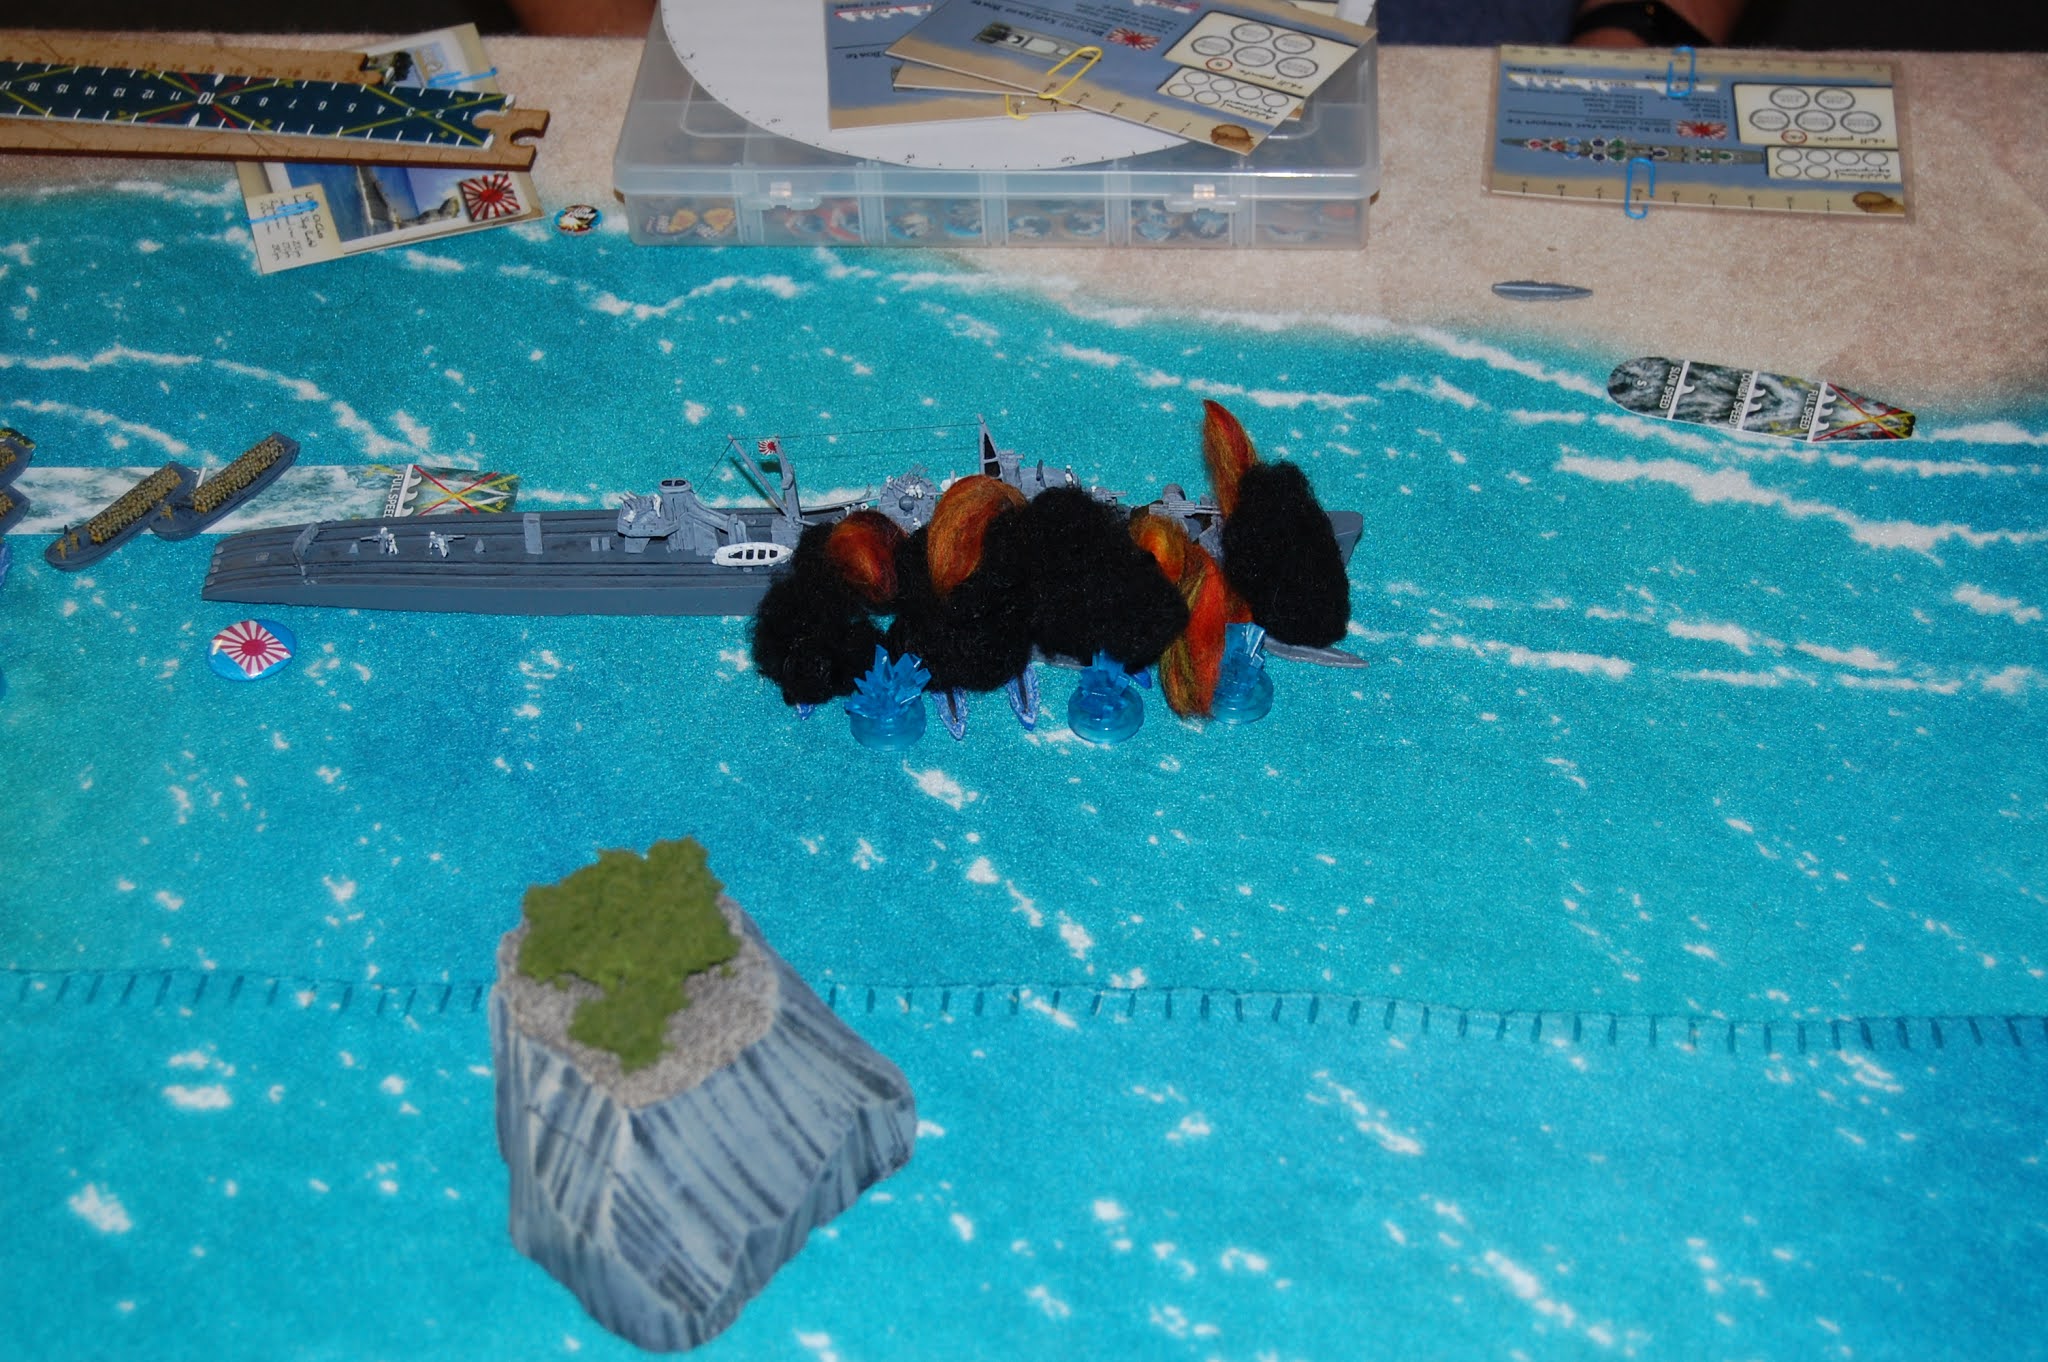
One German squad rushes the British defense line (center of photo)with plenty of fire support. Artillery again is devastating...

While yet another fresh German squad moves up, the artillery continues to smash the British defenses...
As the Gebirgsjager advance to cutoff the few British remain down below, a British reserve (located along the river bank near center of photo) opens fire, cutting down several...
Within two further turns, the German artillery (again!) smashes both British reserve squads (along river and RR), and its basically over...
A small note of Allied positivity at the end, the two remaining Norwegian squads (center of photo) shoot up another Gebirgsjager squad up on the snow-covered hills...
In terms of game play, it was a completely lopsided German victory, although they did take some losses. But the campaign was not built to be fair in that regard. Historically, the 148 Brigade was destroyed at Tretten, with only some 300 survivors able to withdraw! Next up is the arguably, the most desperately fought engagement of the Norwegian campaign...the two day battle at Kvam, waged by the British 15 Brigade against the German forces commanded by General Pellengahr. Stay turned...


Thursday, October 15, 2020

A Cruel Seas engagement

 Two weeks ago we put together a fight off the shores of Guadalcanal, 1942. A Japanese force was attempting to land a large number of reinforcements while an American flotilla was out looking for them. It will be a nighttime engagement, and it lead to a very interesting fight.

The Japanese fleet, with two major vessels supporting a number of landing craft and even some suicide motor boots, heading towards the beaches! (upper left)...


At the opposite end of the table, was an American DE supporting nine PT boats and a Coast Guard Cutter. The Japanese can just be made out top center with some PT Boats closing in from the upper left...
These PT Boats will each let loose with two torpedoes each, after successfully spotting the larger Japanese ships. They in turn are seen and fired upon (unsuccessfully)...
The US torpedoes close quickly with the enemy. The lead Japanese skillfully evades a number of the torpedoes, but there are hits!
Japanese suicide motor boats attack! One is destroyed by gunfire while a second (on left) just missed striking home. The third however strikes home and sinks the first PT Boat!
More damage to PT Boats as Japanese gunfire ranges in...

But the Japanese luck runs out as nearly a have dozen torpedoes smash into the Japanese commander!
She doesn't have a chance and quickly goes to the bottom!
Unfortunately for the Japanese commander, he loses his remaining major ship to numerous torpedoes, just before she is able to beach herself!
Many Japanese soldiers go down with her...

With most of their support gone, the Americans close in like sharks to the kill...
It's not all perfect for the Americans however. Coming around a rock formation, one PT Boat mistakingly moves in front of a US torpedo and is blown out of the water!
Dawn sees an American airstrike from Henderson Field before the Japanese, although his bombing run is unsuccessful...
It will however, not save the Japanese barges. The PT Boats will close in and sink all but two of the Japanese boats before they made it to shore. (No photos of this bloody finish, as I ran out of space on my camera!) It was a fun game, at least for the Americans!


Thursday, October 8, 2020

Battle of Liilehammar, Norway, 4/19/1940

 The Norwegians will be attacking with a full-strength platoon of four squads, supported by two ski squads, a British ATR, and a 70mm Howitzer. The Germans have three understrength squads (lost heavily in previous fight), and a Pz I. The battlefield as seen from the east, German positions marked by the Swastikas.

View from the north...
On the Norwegian right flank, one squad moved across the partially frozen stream, advancing towards the stone bridge. A German squad was defending using overwatch. This enabled them to interrupt the Norwegians, and they poured a devastating fire into them, wiping out the entire squad!...
A second Norwegian squad came out of the trees to the north and crossed the frozen ford, only to be blasted by a second German squad hidden in the farmhouse. Five more casualties and a shaken (marked by the yellow cap; (cannot move or shoot following turn)...
Failing to activate on the next turn, they were wiped out as well! Two squads gone and the attack has barely begun...
Two Norwegian ski squads advance out of the woods, while a third squad approaches the bridge (upper-right), and begins to inflict casualties on the Germans defending. Then suddenly a Henschel 123 attack plane, dives down, dropping bombs and strafing the Norwegians!
Finally, some success for the unlucky Norwegians, as they wipe out the small German squad defending the bridge (upper right)...
The luck doesn't hold-up however, as first, a Pz I shows itself hidden in the barn, while yet a second Pz I races down the main highway and tuns off on the secondary road. The Norwegians will be hard-pressed with only molotov cocktails and one British ATR (which has yet to activate!)...
To make matters downright unpleasant, a SDKFZ 222 armored car comes down the highway, and with the Pz I moving out from the barn, begins to tear up the Norwegians on their right flank...
As the weakened ski squad takes up defensive position on the reverse slope, awaiting with their molotov the oncoming Pz I, a second HS 123 makes its pass. This time it is relatively ineffective, missing with its bombs, and scoring only two pins. (red cap, can't move next turn)...
The remaining ski squad, do get to assault the Pz I, but they miss with the molotov, and are cut down...
Honestly, at this point, the Norwegians would have called off the attack, having lost all but one squad (which finally activated after six turns!), but we decided to attempt a 'suicide' charge with molotov and
the British ATR. The Norwegian FO did succeed in dropping a barrage squarely on an advancing Pz II (upper-right) , and knocking it out! But the Pz I, and a German squad (top-left) destroyed the attack without the Norwegians/British even succeeding in getting off a shot...
All that remained for the Norwegians, was to withdrawal its Platoon HQ and FO...
All in all an absolute disaster for the Norwegians. They only inflicted six casualties, while their force was virtually annihilated. Illustrated quite well, the difficulties the Norwegians experienced while attempting to defend their nation. Next up, the Battle of Tretten, and the destruction of the British 146th Brigade...