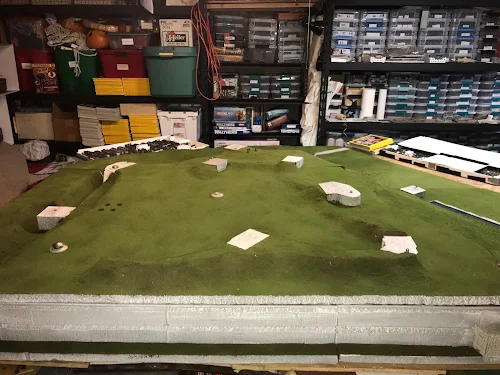
Started this up back in May, and now its finished in 15mm.
A view of the interior from the south. Bloc I (entrance lower left), and Bloc VI (lower right). The post hospital and barracks can be seen at the lower level. Perimeter Bloc II (left center); Bloc V (center right); Bloc IV (upper right)...
View from the north, with the mid-levels of Cupola 120 (left of center); Bunker Sud (right edge);
Vise I (lower edge):
The fort's fighting surface from the south. Again, Blocs I and VI at lower edge;
Vise 2 above Bloc VI, Maastricht 1 (l) and 2 (r) above it. Bunkers Sud and Nord at left above Maastricht 1, while Cupola 120 is above Maastricht 2 and Copula Nord (75mm) is upper right:
The view from along the Albert Canal in the north. Canal Nord is bottom right:Final view shows the nine DFS 230 gliders that brought the Fallshirmjaeger assault engineers onto the upper surface of the fort, and naturally, totally unexpected by the Belgians. W/n fifteen minutes of setting down, all the Belgian positions had been silenced with the exception of Vise 2 and Cupola Sud:


