Sunday, August 17, 2014

Kotas Bharu: the Fight continues

Back on Badung Beach, the Japanese are overwhelming the trenches surrounding one of the right hand bunkers:
At the inlet the second wave approaches but the FO for the Artillery gets through on their phone AND successfully calls down a barrage that engulfs one of the landing craft. Heavy casualties result!
The struggle is still intense on Beach Sabak, and no bunkers have yet to fall:
Indians suffer 9 casualties while the Japanese lose none!

0700-0900 Hrs, Turns 8-10;
On Beach Badung, second wave has broken through and has reached the second line wire (upper left) but the Indian 18lber places a shot into another landing craft:
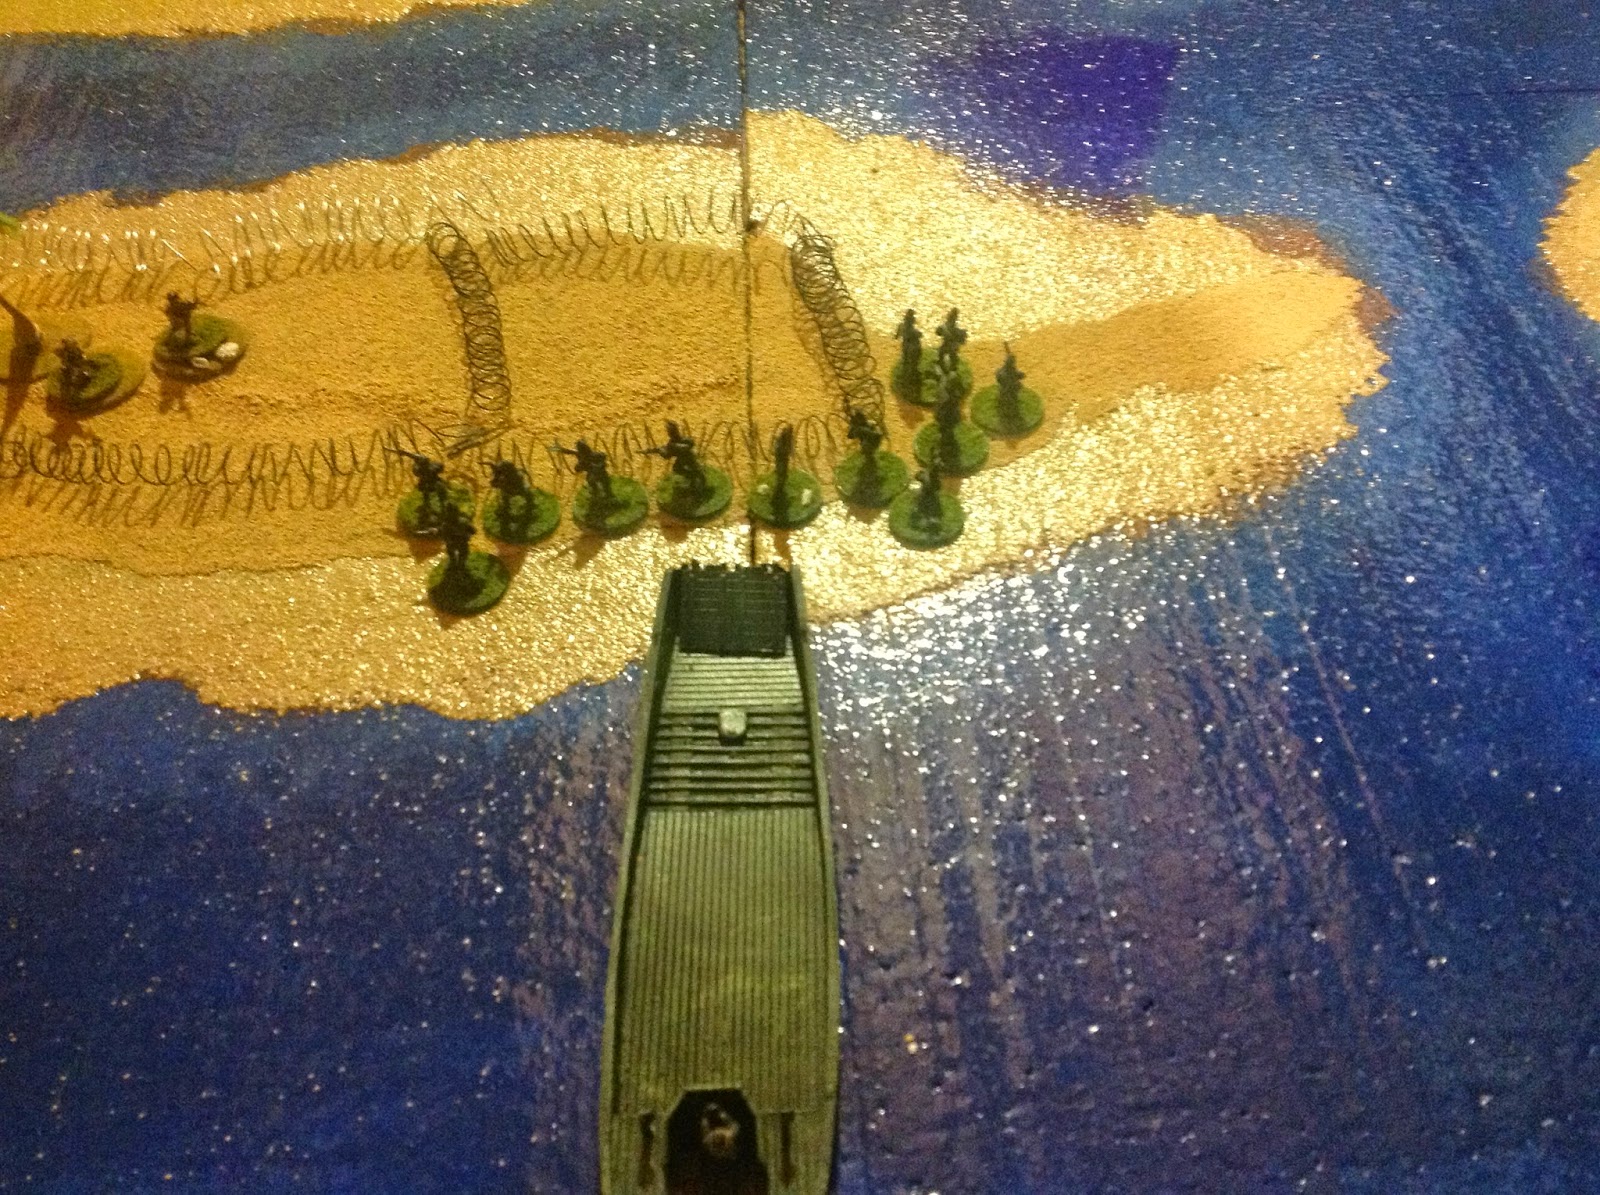
At the Inlet, the third wave is overwhelming the defenders:
At Beach Sabak, newly arriving Japanese press hard against the defenders:
As the sun begins to light up the field, the first Japanese planes (Neils) arrive to bomb the RAF station, but there is little damage. One of the Buffaloes has just taken off while the other prepares. Fortunately the just landed Beaufort which took photos at Singora escapes attention. The photos must make it back to Singapore! (That's Dogra Btn HQ left-center)
Losses on both sides are mounting: Japanese lose 41 more with the Indians suffering 33!
Blenheims and additional Hudsons arrive from Alor Star and Singapore, and immediately make themselves felt, scoring strikes on two additional landing craft! The second wave here has been decimated!
Japanese Oscars and Zeros make their appearance, and several bombers are badly hit:
1000 Hrs, Turn 11:
At Beach Badung, there are only four brave Dogras holding the second trench line...and a Japanese volley takes them all! (Notice an NCO from Co HQ to the right of trench making a reconnaissance. He has just witnessed the last line nearly destroyed!)
Only the extreme right-hand bunker (and the faithful 18lber) still resisits on Badung beach. x2 MMG (one marked with Unionjack to right of Bandung and tsecond to the left of said village), are trying to buy Co HQ (in Badung, near truck) to withdraw and call up reserves:
At the Inlet, the last few Dogra defenders go down under a third wave of Japanese:
At Beach Sabak, the first bunker falls:
Losses: Japanese 3, Indians 16. The end is near

1100 Hrs, Turn 11:
Near Badung, Japanese have now penetrated the last wire and have inflicted casualties on the last remaining Dogras (MMG). HQ is pulling back but they were able to contact Btn HQ and the Frontier Force (2nd Sikh) are on their way:
And at the Inlet, nearly a full company of Japanese are moving inland towards the airstrip:
At this point the game was called. Two companies from the Frontier Force Btn had arrived, but at least two Japanese cos were at or near Badung and so it was agreed that history would play out itself and the counterattack would fail to retake the beaches. (A third Japanese co was just clearing Beach Sabak as well) Overall it turned out to be a great game which mirrored in many ways what happened that fateful morning: Final casualties (now accounting for lightly wounded and men who had 'stopped fighting") were Japanese: 64KIA and 51WIA; Indians: 66 (all were presumed KIA) with five bunkers lost. The club is going to replay the battle (minus aircraft and ships) this Wednesday, and then it's on to Tacticon, Aug 29, in Denver, at the Radisson Hotel. If you're in town, stop by.


Saturday, August 9, 2014

Dec 8, 1941, Kota Bharu, Malaya

It's 0045, a few hours before bombs fall on Pearl Harbor. The Japanese landing craft are about to lower their ramps, initiating WWII in the Pacific. The first to storm ashore near the mouth of the Pengkalan Chapa, were the men of Captain Wadar's 11th Company, bearing the navigation lamp to guide the remainder of the invasion force:
At the western edge of Beach Badung, losses are taken by exploding mines and heavy small arms fire:
At the eastern edge of Bandung Beach:
The yellow caps refer to men who were shaken (can't move or shoot on their turn), the red were pinned (can't move), green is a casualty on a two man stand; while white slips of paper where the Japanese dug under the wire. Yes, dug! IT appears the Japanese had no other means to penetrate the Indian barbed wire!
Meanwhile on the western edge of Beach Sabak and the Pengkalan Chapa:
 Finally the eastern edge of Beach Sabak:
Casualties for the first two rounds had the Japanese lose 36 figures while the Indians have lost a man yet!
0200 Hours, Round 3:
An old mountain gun (at extreme right edge of photo) lands a shell amongst several Japanese, taking them all out!
Landing inside the Pengkalan Chapa, (upper left) the first Japanese ashore are totally wiped out!
Lockheed Hudson bombers from RAAF Squadron based at Kota Bharu race in and succeed in planting 3 250lb bombs on the decks of the Awagisan Maru, starting fires and narrowly missing Gen Takumi! 


Two attempts on the next transport, the Ayatosan Maru are unsuccessful. One Hudsons is hit 3 times but is able to return to base:
Japanese casualties now total 65 while the Inidans lose their first
0300 Hours, Round 4:
At the eastern edge of Beach Bandung, on the left, some of the first wave have penetrated the wire:
At the eastern edge of Beach Sabak, the losses have mounted and only a handful of Japanese have reached the Indian trenches:
The second wave is also wiped out in the Pengkalan Chapa as the FO of the 4.5" Bty calls fire down on his own position!
The Hudsons return and one tries to take out CL Sendai, but both bombs miss. Return fire makes 14 hits and the damaged Hudson must return to repair damages:
The Ayatosan Maru is missed again, but the Awagisan Maru is not so lucky and is struck by 2 more! One of the bombers is hit 3 times.
Casualties now have the Japanese at 89 with the Indians at 7
0400 Hours, Round 5:
At the western edge of Beach Bandung, the mountain gun finishes off the last of the first wave:
Some of the Japanese penetrate the wire at the eastern edge of Beach Bandung:
Two bombs strike the CL Sendai, but the Hudson pays the price and takes 27 hits and must return to base:
And the first bomb srikes the Ayatosan Maru:
Casualties: Japanese at 117 with the Inidans at 13
0500 Hours, Round 6:
The first bunker goes down (left) on the eastern edge of Beach Sabak:
Meanwhile the last of Captain Wadar's men goes down:
Two additional hits are scored on the Ayatosan Maru. One Hudson take 3 hits totally 15 and has to return to base. All Hudsons are now at least temporarily out of action:
Casualties have the Japanese at 138 and the Indians at 16
0600 Hours, Round 7:
As the sun begins to peek under the overcast skies in the east, the few remaining Japanese on Beach Sabak have reached a bunker:
But the second wave is now landing, and the second battalion makes itself felt. On Beach Badung, another bunker falls and some of the Japanese now push beyond the beach (notice upper left):
Casualties at the end of Round 7 have the Japanese at 138 with the Indians at 25
The fight (and game) will continue!


Friday, August 8, 2014

Kota Bharu: Dec 8, 1941

The scene is set...it is 0045 Dec 8, and the Japanese are approaching the beaches of northern Malaya. WWII is about to begin in the Pacific, a few hours before the bombs fall on Pearl Harbor. Shown below is the Japanese task force consisting of (back row l-r) DD Ayanami, Isonami; CL Sendai; DD Shikinami and Uranami; (front row) transports Ayatosan Maru, Sakuru Maru, and Awagisan Maru. Heading to shore are the landing craft carrying Maj Gen Hiroshi Takumi and his 56th Regiment.
(Sorry about quality of the next two photos)The battlefield as seen from the west. Coastline is to the left, village of Badang lower left; and the important RAF Air Station to the right:
The view from the east with the village of Sabak lower center:
 View towards Bandang Beach:
View towards Sabak Beach:
The battle report will follow shortly