Sunday, June 12, 2016

British disaster: Defeat at the hands of the Azande

A British force of some power along with native allies have advanced against the Azande. This powerful and militaristic tribe is waiting like a spider in its web. The result was a British disaster. The handful of 'Redcoats' tried to escape to the coast to the west. But the Azande were closing in. The first Azande elements charge against the British survivors
More Azande close in from another flank
Close up of the Azande (sorry for the fuzzy picture)
More Azande
The British fall back to a small hill top while their native askaris are overwhelmed
The final handful are blasting down the attackers...but can they hold out?
Well...actually they break the last Azande element and they do survive!


Colonial Adventure: The Germans take Tamayya

In the continuing story of our campaign in the Unknown Continent, The Germans storm ashore at the seaside town of Tamayya where the slave-trading Taureg are assisting the Ashanti who purchases many of the slaves from the northern desert.

Germans have landed at the docks aboard several vessels, while the main force assaults from the desert
At the very start of the assault, the Germans had to deal with some native betrayal within their own ranks. They were quickly put down
Amazingly, first volleys against the Taureg holding the city wall, devastate the 'Blue Men'
The Taureg deploy their last card in the battle as their mounted forces charge forward. Unfortunately for the defenders, they run into a wall of lead, and the city falls to the Germans


Tenochtitlan and the Sacred Precinct

This is a diorama used at Green Mountain High in Lakewood Colorado. The larger portion in rear is the Aztec temple complex encircled by the Serpent Wall. The foreground depicts some of the neighborhoods the Spanish had to fight through when attempting to escape during "La Noche Triste" (Night of Sorrows) on June 30, 1520.

Saturday, June 11, 2016

Culloden, 1746

After many months of not being able to access or even import photos, I believe I'm back. A quick test tonight to see if the problems are truly behind me. First on the large backload is the battle of Culloden in 15mm.

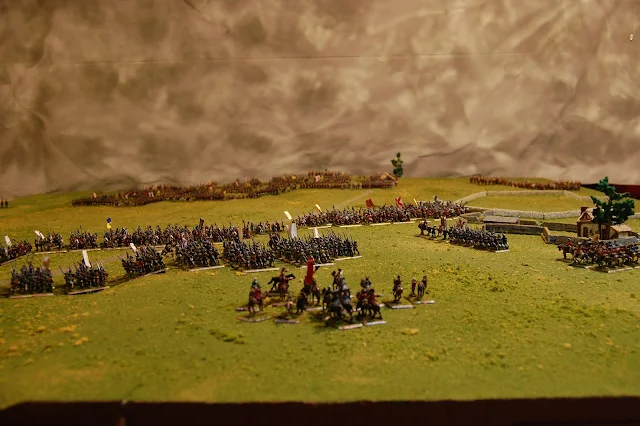
The view is westward toward the Jacobite Army as the artillery duel begins. The English guns will quickly put the Jacobite artillery out of commission, as well as inflicting heavy casualties on the Scots as they wait impatiently for their commanders to order their charge!
The view from the "Bonnie Prince" and his staff towards the English in the far distance:
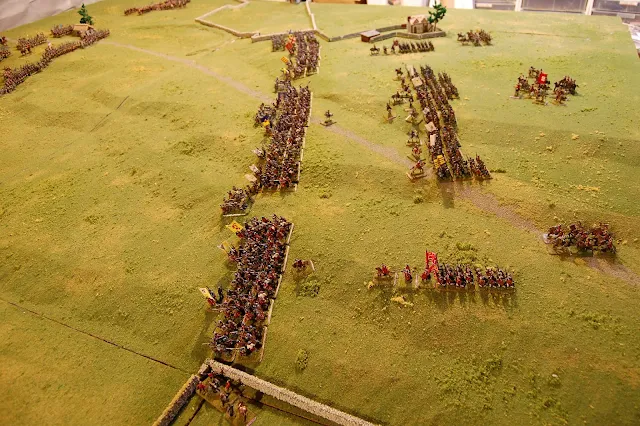
The view along the Jacobite lines, from the MacDonalds in the north, or left flank  (bottom side of photo) to the south and the right wing under Lord George Murray. The English lines to the east (l):
Right rear of the Jacobites, with the Prince and his staff to left:
Now looking back north along the Jacobite Army, from the right wing near the enclosure walls:
The  Prince and his staff grouped around the Royal Standard:
The extreme left of the English Army, containing loyal Campbell clansmen (to King Georgie that is!) and much of their cavalry:
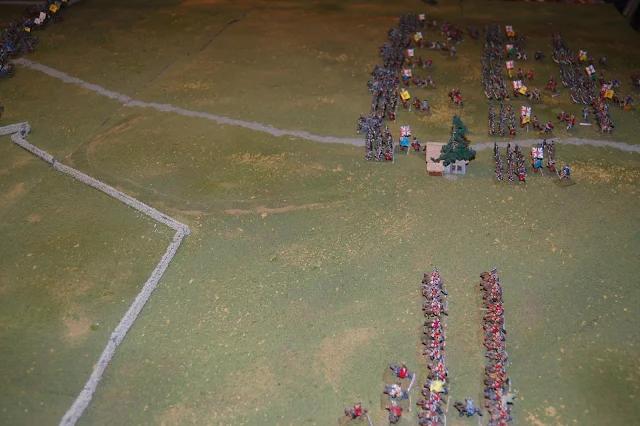
View from behind the English rear lines towards the Jacobites at the far end of Drumoosie Moor:
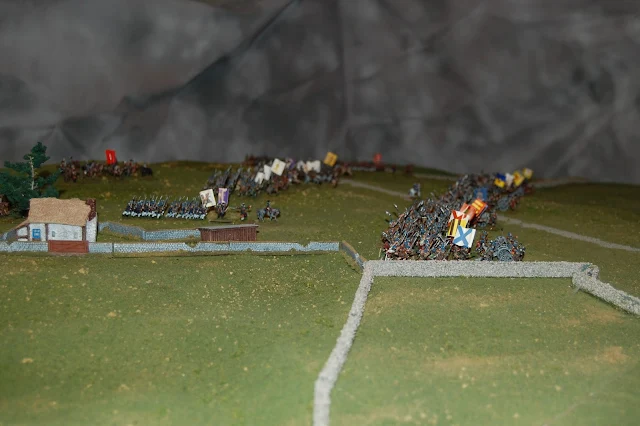
The MacDonalds (inc Glengarry's, Clanranald's, and Keppoch's regiments) on the Jacobite left...a position that caused no grief as they expected to be placed at their traditional location on the right
The Center of the Jacobite Army (inc Chisholm's, MacLeans and MacLachlan's, Monaltrie's, the Lady MacIntosh's, Lovat's regiments), with the second rank behind
Lord George Murray with the right flank clans (inc Atholl Brigade, Stewart of Arsheal's, and Lochiel's regiments), and the Royal Ecossois lined up behind
Positioned behind the MacDonalds was the second French Army unit fighting with the Prince, these being the Irish Piquets
Closer view of the Royal Ecossois
The left flank of the English army, the 4th Barrell's) regiment which would be the only English unit broken through and as such were suffer the majority of that armies' casualties
Looking north over the English Army
Closer view of Jacobite right wing
After enduring the English artillery bombardment for at least 15 minutes (and some say perhaps an hour) and suffering horrendous casualties, the clans finally charge on their own initiative, beginning in the center
The charge strikes home, (Barrell's on left) but just as it occurred historically in 1746, too many losses have been suffered to break through the English Army


Monday, November 30, 2015

The Viking village

After nearly two months of work, the village is complete! (of course I may always think of something else):

Sunrise:


The rear of the Jarl's Hall, overlooking his village:

View of the mountain cliff:

Final view for now (more to follow) of the waterfall:

Monday, September 28, 2015

Builing a Norsemen Hut

Thought I'd try something else different. For those who like to create their own terrain features, the following shows the simple process of constructing the most basic Norse dwelling...an A-Frame!
So we'll start with a previously finished model:
First step, using common form-board (purchased at Hobby Lobby (the US Craft store), prepare your outer shell and glue together. I use small dress pins to hold in place. You can chose whatever dimensions you want. I settled on 4"x5 1/2". The top portion of the roof is attached temporarily as I prefer my roof sections to be removed so the interior can be utilized in my games:
Next I take two balsa pieces of differing widths (for variety) and begin to measure, cut, then apply with Elmer's glue to front side of the dwelling. I prefer the detail this adds despite the slightly extra time and effort to measure and cut each piece. Make sure your first strip is aligned correectly or it will throw off your whole wall:
When you reach the removeable protion of the roof, be sure not to add glue to the balsa where it overreaches the roof or you won't be able to remove. Don't worry about the small gaps as the large wooden trim beams will cover (you will see this shortly):
After only approximately 10 minutes, we see the nearly completed front:
Now comes a little detailing. Choosing a slightly larger balsa, I cut and frame the front:
Making sure the top edge of the frame lines up with the roof, I complete the second side, doorway and additional framing:
Then quickly repeat with the rear wall (sans the door frame):
Now I'll return to the roof, prior to thatching. The top protion (removable) contains self adhesive form board which I have came to conclude is not necessary):
For the thaching, I rely on Plush Felt, (again from Hobby Lobby where I can use the 40% off coupon to get this 18"x22 1/2" piece for $6):
Removing the top roof portion, I start with the lower portion; measuring and cutting the appropriate pieces:
Almost forgot! I spray paint the building a dark brown as a base, then add the thatch to the lower portions:
Finally, I move to the top portion. When measuring don't forget to add a little extra to overhand and cover seams:
Dry brush with a lighter shade/shades. Replace the roof and you have an A-frame in about an hour or so!
You can see the large Jarl Hall and other structures I've been able to put together over the last week elsewhere on my blog. I plan on holding several Saga Adventures including one based on the Eaters of the Dead/"13th Warrior" so hopefully will have further photos as the project moves along!