Tuesday, August 5, 2025

The Jats in the Rubber

 As the Japanese assaulted the main British lines at Jitra, they also slammed into the Jat battalion nearby in a rubber plantation. This game turned quickly into the most lopsided struggle I ever experienced. It involved the Chain of Command Rules surrounding the Japanese using the aircraft bombardment attachment. This required a d6 roll by the British player to determine if they will arrive on time. In three of five rolls, I (British player) a one was rolled which kept three of the Jat squads from entering the battlefield until the end of the turn (x3 sixes in the Command points phase needed in a turn! It turned out that they never did arrive. That meant 3/4 of the defenders would never take part. Needless to say, this meant for an impossible game, but hey, thats the way things go.

On the third phase of the turn, the Jats received their Vickers MMG team which opened fire on the quickly approaching Japanese...

The one Jat squad that did arrive (to the right of the Vickers team), quickly inflicted numerous casualties on a second Japanese squad, although it did receive a lot of Shock in return...
That same squad then took numerous casualties and even more Shock. The unit is nearly suppressed already (Shock markers equaling the remaining figures)...
The Vickers team got exactly one phase of fire before it was overrun and destroyed...
Unfortunately for the Jats, their one squad was now suppressed in the fifth phase!
The Jats get their 2lb ATG which scores a hit on the Japanese Chi Ha tank, forcing it to retire a few inches. Howeveer, it then it is hit by Shock that almost suppressed it...
Closeup of the brave gun crew...
The Jat squad is barely hanging on...
The Chi Ha tank plays cat and mouse behind the native hut...
The ATG is forced to fire against the advancing Japanese squad because there is literally nothing else at the Jats disposal. They do succeed in getting a hit...
The Jats seem to be getting the advantage against the Japanese to their front...
But Additional Japanese troops are now flanking the Jats from the left, who are now Suppressed...
And then they are outed as the 2lb crew is wiped out as well. And that was it, very frustrating...
This game unfortunately reinforces my opinion that Chain of Command is not my choice of WWII Rules. It was however interesting to use their mini-campaign covering Malaya, something you do see very often!


Friday, July 25, 2025

Main Battle Front at Jitra

Following the first three games of this miniseries where British/Indian forces t\attempted to delay the oncoming Japanese forces during their invasion of Malaya in 1941, the main defensive line at Jitra has been reached.

On the Brits right flank in the Rubber Plantation (palm trees standing in for rubber trees), both sides exchange fire and each take a casualty

Guarding the main road from the Japanese invasion beaches to the north in Thailand, stands a substantial concrete bunker (r). The Brits and Japanese forces here too exchange fire and a casualty each...
Back on the right, the Japanese take additional losses...
In the center, a weakened Japanese squad (from previous fight), loses more men...
Then the Japanese player makes an incredible shot, penetrating the bunker and downing one of the Vickers MMG crew!
Joining the Japanese forces in their center, another squad and a Chi Ha tank make their appearance...
On the right, British forces take losses, and at this point the Brits were getting frustrated as they have two squads exchanging fire on one Japanese squad her.  They are pounding the Japanese to their front as well...
The Brits take another loss in the center from long range fire. The Japanese just can't miss...
And yet more losses to long range fire!
Finally the Brits get a good shooting round inflicting losses and enough Shock to suppress the Japanese on this flank. Perhaps things are looking up!
The Brits pour more devastating fire into the Japanese on the right, causing the squad to rout...
Finally some reinforcements for the Brits, but no sooner do they arrive and they take heavy losses! (Again at long range)
Then suddenly another bad round and they break! The luck of the British has just simply been terrible...
And more losses for the Brits on the left...
Another casualty! Can the Brits catch a break!
Not letting up on the right following the rout of the Japanese squad here, the Brits maintain their fire and bring down a senior Japanese leader. Unfortunately it will be their only success...
The last shots of the Brits before they break as a force, a 2lb AT shot hits the tank and momentarily stops its advance. Unfortunately a photo showing the courageous attack by Japanese engineers destroying the bunker with a satchel charge has disappeared, so that British disaster does not show up here. Overall it was an incredibly frustrating game for the British forces. With all their forces entrenched or in a bunker, they suffered three times the losses of the attacking Japanese troops. Oh well...


Wednesday, July 9, 2025

Strike Against Tattenhall

 The Local Scot commander has learned that a BUF contingent has arrived to hold a conference with the Laird, a suspected BUF supporter. A plan was hastily put together to roll up the whole bunch. The attackers would consist of a Crosley Armored Car;  a Lowland section with Platoon leadership; and a HMG troop; supported by three local militia sections...

The defenders consisted of a Rolls Royce AC; three BUF sections, and the Lairds' personal bodyguard section...
View southward as the Scots would see the field, with Tattenhall on the hill to the right...
The opposite view with the Guard/gatehouse obscured by the trees near the bridge to the right...
The immediate front of Tattenhall...
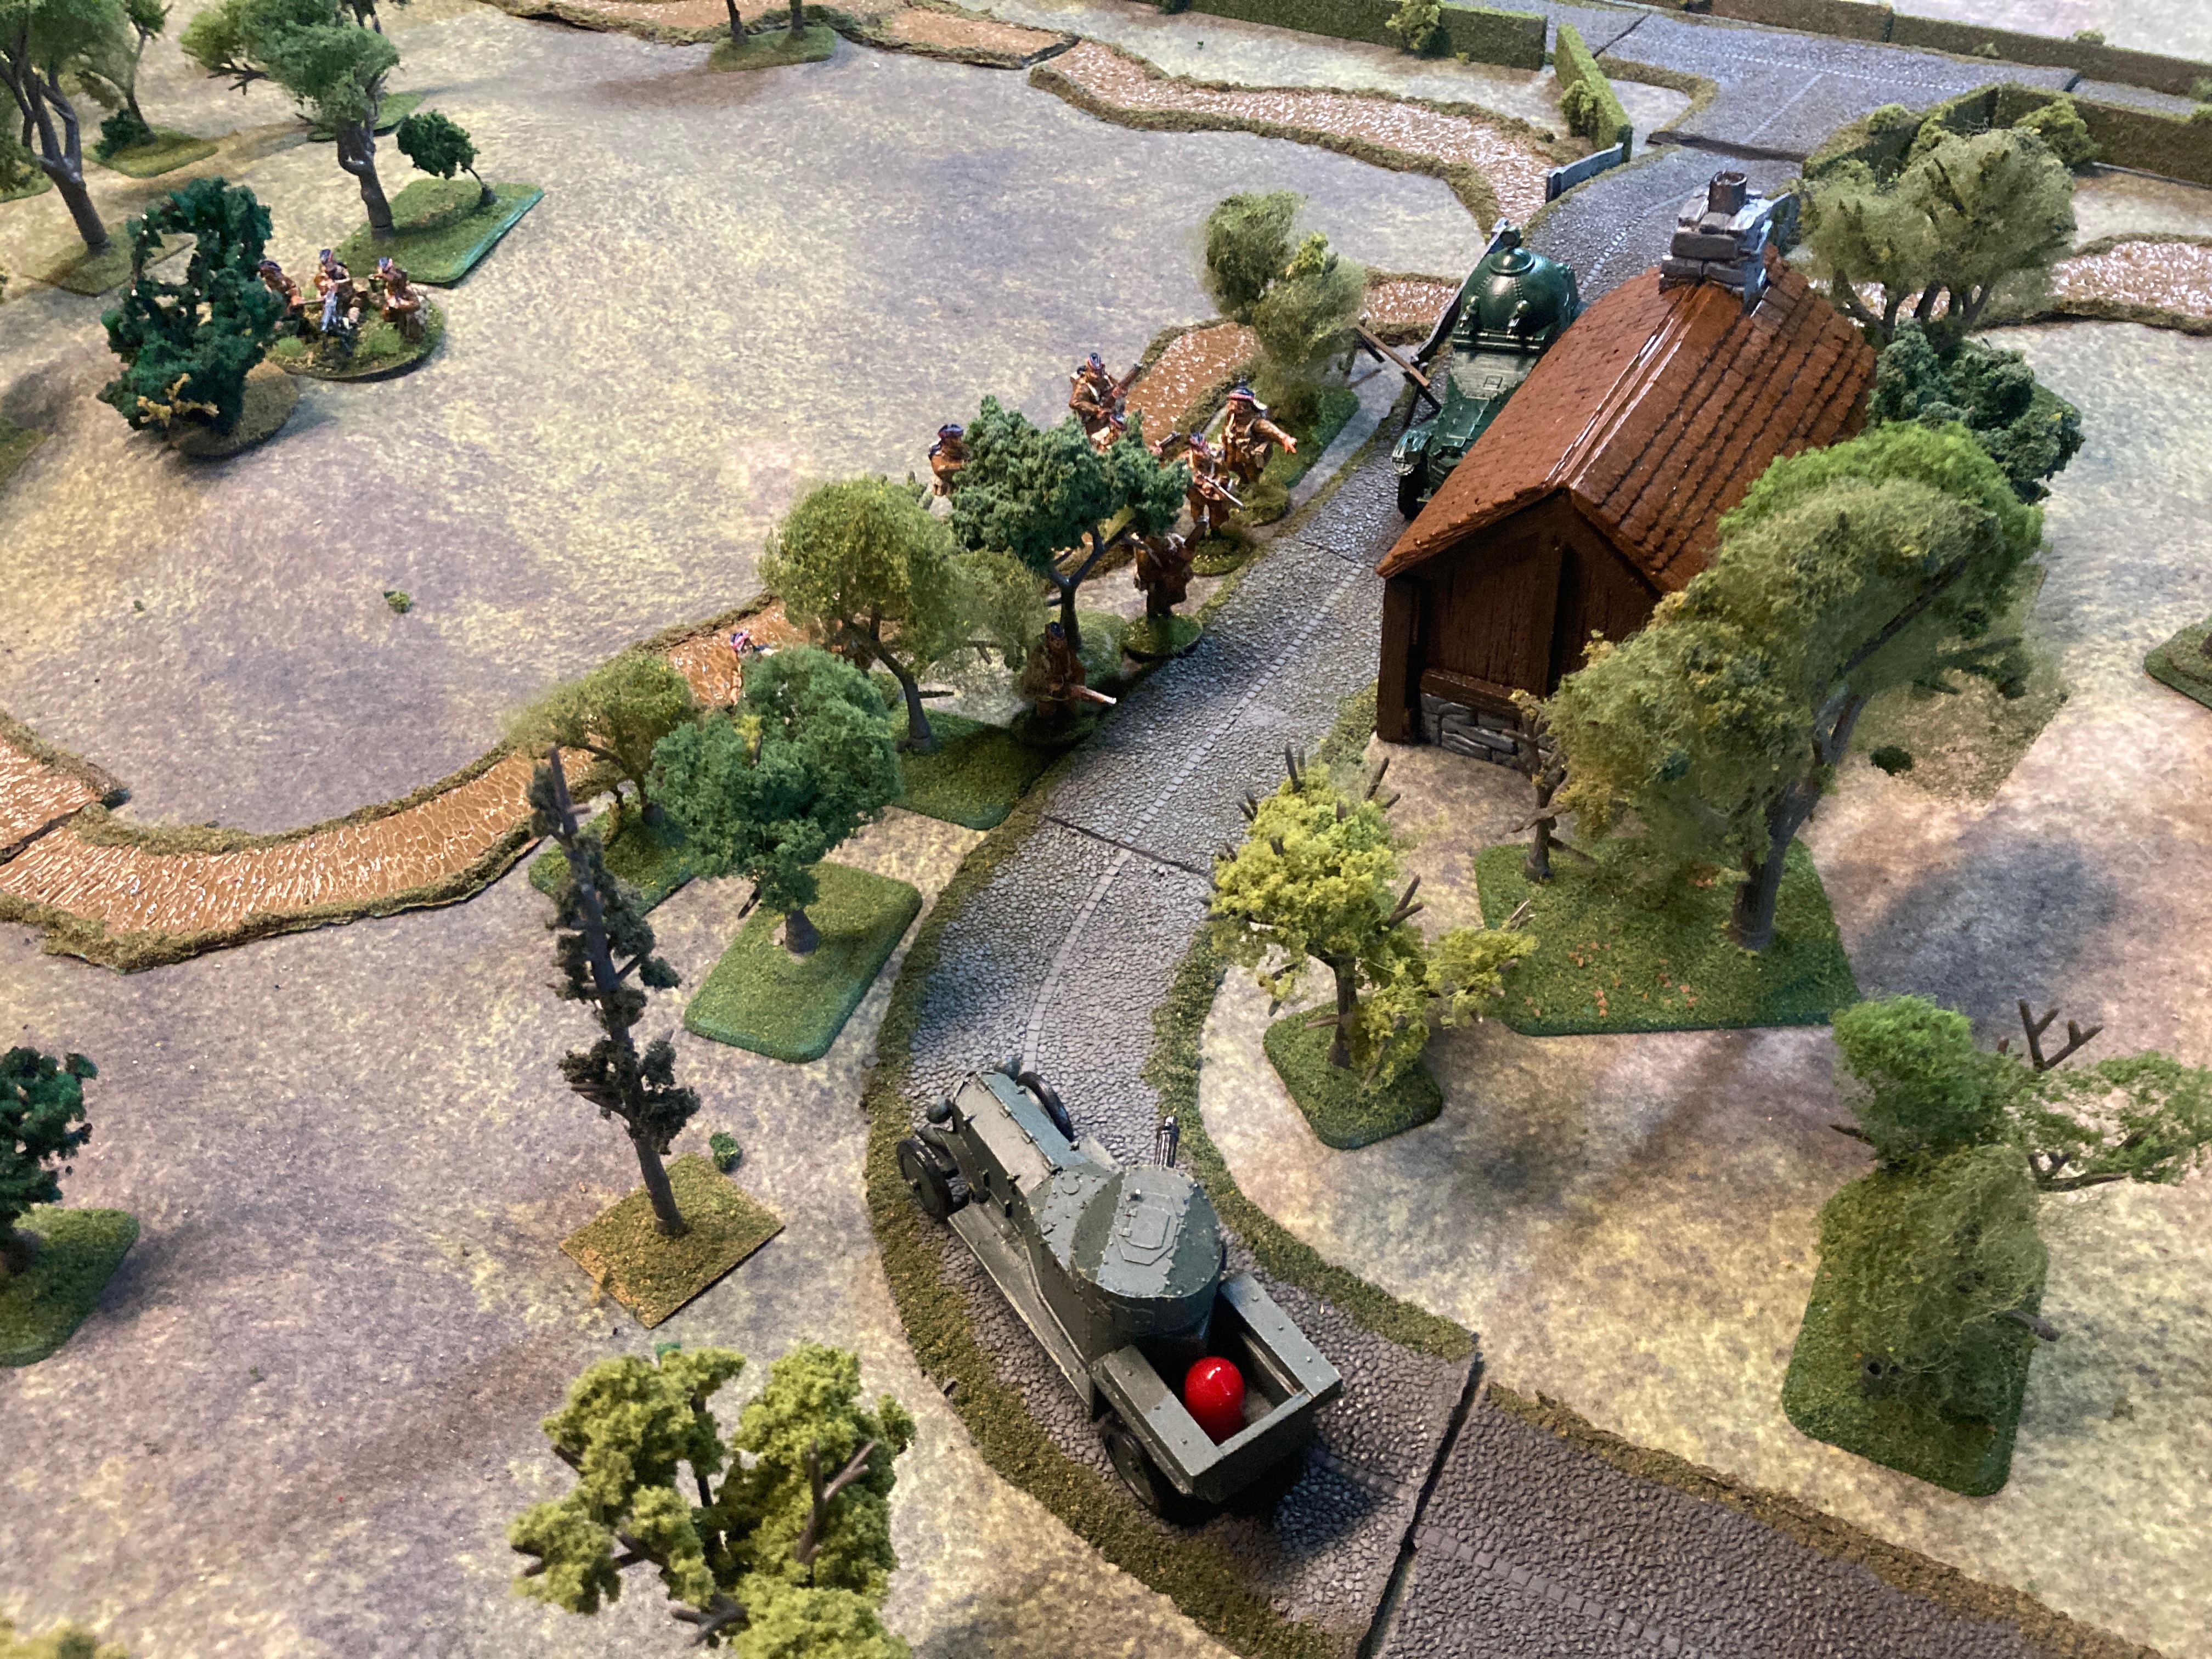
To the north of Tattenhall from which the Scot assault will come. Note: one can just see the Guard/gatehouse above left of Tattenhall...
The Lowland section with the HMG overlooking the Guard/gatehouse to the south (bottom)...
The Scot militia with Platoon HQ north of Tattenhall preparing for their attack...
The signal to commence the attack will be the approach of the Crosley down the main road...
Next up, the attack!

The Crosley moves up the road; as it approaches the turnoff, that will be the signal for the attack to commence...
As the first Militia moves over the hedge, one of the sentries hears them and open fires...
The Crosley smashes through the gate and drops both sentries at the Gate/guard House...
Two sentries are brought down as the Militia move forward after taking their first casualty...
A BUF section on the top floor of Tattenhall opens fire on the Militia...
The Militia sections, after losing another casualty, closes on Tattenhall...
The Laird and the BUF Platoon HQ begin their withdrawal from Tattenhall...
The BUF Rolls Royce exchanges fire with the Crosley and one of its crew is KIA causing a drop in morale. The three remaining Militiamen at the Gate/guard House break (r)...
The BUF troops in Tattenhall lay down a lot of fire, but cause no casualties...
Some of the Militia breach a Tattenhall door (l)...
While at the other end of Tattenhall, another BUF section is unaware of the enemy presence (b)...
As the BUFF troops descend to the 2nd floor, they take a casualty on the stairs...
As the BUF make the lower floor, they find they are cut off! More Militia are attempting to break down another door as well...
On the second floor, the BUF section leader (r) has reached the top of the stairs to the first floor and now realizes he and his men are cut off...
The Scot HMG and Crosley smashup the Rolls, destroying its MG...
As the BUF Command pull their vehicles off the road to escape the Crosley, they both bog down!
The flight is on...
With the bridge held by the Crosley, the BUF Command disembarks to escape on foot...
The Scot section of regulars has moved down in an attempt to cut off the retreat...
The BUF still in Tattenhall are being slaughtered, inc their commander...
Not believing the desperate situation they're in, two BUF troopers at the top of the stairs keep firing...
The continued defense of Tattenhall enables the BUF Command to escape!
The BUF rearguard and the Scot Regulars exchange fire and each lose a man...
One of the two BUF holding the stairs go down...
Then the second BUF is dropped, and their morale collapses ending their resistance...
Tattenhall has fallen, but the prize has flown! Problem with Militia...but it was an enjoyable fight.