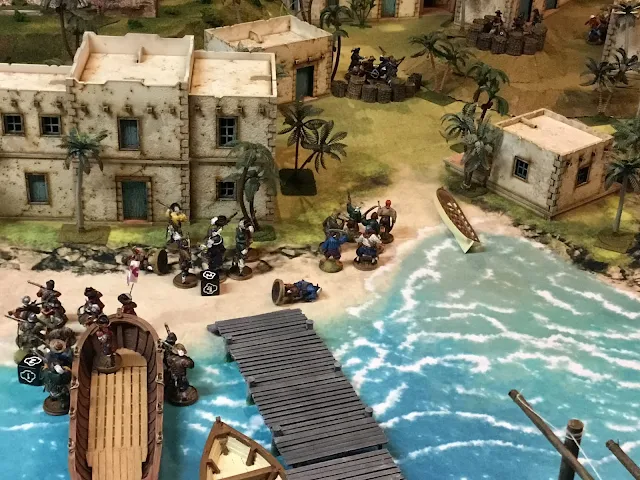
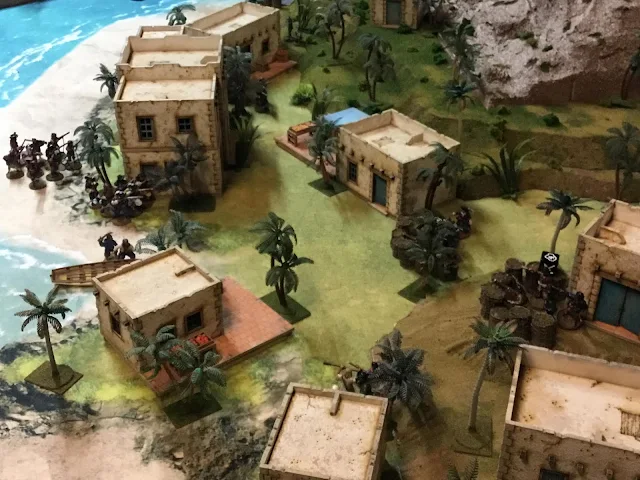
The Milicianos Indios drop another Freebooter and when they fail their Resolve Test, they rout!
Turn 8: The Galleon gives another broadside and strikes home! With a critical resulting in debris which kills one Sea Dog, and another falls causing the sailors to become Shaken! The Fort has fired its last shot.
The Kapers abandon their gun. Bad round for the Buccaneers.
Turn 9: The Papers fire but miss the Milicianos Piqueros while the Sea Dogs in Fort Warwick regain two fatigues.
The Piqueros charge up the steps leading to Fort Warwick and take down two Sea Dogs which routs last two sailors.
The English Forlorn Hope finally get a target and they blast away with their 6lb and drop a Miliciano
The Milicianos then move down the dock and get off an incredible volley against the Boucaniers inside the large building, dropping one
The Pressed Men lower left) now move towards the fighting in town, while the Dutch Enter Ploeg (center) have taken position at another 6lb gun:
Turn 10: The Kapers move from their gun and fire on the Milicianos near the dock and strike one down.
But the Longboat now grounds itself on the beach and the Trained Milicianos quickly deploy and unload a volley of their on onto the Kapers, also inflicting one casualty.
As their turn ends, some Marineros move towards the gun positions of the Buccaneers.
Turn 11: Unfortunately for the Kapers, the Spanish gain initiative and the Trained Milicianos unleashes another volley dropping one more forcing them to retreat:
The Enter Ploeg blast the Mariners with their 9 lb and drop two!
One of the Inexperienced Milicianos units sweeps into town to bring fire down on the two remaining Buccaniers attempting to fall back. They bring one down and it routs the last man:
Another Miliciano unit fires upon the Forlorn Hope but fails to get any hits.
The Forlorn Hope are more successful as they fire and drop two more Mareneros.
Finally, the Pressed Men (at bottom) move closer to the fight:
Turn 12: With the initiative again, the Milicainos pivot and blast the unfortunate Kapers, dropping the last two survivors!
The curtain rises on the final stage of the battle. One Milicianos on the right by itself (after destroying both the Kapers and Buccaniers), with two further Milicianos seen to the left of the large building. Two remaining Marneros stand next to the beached boat. The Forlorn Hope are at the gun bottom center; the Enter Ploeg to the left on hill; and finally the Pressed men behind the building (left of center in the shadows)
Turn 13: Its the time of the Pressed Men. They charge into the Marneros and destroy them!
de Guzman pivots his trained Milicianos and his men blast their volley into the traitors, dropping two. They fail their Fatigue checks and rout.
The other Mareneros fire unsuccessfully at the Forlorn Hope.
Fortunately for de Guzman and his Spainish, the Milicianos survive an attack by the two remaining Sea Dogs (who fail to throw a 5 on two attempts!) and then destroy the last two Sea Dogs themselves. They advanced into the quiet ruins of Fort Warwick and gain the necessary Strike Points to cause the Buccaneers to lay down their arms! Glory to the King of Spain! Interesting that it is His Majesty' Christianized Natives who steal the victory.


No comments:
Post a Comment