A good thing as hordes of Boxers began appearing from all over the compass! To the north (top left to bottom right):
From the west:
But worst of all, Imperial Troops are seen approaching from the NW! Will they be belligerent? There are breech-loading cannons on that hill!
Turn One:
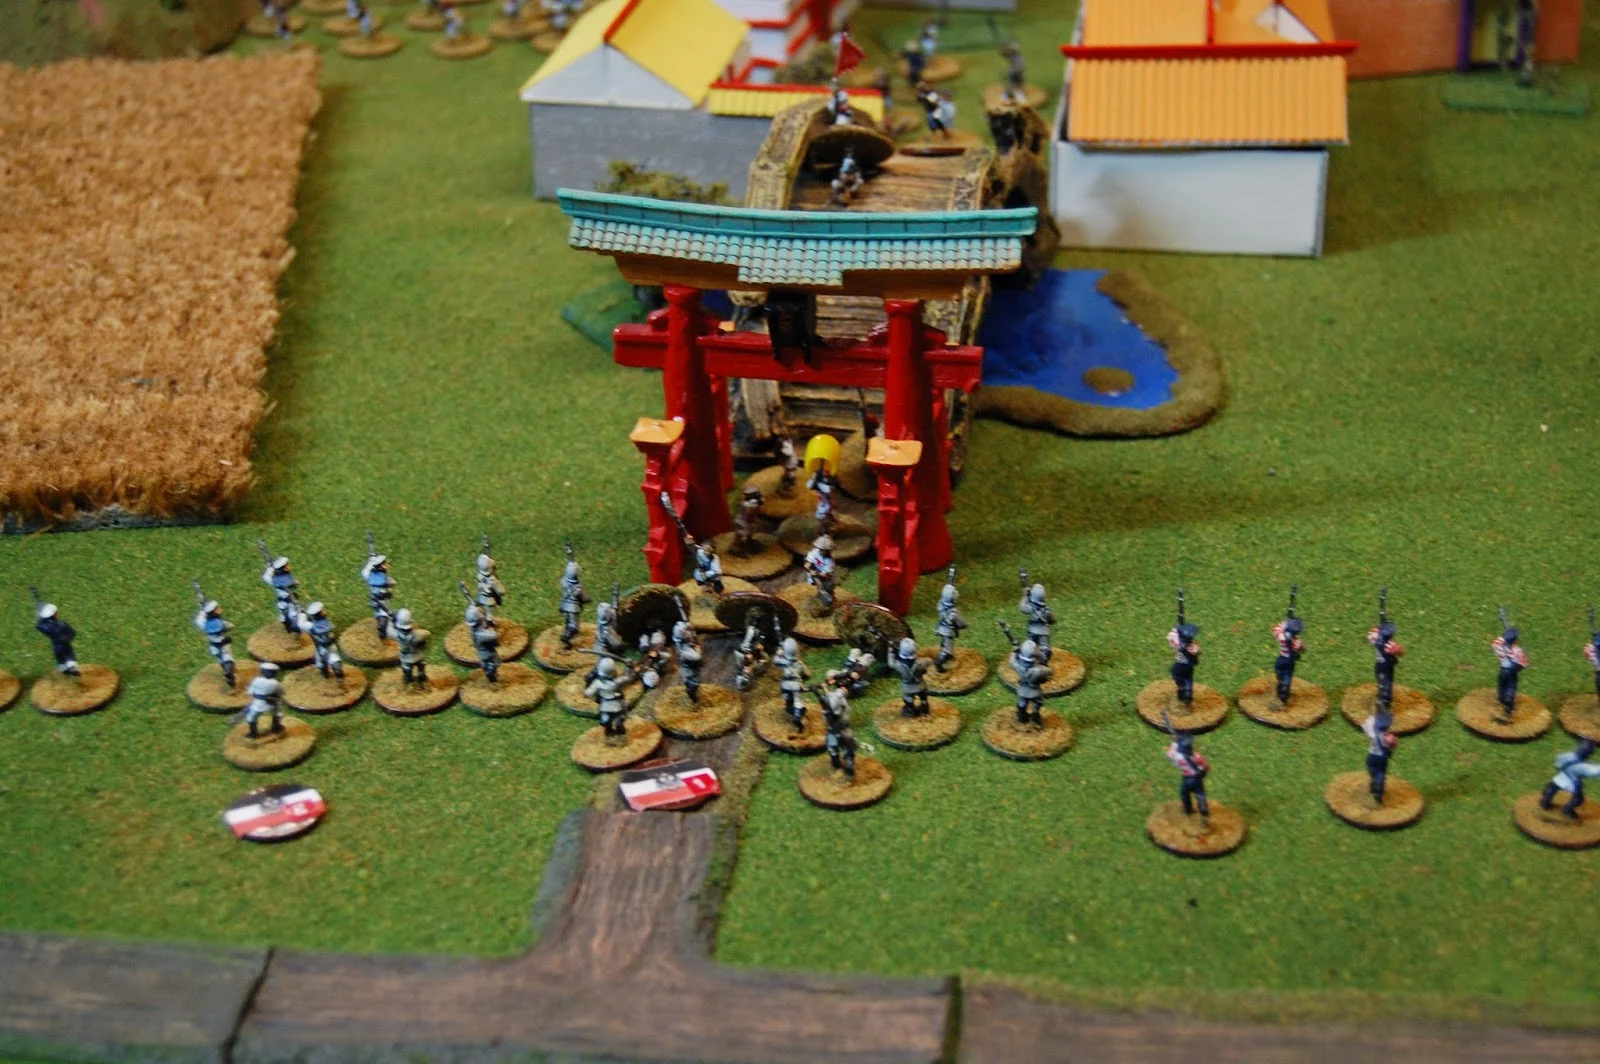
Germans and Austrians move against Langsang itself as some Boxers charge. Defensive fire stops some but x2 Boxers melee x3 Germans...and all three go down! (near gate):
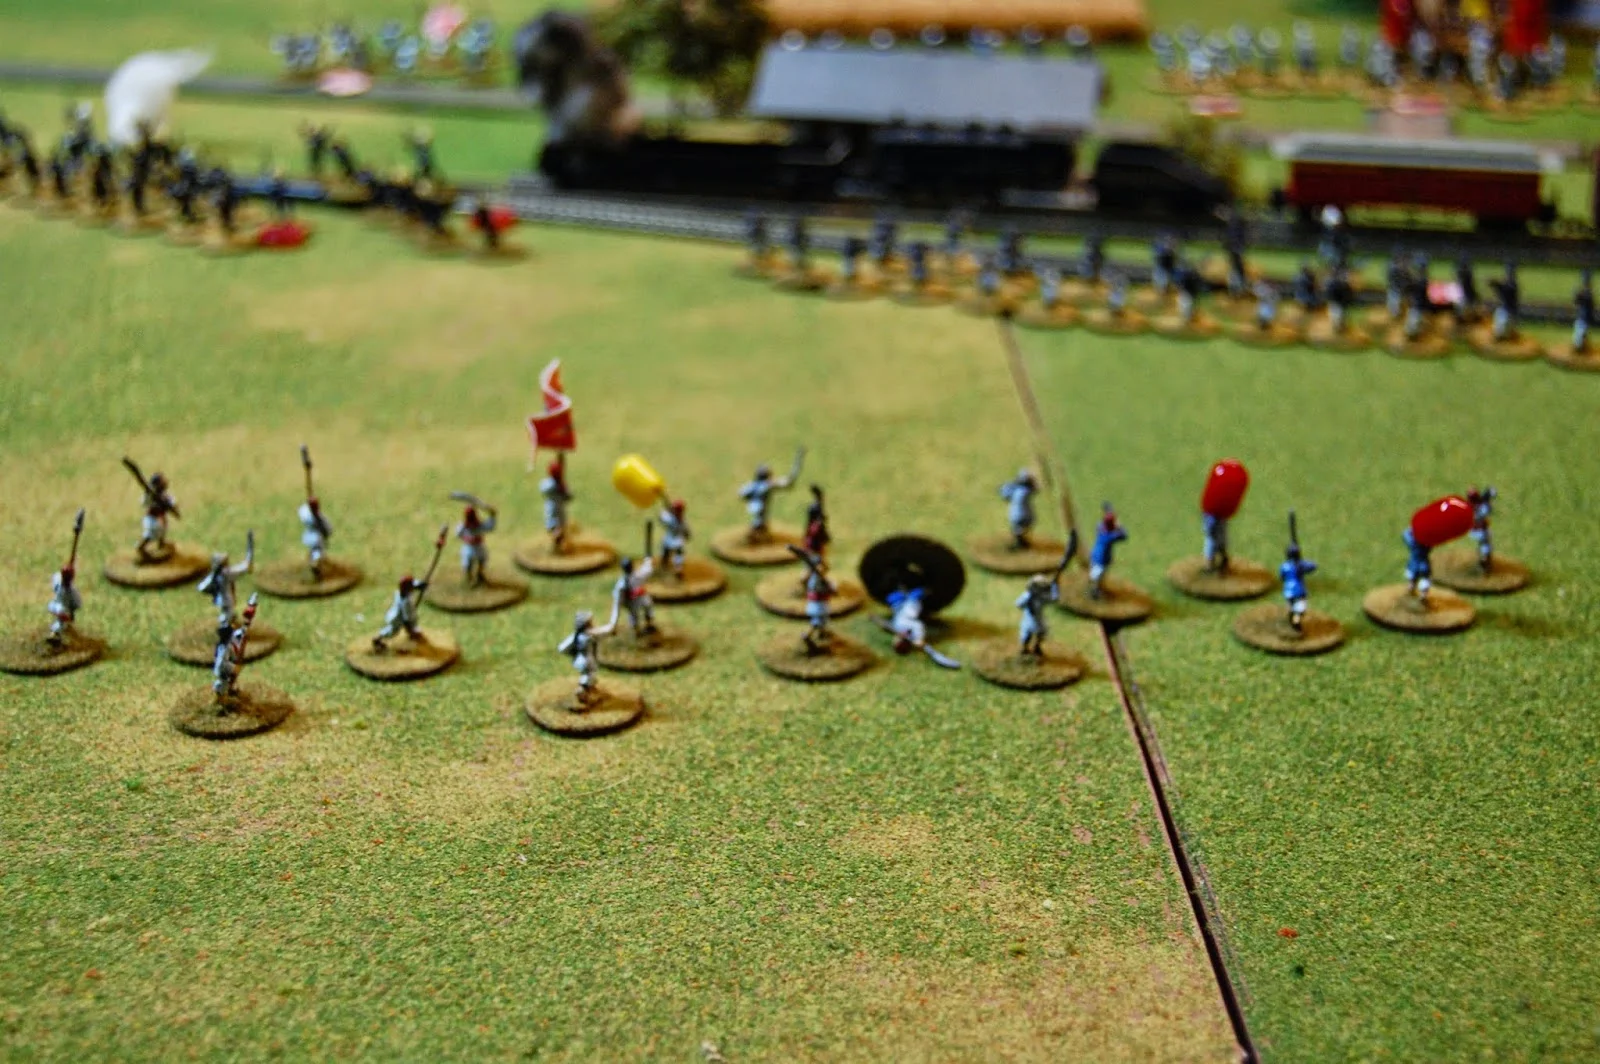
x2 Boxer elements charge the US Marine detachment at the east end of the train. One courageous Chinese standard bearer races up and in melee he and a Marine go down (center):
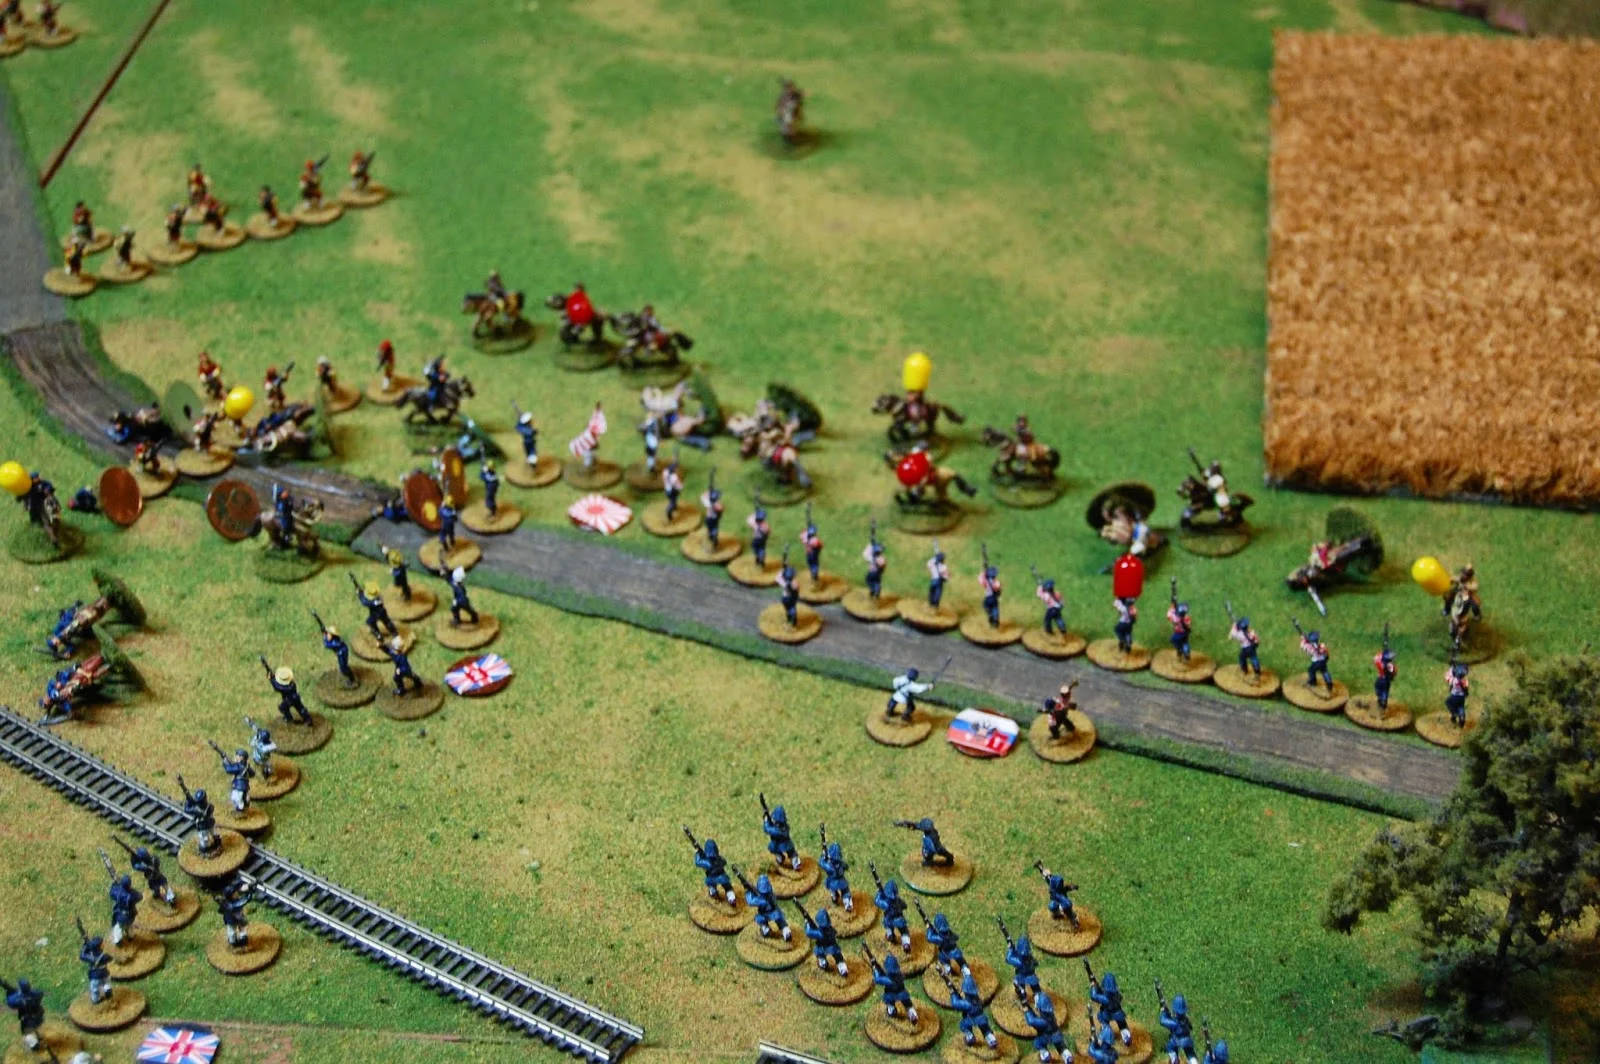
British sailors located just to the US right flank are charged as well, but their fire only stops a few and in the ensuing melee, x4 go down:
British Marines (top right) fire off a volley against yet more Boxers, bringing down only one more:
Unfortunately the answer to the question regarding the Imperial Troops is answered. x3 artillery shells range down on the front car containing an allied artillery piece. x2 miss, but the third destroys the piece right of center)!
Chinese 'Tigermen' advance to screen some smoothbore artillery pieces:
Casualties at the end of Turn One is: x3 Germans; x4 British Sailors; x1 US Marine; and x1 Gun. Chinese lose x17 Boxers
Turn Two:
A Russian element of sailors moves up to support the German right flank at the gate of Langsang and engages more Boxers, some of which make it to melee and x2 Russians go down:
The US Marines take on x2 Boxer elements and inflict heavy casaulties (15) while losing x5 of their own:
After losing x4 of their number in last turn's melee, the British Sailors at the east end of the train finish off the first Boxer element with a little support from French Marines (left edge):
But it is the British Marines who suffer through a terrible exchange! Their defensive fire stops only a few and in the melee at the end of the Boxer charge, x8 Marines are lost to only x3 Boxers! What drug were they on?! Fortunately they deployed extra troops (inc more French Marines on right) and inflicted more casualties:
As additional British Sailors (center), Japanese (top center), and Italians (top right center) advance against the Chinese artillery and 'Tigermen' (top left), Chinese shells burst around them. But no casualties:
Better view of the Japanese and Italians. Certainly happy those shells fell long! or short?):
The second Allied gun just misses striking one of the Chinese breech-loader as the 'Tigermen' and smoothbores continue their advance:
Casualties at end of Turn Two: x8 British Marines and x2 Sailors; x2 Russians; and x5 US Marines. Chinese Boxers see x54 go down!
Turn Three:
The Germans finish off the Boxers outside of Langsang while the Austrians (left) continue pour fire into yet another Boxer element:
The Russians take some losses but almost destroy the Boxers to their front:
The US Marines, with some assistance from British Sailors (left) nearly finish off their Boxers as well. Second Russian element (upper right) moving up road to assist the assault agaisnt the Imperial Troops:
British and French Marines nearly slaughter thier opponents as well. The Boxers on the southern and eastern flanks are a spent force:
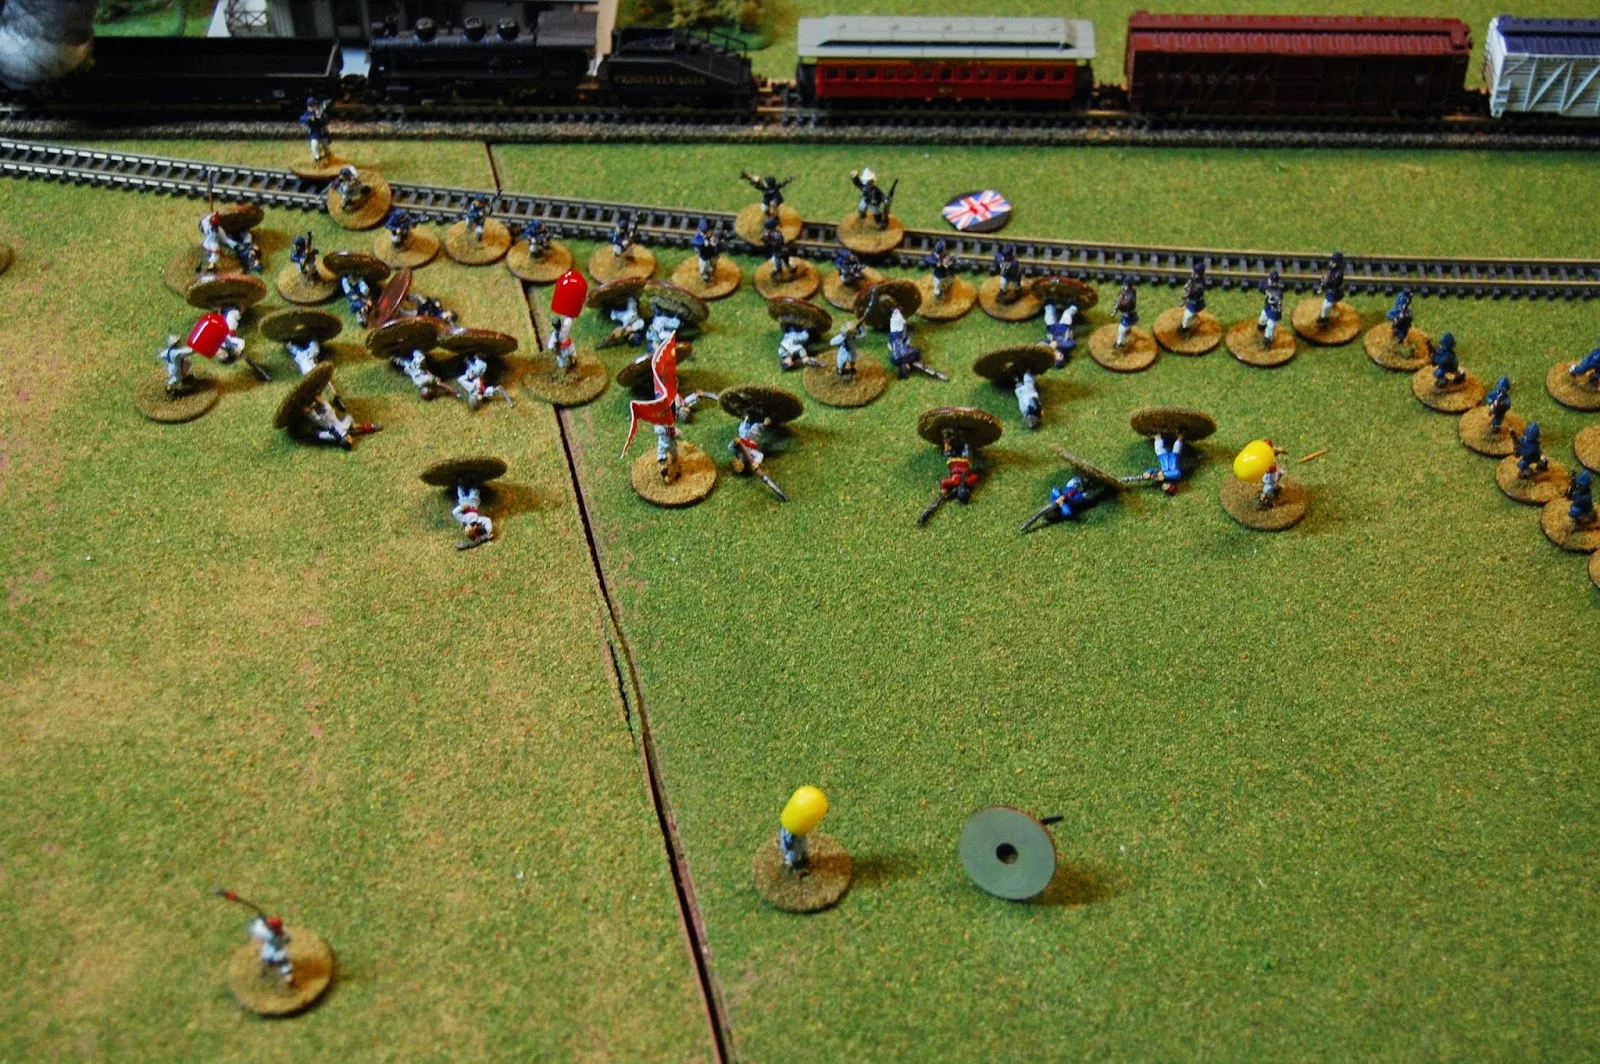
Here at the western end of the train however, the Boxers charge home and x9 British Sailors go down! The survivors pour fire into the Boxers, but it is still a close affair . Part of the Sailor element (top left) continues to advance against the 'Tigermen':
Another Chinese shell lands on target! this time taking down x2 Italians:
The Japanese take their first losses as 'Tigermen' strike home. Some of the same unsuccessfully launch their grappling hooks (right of center) at the advancing British Sailors!
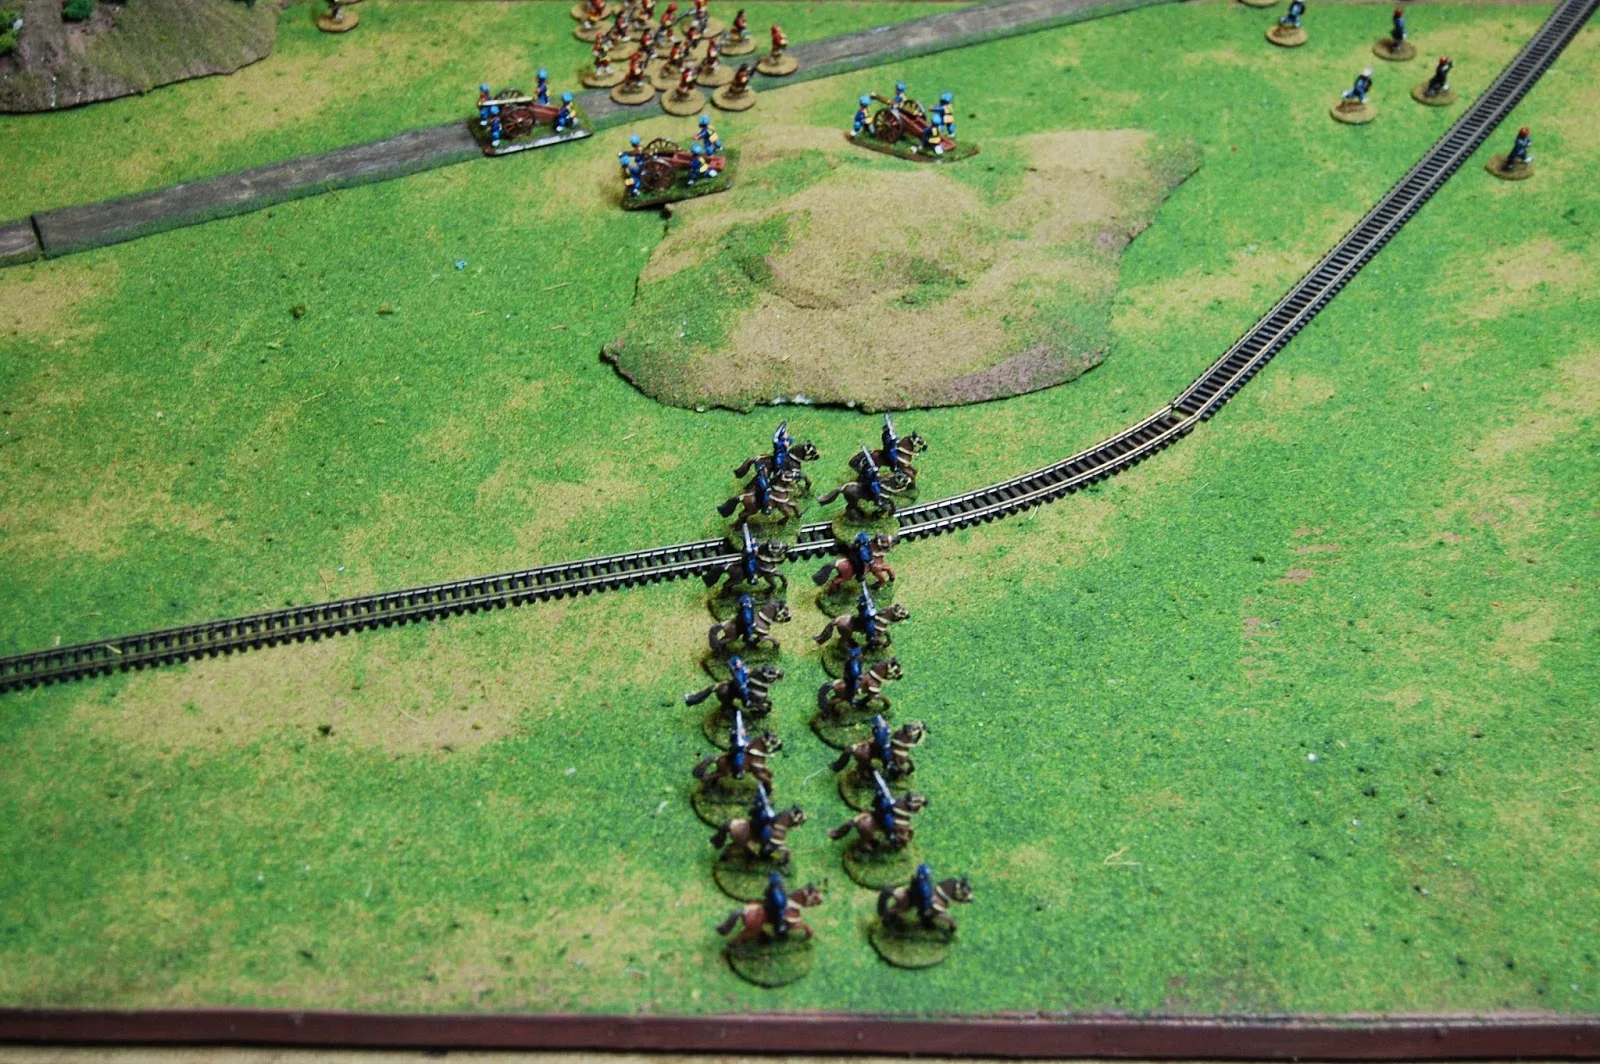
Chinese Mandarin Cavalry is ordered to support the 'Tigermen'
End of Turn Three: x5 Russians; x4 US Marines; x11 British Sailors; x2 Italians and x3 Japanese. Chinese lose x7 'Tigermen' and another x46 Boxers! Guess those spells aren't working!
Turn Four:
Outside of Langshang, the Germans advance through the gate. They fire upon charging Boxers, assisting the small Austrian detachment. Once again, numerous Boxers are dropped, but melee does result. x2 Austrians go down under the swords and pikes. Further Boxers await the Germans within the village:
The Russian volley drops nearly all the remaining Boxers to their front, leaving x1 shaken man to be dealt with:
The US Marines also deal with the Boxer threat, leaving no one standing:
At the head of the train, the samll British Sailor element is fighting for it's life, losing one more and a shaken as reinfocements hurry to their aid:
Further west along the track, the x5 British Sailors standing, deal with the last Boxer in their area, but still are dealing with the 'Tigermen'(Note that with x2 Shaken, there are only x2 Sailors left! They were actually tangled with 'Tigermen' grapples!):
Mandarin Cavalry is advancing towards the Allies while a British gun takes down two horses (represented by two green caps)pulling a smoothbore piece. The Chinese barely stop and unhitch the gun:
The Japanese, while losing x1 more in melee, despatch most of the remaining 'Tigermen' to their front along with a Kansu Brave coming towards them. Chinese shells roar over them, but they will need help! The Italian element (upper right) has been drawn off to assit the British Sailors:
A British shell takes out a smoothbore!
Mongolian Cavalry ordered to advance toward the Japanese (above center )photo as well:
End of Turn Four: x1 Japanese; x3 British Sailors; and x2 Austrians. Chinese lose x9 'Tigermen'; x1 Kansu; x1 Gun and x29 Boxers
Turn Five:
Germans storm up the bridge downing a foolishly brave Boxer at the summit. x2 more Austians and x2 Germans go down in melee (right of center) with the Boxers, but they make them pay:
While the Russians shoot down the last Boxer in front of them, British Marines and Sailors finish off the Boxers at the head of the train. Except for those in and around Langsang, the Boxers are gone:
Further west however, it is getting dicey! Some British Sailors form square seeing the Mandarin Cavalry approaching, while the Italians and Japanese (after suffering x2 casualties from a well place Chinese artillery shell seen left of center!) form up on their right. Mongolian Light Cavalry getting close top left) Fortunately for the Allies, the other Chinese artillery shots were off target. Russian Sailors (top center) are fast approaching:
A British shell lands dangerously close to one Chinese team, and the commanding Chinese General is not amused! Perhaps he should remove his men to safer ground?
End of Turn Five: Allied losses: x2 German' x2 Austrian; x3 British and x4 Japanese. Chinese losses include x3 'Tigermen' and x13 Boxers.
Turn Six:
It doesn't start well for the Allies as the last Austrian (center) goes down in melee, although the Germans then drop all but one of the remaining Boxers outside of Langsang:
The Germans also take out the one lone Boxer who hadn't taken cover inside the town. A single Russian (bottom of bridge) enters the village while his compatriots find a door to one of the houses (left of center):
The Mandarin Cavalry foolishly (as it turns out!) charge the Allied line, and take numerous casualties. Only x1 shaken British Sailor and an Italian are dispatched, as additional troops (top right) rush up to add fire on to the Chinese:
While all Chinese Artillery fire miss, the Mongolian Cavalry begin to bring skirmish fire on the Italians and Russians. They inflict no casualties while taking a few of their own:
End of Turn Six: Allied losses amounted to only x1 each from the Austrians, Italians, and British Sailors.
The Chinese lose x4 Boxers, x2 'Tigermen', x2 Mongolian and x9 Mandarin Cavalry!
Turn Seven:
While Germans finish off the last Boxer outside of Langsang, inside the town the Germans make their charge and down one of the defenders and get a shaken on one other:
At the head of the train, British Sailors fallback to tie into the Allied line. Mandarin and Mongolian Cavalry take serious losses, while Kansu Braves take out x2 Italians and a Mandarin cuts down another who was shaken:
While the British and Chinese artillery miss, one Chinese smoothbore takes down x2 Britsh Marines:
End of Turn Seven: x2 British Marines; x4 Italians; x1 Russian; x1 German. Chinese lost x1 'Tigerman' and x5 Boxers. Only round where the Allies lost more!
Turn Eight:
Inside Langsang, a Boxer charge strikes home and x2 Germans are cut down for the loss of x1 Boxer!
The lone Russian will finish off the Boxer, revenging his German ally:
Back at the train, the Mandarins are nearly wiped out with only x1 shaken survivor. However the Kansu Braves bring up the rest of their element, and they bring down x4 British Marines! The Mongolians lose more as well. And the Chinese Commander has decided that enough is enough, first ordering the withdrawal of the x2 smoothbores. The remaining Chinese and British artillery shells all miss again. I believe the Admiral will have a 'stern' talk with HIS gunners as they have one hit the whole fight!
End of Turn Eight: x2 Germans and x4 British Marines; x1 Boxer, x5 Mandarin and x7 Mongolian Cavalry; and x4 Kansu Braves
Turn Nine:
Within Langsang, the Germans and Russians keep the Boxers pinned or shaken, as they continue to inflict further casualties;
At the other end of the battlefield, the 2nd element of Kansu Braves rushes in to support their fellows and do drop several Europeans. Chinese artillery miss again! The French Marine element (center) is quickly approaching which the Allies hope will turn the tide:
End of Turn Nine: x3 British Sailors and x2 British Marines. Chinese losses: x1 Mandarin and x2 Mongolian Cavalry; x3 Kansu Braves and x3 Boxers
Turn Ten:
The Allies gain the intiative and use it to their advantage in Langsang and wipe out the remaining Boxers. Amusingly, the Russians never succeed in breaking down the outside door! (upper left):
The Chinese Commnader is now ordering all elements to retire! (surviving Mongolian riders seen in upper left while only one Mandarin escapes) But the French Marines and Russians advance, inflicting heavy casualties on the Kansu Braves. One English Naval officer (must have been enraged at his unit losses!) charges single-handledly to despatch another Brave (just right of center):
End of Turn Ten: x1 British and x1 Russian Sailor. Chinese lose x3 Boxers, x3 Mongolian Cavalry and x10 Kansu Braves.
Turn Eleven:
The Chinese gain the intiative and retreat as fast as they can. Firing some departing shots they do drop yet x1 more British Sailor (not lucky this lot!) and the first x2 French Marines. The Marines and Russian Sailors advance to keep the pressure on shooting down x1 Mongolian rider. The British sailors surround the lone Kansu Brave who got one of their friends, and added him to the casualty list. (top right):
End Turn Eleven: x1 British Sailor and x2 French Marines. x1 Ongolian Cavalry and x3 Kansu Braves
Turn Twelve:
The battle comes to an end as the Russians and Marines give one final blast at the retiring Chinese. French Marines take x3 Kansu Brave prisoner (bottom right) :
End Turn Twelve: No Allied losses! Chinese: x6 Kansu Braves
This turned out to be a enjoying fight. While the Boxers lack firepower, they kept things interesting. You may have noticed no morale...just decided that the figures I had represented the force before any forced retirement. Much easier that way. Hope you enjoyed it. Leave any comments or questions and I will be happy to reply. Hope all your rolls are good ones!












No comments:
Post a Comment